1. Introduction
Managing Android devices has never been easier. With the Android Management API, you can build a policy and provision a device in minutes. This Codelab will show you everything you need to know to get started, and will help you set up a device from scratch in minutes.
What you'll learn
- Enroll an enterprise
- Create a device management policy
- Provision a device
What you'll need
- An Android 6.0+ device
- A Gmail account (G Suite accounts wouldn't work)
2. Create Google Cloud project
The base resource of your Android Management solution is a Google Cloud Platform project. All other resources (Enterprises, Devices, Policies, etc) belong to the project and the project controls access to these resources. A solution is typically associated with a single project, but you can create multiple projects if you want to restrict access to resources.
You can create a project in the Google Cloud Console:
- Go to the Cloud Console.
- Click CREATE PROJECT.

- Enter your Project Name, and then click CREATE.
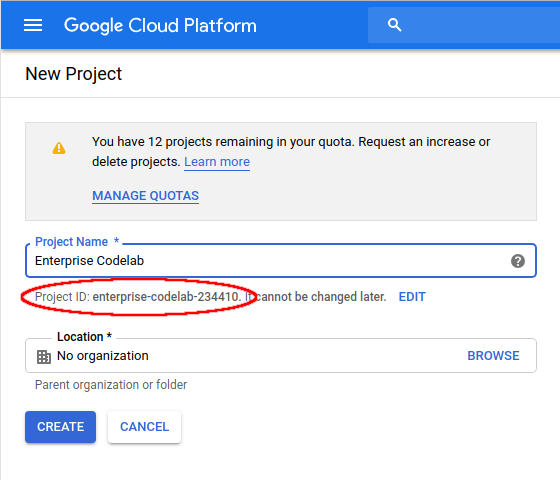
- Take note of the Project ID, you'll need it in the next step.

3. Open the quickstart notebook
To access the Android Management API you will use a quickstart Python notebook run with Colab. Click the link below to open it in a new tab.
The source code of the quickstart notebook is available on GitHub ( here).
4. Setup the API authentication
Before being able to call the API you need to setup authentication in the notebook.
Start by filling in the project ID of the Google Cloud project you created in the previous step. Paste the project ID in the first cell of the quickstart notebook and run this cell (click the ▶ button or press Shift + Enter).

Then run the next cell without modifying it. This cell runs the OAuth authentication flow and instantiates the API client.
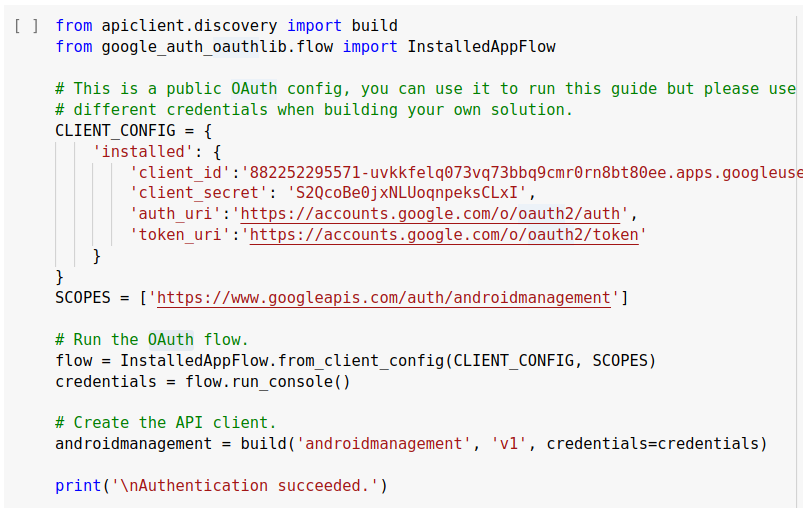
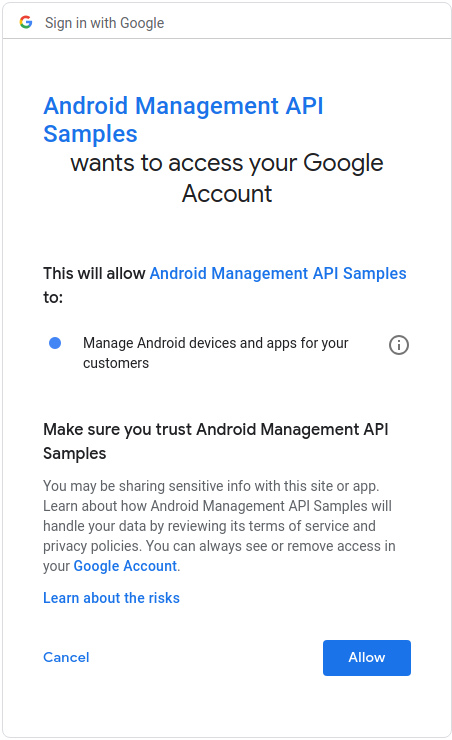
You will be asked to authorize access by following a link. If asked to select an account, choose the account you used to create the Google Cloud project. Then click Allow.
The OAuth flow finishes by displaying an authentication code.
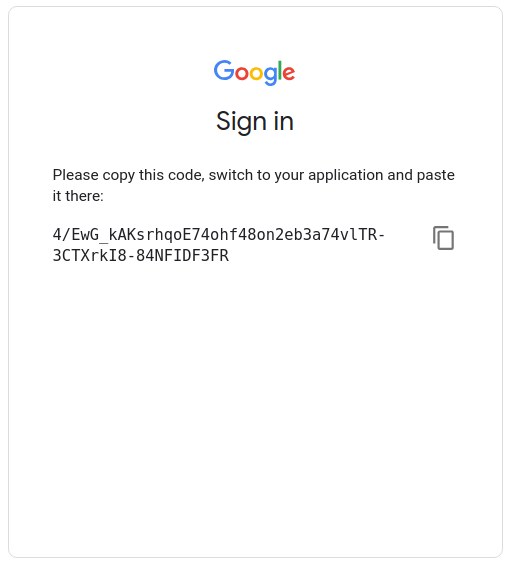
To complete the authentication flow:
- Copy the authentication code.
- Go back to the quickstart notebook.
- Paste the code in the input box.
- Hit Enter.
At this stage the notebook is successfully authenticated with the API and you can start creating and managing resources for your Google Cloud project.
5. Create an enterprise
An Enterprise resource binds an organization to your Android Management solution. Devices and Policies both belong to an enterprise. Typically, a single enterprise resource is associated with a single organization. However, you can create multiple enterprises for the same organization based on their needs. For example, an organization may want separate enterprises for its different departments or regions.
To create an enterprise run the next cell of the quickstart notebook.
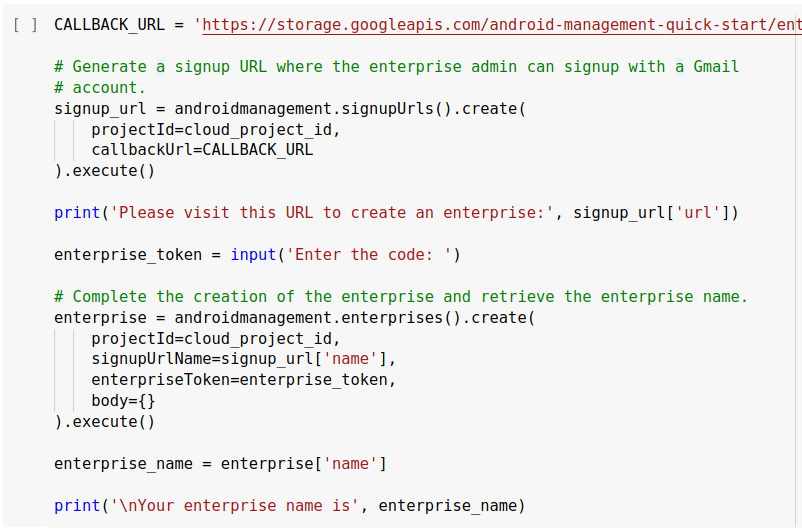
Click on the link to open the enterprise creation flow.
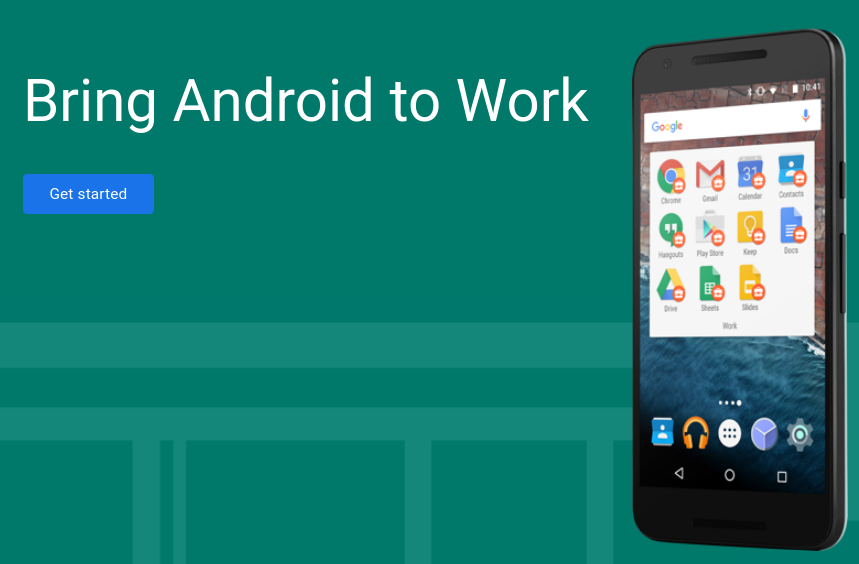
To create an enterprise you need a Gmail account that's not already associated with an enterprise. If you see a Get started button it means the current account is a valid one.
Once you've selected a valid Gmail account, click Get started.
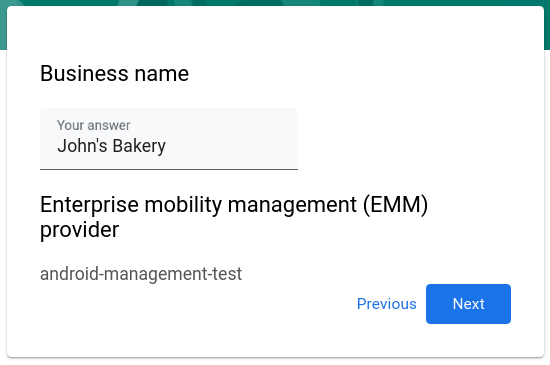
Enter a Business name. This can be any arbitrary name.
Skip filling the contact details, check the agreement checkbox and click Confirm. Then click Complete Registration.
The enterprise creation flow finishes by displaying a completion code.

To complete the enterprise creation:
- Copy the completion code.
- Go back to the quickstart notebook.
- Paste the code in the input box.
- Hit Enter.
At this stage the enterprise is successfully created and the quickstart notebook shows the enterprise name with the format enterprises/<ID>.

Copy the enterprise name and paste it in the next cell for future reference.

6. Create a policy
A Policy is a group of settings that determine the behavior of a managed device and the apps installed on it. Each Policy resource can be applied to one or more devices. Once a device is linked to a policy, any updates to the policy are automatically applied to the device.
To create your first policy run the next cell of the notebook.

In the rest of this Codelab we will represent a policy in its JSON form. Here the first policy is:
{
  "applications": [
    {
      "packageName": "com.google.samples.apps.iosched",
      "installType": "FORCE_INSTALLED"
    }
  ],
  "advancedSecurityOverrides": {
    "developerSettings": "DEVELOPER_SETTINGS_ALLOWED"
  }
}
You'll see how to create more advanced policies later in this Codelab.
7. Provision a device
Provisioning refers to the process of enrolling a device with an enterprise, applying the appropriate policies to the device, and guiding the user to complete the set up of their device in accordance with those policies. Before attempting to provision a device, ensure that the device is running Android 6.0 or above.
The method for provisioning a device varies depending on the management mode you want to use, this Codelab demonstrates how to provision a device in fully managed mode using a QR code. Please refer to the instructions in the notebook for other modes and provisioning methods.
You need an enrollment token for each device that you want to provision (you can use the same token for multiple devices). When creating a token you can specify a policy that will be applied to the device. You can then embed the enrollment token in a QR code.
To create your first enrollment token run the next cell of the quickstart notebook. This cell generates an enrollment token and stores it in the variable enrollment_token.

Then run the next cell to generate the QR code, and click on the generated URL to display the QR code.

You can then use this QR code to provision an Android device.
To do so on a device running Android 7.0 or above:
- Turn on a new or factory-reset device.
- Tap the same spot on the welcome screen six times to enter QR code mode.
- Connect to a WiFi network.
- Scan the QR code.
To do so on a device running Android 6.0:
- Follow the setup wizard and enter your Wi-Fi details.
- When prompted to sign in, enter afw#setup.
- Tap Next, and then accept the installation of Android Device Policy.
- Scan the QR code.
Once the setup flow completes your device is provisioned in fully managed mode and is linked to the policy created in the previous step.
8. Update a policy
After a device is linked to a policy, any updates to the policy are automatically applied to the device.
To update the policy move back to the cell that you used to create the policy, change the policy JSON to match the new policy below, and run the cell.
{
  "applications": [
    {
      "packageName": "com.google.samples.apps.iosched",
      "installType": "FORCE_INSTALLED"
    },
    {
      "packageName": "com.google.android.apps.androidify",
      "installType": "FORCE_INSTALLED"
    }
  ],
  "advancedSecurityOverrides": {
    "developerSettings": "DEVELOPER_SETTINGS_ALLOWED"
  }
}
The new policy force installs the Androidify app on the device, and you should see this change applied on the device within a few seconds.
In the next step of the Codelab we show you how to build a more advanced policy with extra security features.
9. Advanced policy
Let's try enforcing some additional security: we'll set up a policy that requires a password, and forbids taking a screenshot.
To update the policy move back to the cell that you used to create the policy, change the policy JSON to match the new policy below, and run the cell.
{
  "applications": [
    {
      "packageName": "com.google.samples.apps.iosched",
      "installType": "FORCE_INSTALLED"
    },
    {
      "packageName": "com.google.android.apps.androidify",
      "installType": "FORCE_INSTALLED"
    }
  ],
  "passwordRequirements": {
    "passwordMinimumLength": 6,
    "passwordQuality": "NUMERIC"
  },
  "screenCaptureDisabled": true,
  "advancedSecurityOverrides": {
    "developerSettings": "DEVELOPER_SETTINGS_ALLOWED"
  },
  "policyEnforcementRules": [
    {
      "settingName": "passwordPolicies",
      "blockAction": {
        "blockAfterDays": 1
      },
      "wipeAction": {
        "wipeAfterDays": 5
      }
    }
  ]
}
In a few seconds you should see a screen that will ask you to set a password, stopping you from using the device until you do so.
Try taking a screenshot using Volume Down + Power key combination: you should see a message saying that taking screenshots is disabled.
10. Congratulations!
You've finished the Android Management API Codelab and got a glimpse at some of the available policies.
We recommend that you explore and try other examples of policies:
And you can find the full range of available policies in the API references.
You can also develop your own server-based management solution leveraging the Android Management, to do so you will need to:
- Download the Android Management API client library for Java, .NET, Python, or Ruby.
- Create a service account.
