
Imagen 是圖像生成模型,這項功能可為使用者個人資料生成自訂顯示圖片,或將個人化視覺素材整合至現有畫面流程,提高使用者參與度。
您可以使用 Firebase AI Logic SDK,從 Android 應用程式存取 Imagen 模型。您可以使用 Firebase AI Logic API 提供者,透過 Gemini Developer API (建議大多數開發人員使用) 和 Vertex AI,存取 Imagen 模型。

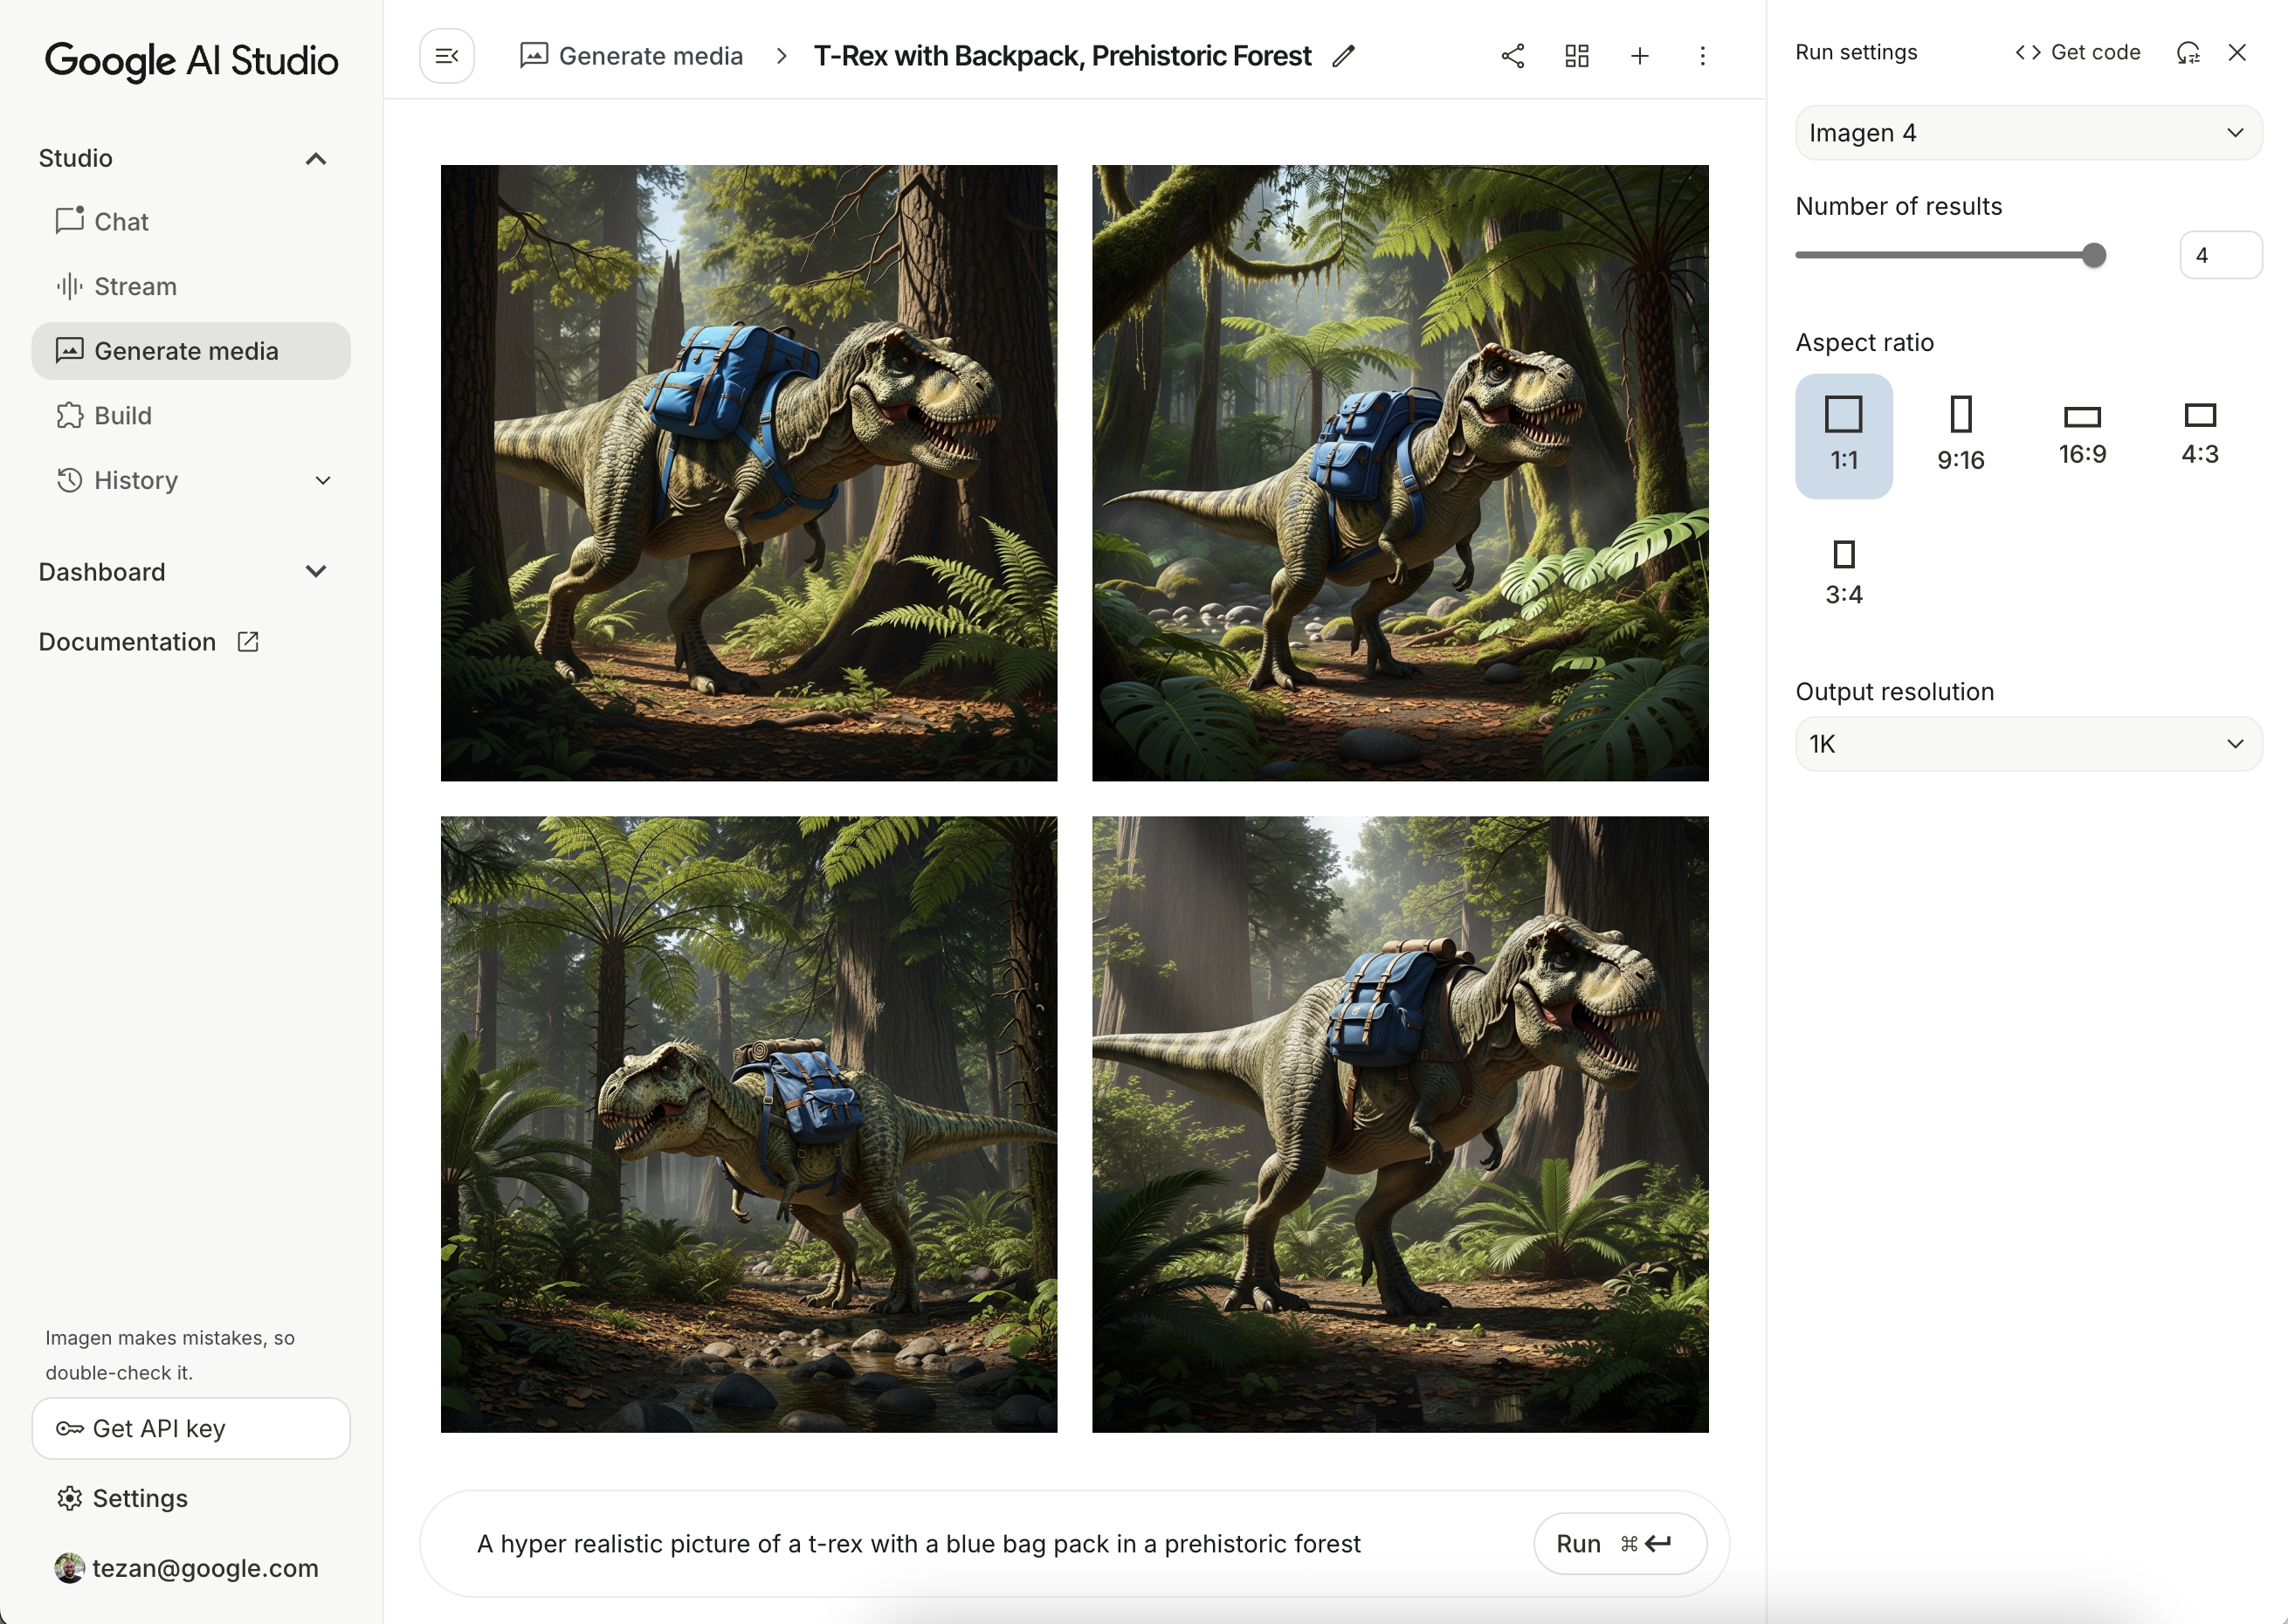
測試提示
通常需要多次嘗試,才能建立理想的提示。您可以在 Google AI Studio 中測試圖片提示,這個 IDE 可用於設計提示和製作原型。如需改善提示的訣竅,請參閱提示和圖像屬性指南。
設定 Firebase 專案並連結應用程式
按照 Firebase 說明文件中的步驟,將 Firebase 新增至 Android 專案。
新增 Gradle 依附元件
在 build.gradle 檔案中新增下列依附元件:
dependencies {
  // Import the BoM for the Firebase platform
  implementation(platform("com.google.firebase:firebase-bom:34.6.0"))

  // Add the dependency for the Firebase AI Logic library. When using the BoM,
  // you don't specify versions in Firebase library dependencies
  implementation("com.google.firebase:firebase-ai")
}
生成圖片
如要在 Android 應用程式中生成圖片,請先例項化 ImagenModel,並視需要設定。
您可以使用 generationConfig 參數定義負面提示、圖片數量、輸出圖片的顯示比例、圖片格式,以及新增浮水印。您可以使用 safetySettings 參數設定安全選項和個人篩選器。
Kotlin
val config = ImagenGenerationConfig( numberOfImages = 2, aspectRatio = ImagenAspectRatio.LANDSCAPE_16x9, imageFormat = ImagenImageFormat.jpeg(compressionQuality = 100), addWatermark = false, ) // Initialize the Gemini Developer API backend service // For Vertex AI use Firebase.ai(backend = GenerativeBackend.vertexAI()) val model = Firebase.ai(backend = GenerativeBackend.googleAI()).imagenModel( modelName = "imagen-4.0-generate-001", generationConfig = config, safetySettings = ImagenSafetySettings( safetyFilterLevel = ImagenSafetyFilterLevel.BLOCK_LOW_AND_ABOVE, personFilterLevel = ImagenPersonFilterLevel.BLOCK_ALL ), )
Java
ImagenGenerationConfig config = new ImagenGenerationConfig.Builder() .setNumberOfImages(2) .setAspectRatio(ImagenAspectRatio.LANDSCAPE_16x9) .setImageFormat(ImagenImageFormat.jpeg(100)) .setAddWatermark(false) .build(); // For Vertex AI use Firebase.ai(backend = GenerativeBackend.vertexAI()) ImagenModelFutures model = ImagenModelFutures.from( FirebaseAI.getInstance(GenerativeBackend.googleAI()).imagenModel( "imagen-4.0-generate-001", config, new ImagenSafetySettings( ImagenSafetyFilterLevel.BLOCK_LOW_AND_ABOVE, ImagenPersonFilterLevel.BLOCK_ALL)) );
ImagenModel 例項建立完成後,您就可以呼叫 generateImages 生成圖片:
Kotlin
val imageResponse = model.generateImages( prompt = "A hyper realistic picture of a t-rex with a blue bagpack in a prehistoric forest", ) val image = imageResponse.images.first() val bitmapImage = image.asBitmap()
Java
ListenableFuture<ImagenGenerationResponse<ImagenInlineImage>> futureResponse = model.generateImages( "A hyper realistic picture of a t-rex with a blue bagpack in a prehistoric forest"); try { ImagenGenerationResponse<ImagenInlineImage> imageResponse = futureResponse.get(); List<ImagenInlineImage> images = null; if (imageResponse != null) { images = imageResponse.getImages(); } if (images != null && !images.isEmpty()) { ImagenInlineImage image = images.get(0); Bitmap bitmapImage = image.asBitmap(); // Use bitmapImage } } catch (ExecutionException | InterruptedException e) { e.printStackTrace(); }
使用 Imagen 編輯圖像
Firebase AI Logic SDK 透過 Imagen 模型提供進階圖片編輯功能,可讓您:
- 根據遮罩編輯圖片,包括插入或移除物件、將圖片內容延伸至原始邊界之外,以及變更背景。
- 自訂圖片:套用特定樣式 (圖案、紋理或藝術家風格)、著重於各種主題 (例如產品、人物或動物),或遵循不同控制項 (例如手繪草圖、canny edge 圖像或臉部網格)。
模型初始化
如要使用 Imagen 編輯功能,請指定支援圖片編輯的 Imagen 模型,例如 imagen-3.0-capability-001:
val imagenModel = Firebase.ai(backend = GenerativeBackend.vertexAI()) .imagenModel("imagen-3.0-capability-001")
遮蓋型編輯
Imagen 的遮蓋型編輯功能可讓您定義模型要處理的特定區域,藉此修改圖像。這項功能可執行多種動作,包括建立及套用遮罩、插入或移除物件,以及將圖片內容擴展至原始邊界以外。
建立遮罩
如要執行遮罩型編輯作業 (例如插入或移除物件),請先遮罩要讓模型編輯的區域。
如要建立遮罩,您可以透過 ImagenBackgroundMask() 或 ImagenSemanticMask() 傳遞類別 ID,讓模型自動生成遮罩。
你也可以在畫面上手動繪製遮罩,方法是產生遮罩點陣圖,然後轉換成 ImagenRawMask。使用 detectDragGestures 和 Canvas,您可以在應用程式中透過 Jetpack Compose 實作遮罩繪製使用者介面,如下所示:
//import androidx.compose.ui.graphics.Color as ComposeColor @Composable fun ImagenEditingMaskEditor( sourceBitmap: Bitmap, onMaskFinalized: (Bitmap) -> Unit, ) { val paths = remember { mutableStateListOf<Path>() } var currentPath by remember { mutableStateOf<Path?>(null) } var scale by remember { mutableFloatStateOf(1f) } var offsetX by remember { mutableFloatStateOf(0f) } var offsetY by remember { mutableFloatStateOf(0f) } Column( modifier = Modifier.fillMaxSize(), ) { Box( modifier = Modifier .fillMaxWidth() .pointerInput(Unit) { detectDragGestures( onDragStart = { startOffset -> val transformedStart = Offset( (startOffset.x - offsetX) / scale, (startOffset.y - offsetY) / scale, ) currentPath = Path().apply { moveTo(transformedStart.x, transformedStart.y) } }, onDrag = { change, _ -> currentPath?.let { val transformedChange = Offset( (change.position.x - offsetX) / scale, (change.position.y - offsetY) / scale, ) it.lineTo(transformedChange.x, transformedChange.y) currentPath = Path().apply { addPath(it) } } change.consume() }, onDragEnd = { currentPath?.let { paths.add(it) } currentPath = null }, ) }, ) { Image( bitmap = sourceBitmap.asImageBitmap(), contentDescription = null, modifier = Modifier.fillMaxSize(), contentScale = ContentScale.Fit, ) Canvas(modifier = Modifier.fillMaxSize()) { val canvasWidth = size.width val canvasHeight = size.height val bitmapWidth = sourceBitmap.width.toFloat() val bitmapHeight = sourceBitmap.height.toFloat() scale = min(canvasWidth / bitmapWidth, canvasHeight / bitmapHeight) offsetX = (canvasWidth - bitmapWidth * scale) / 2 offsetY = (canvasHeight - bitmapHeight * scale) / 2 withTransform( { translate(left = offsetX, top = offsetY) scale(scale, scale, pivot = Offset.Zero) }, ) { val strokeWidth = 70f / scale val stroke = Stroke(width = strokeWidth, cap = StrokeCap.Round, join = StrokeJoin.Round) val pathColor = ComposeColor.White.copy(alpha = 0.5f) paths.forEach { path -> drawPath(path = path, color = pathColor, style = stroke) } currentPath?.let { path -> drawPath(path = path, color = pathColor, style = stroke) } } } } Button( onClick = { val maskBitmap = createMaskBitmap(sourceBitmap, paths) onMaskFinalized(maskBitmap) }, ) { Text("Save mask") } } }
然後在畫布上繪製路徑,即可建立遮罩點陣圖:
// import android.graphics.Color as AndroidColor // import android.graphics.Paint private fun createMaskBitmap( sourceBitmap: Bitmap, paths: SnapshotStateList<Path>, ): Bitmap { val maskBitmap = Bitmap.createBitmap(sourceBitmap.width, sourceBitmap.height, Bitmap.Config.ARGB_8888) val canvas = android.graphics.Canvas(maskBitmap) val paint = Paint().apply { color = AndroidColor.RED strokeWidth = 70f style = Paint.Style.STROKE strokeCap = Paint.Cap.ROUND strokeJoin = Paint.Join.ROUND isAntiAlias = true } paths.forEach { path -> canvas.drawPath(path.asAndroidPath(), paint) } return maskBitmap }
請確認遮罩與來源圖片大小相同。詳情請參閱 Imagen AI 目錄範例。
插入物件
您可以在現有圖片中插入新物件或內容,這也稱為修復。模型會生成新內容,並插入指定遮蓋區域。
如要達成這個目標,請使用 editImage() 函式。您需要提供原始圖片、遮罩,以及描述要插入內容的文字提示。此外,請傳遞 ImagenEditingConfig 物件,並確保其 editMode 屬性設為 ImagenEditMode.INPAINT_INSERTION。
suspend fun insertFlowersIntoImage( model: ImagenModel, originalImage: Bitmap, mask: ImagenMaskReference ): ImagenGenerationResponse<ImagenInlineImage> { val prompt = "a vase of flowers" // Pass the original image, a mask, the prompt, and an editing configuration. val editedImage = model.editImage( referenceImages = listOf( ImagenRawImage(originalImage.toImagenInlineImage()), mask, ), prompt = prompt, // Define the editing configuration for inpainting and insertion. config = ImagenEditingConfig(ImagenEditMode.INPAINT_INSERTION) ) return editedImage }
移除物件
塗改功能可移除圖片中不想要的物件。如要執行這項操作,請使用 editImage 函式。請提供原始圖片和遮罩,標示要移除的物件。您也可以選擇加入文字提示來描述物體,協助模型準確辨識。此外,您必須將 ImagenEditingConfig 中的 editMode 設為 ImagenEditMode.INPAINT_REMOVAL。
suspend fun removeBallFromImage( model: ImagenModel, originalImage: Bitmap, mask: ImagenMaskReference ): ImagenGenerationResponse<ImagenInlineImage> { // Optional: provide the prompt describing the content to be removed. val prompt = "a ball" // Pass the original image, a mask, the prompt, and an editing configuration. val editedImage = model.editImage( referenceImages = listOf( ImagenRawImage(originalImage.toImagenInlineImage()), mask ), prompt = prompt, // Define the editing configuration for inpainting and removal. config = ImagenEditingConfig(ImagenEditMode.INPAINT_REMOVAL) ) return editedImage }
擴展圖片內容
您可以使用 outpaintImage() 函式,將圖片擴展到原始邊界之外,也就是所謂的「外繪」。這項功能需要原始圖片和擴大圖片的必要 Dimensions。視需要,您可以加入擴展的描述性提示,並在生成的新圖片中指定原始圖片的 ImagenImagePlacement:
suspend fun expandImage(originalImage: Bitmap, imagenModel: ImagenModel): ImagenGenerationResponse<ImagenInlineImage> { // Optionally describe what should appear in the expanded area. val prompt = "a sprawling sandy beach next to the ocean" val editedImage = imagenModel.outpaintImage( originalImage.toImagenInlineImage(), Dimensions(1024, 1024), prompt = prompt, newPosition = ImagenImagePlacement.LEFT_CENTER ) return editedImage }
更換背景
你可以更換圖片背景,同時保留前景主體。如要執行這項操作,請使用 editImage 函式。傳遞原始圖片、ImagenBackgroundMask 物件 (內含新背景的文字提示),以及 ImagenEditingConfig (其 editMode 屬性設為 ImagenEditMode.INPAINT_INSERTION)。
suspend fun replaceBackground(model: ImagenModel, originalImage: Bitmap): ImagenGenerationResponse<ImagenInlineImage> { // Provide the prompt describing the new background. val prompt = "space background" // Pass the original image, a mask, the prompt, and an editing configuration. val editedImage = model.editImage( referenceImages = listOf( ImagenRawImage(originalImage.toImagenInlineImage()), ImagenBackgroundMask(), ), prompt = prompt, config = ImagenEditingConfig(ImagenEditMode.INPAINT_INSERTION) ) return editedImage }
自訂
您可以使用 Imagen 的自訂功能,根據指定主題、控制項或樣式的參考圖片,生成或編輯圖片。方法是提供文字提示,以及一或多張參考圖片,引導模型生成圖片。
根據主題自訂
您可以根據參考圖片 (例如產品、人物或動物),生成特定主體的全新圖片。只要提供文字提示,以及至少一張主題的參考圖片,舉例來說,你可以上傳寵物的相片,然後生成寵物在完全不同環境中的新圖片。
如要這麼做,請使用 ImagenSubjectReference 定義主體參照,然後將其連同提示傳遞至 editImage。此外,請加入指定 editSteps 數量的 ImagenEditingConfig,editSteps 值越高,通常會產生品質越好的結果:
suspend fun customizeCatImage(model: ImagenModel, referenceCatImage: Bitmap): ImagenGenerationResponse<ImagenInlineImage> { // Define the subject reference using the reference image. val subjectReference = ImagenSubjectReference( image = referenceCatImage.toImagenInlineImage(), referenceId = 1, description = "cat", subjectType = ImagenSubjectReferenceType.ANIMAL ) // Provide a prompt that describes the final image. // The "[1]" links the prompt to the subject reference with ID 1. val prompt = "A cat[1] flying through outer space" // Use the editImage API to perform the subject customization. val editedImage = model.editImage( referenceImages = listOf(subjectReference), prompt = prompt, config = ImagenEditingConfig( editSteps = 50 // Number of editing steps, a higher value can improve quality ) ) return editedImage }
根據控制項自訂
這項技術會根據控制參照圖片生成新圖片,例如手繪草圖 (「塗鴉」)、Canny 邊緣圖片或臉部網格。模型會將控制圖片做為新圖片的版面配置和構圖結構指南,而文字提示則提供顏色和紋理等詳細資料。
使用 ImagenControlReference 定義控制項參照,並連同提示和 ImagenEditingConfig 提供給 editImage,並指定 editSteps 數量 (值越高,品質越好):
suspend fun customizeCatImageByControl(model: ImagenModel, referenceImage: Bitmap): ImagenGenerationResponse<ImagenInlineImage> { // Define the subject reference using the reference image. val controlReference = ImagenControlReference( image = referenceImage.toImagenInlineImage(), referenceId = 1, type = ImagenControlType.SCRIBBLE, ) val prompt = "A cat flying through outer space arranged like the scribble map[1]" val editedImage = model.editImage( referenceImages = listOf(controlReference), prompt = prompt, config = ImagenEditingConfig( editSteps = 50 ), ) return editedImage }
根據樣式自訂
你可以生成或編輯圖片,讓圖片與參考圖片的特定風格相符,例如圖片的圖案、紋理或設計。模型會使用參考圖片瞭解所需的美學風格,並套用至文字提示中描述的新圖片。舉例來說,只要提供著名畫作的圖片,就能生成該畫風的貓咪圖片。
使用 ImagenStyleReference 定義樣式參照,並連同提示和 ImagenEditingConfig 提供給 editImage,其中 ImagenEditingConfig 是 editSteps 的數量 (值越高越能提升品質):
suspend fun customizeImageByStyle(model: ImagenModel, referenceVanGoghImage: Bitmap): ImagenGenerationResponse<ImagenInlineImage> { // Define the style reference using the reference image. val styleReference = ImagenStyleReference( image = referenceVanGoghImage.toImagenInlineImage(), referenceId = 1, description = "Van Gogh style" ) // Provide a prompt that describes the final image. // The "1" links the prompt to the style reference with ID 1. val prompt = "A cat flying through outer space, in the Van Gogh style[1]" // Use the editImage API to perform the style customization. val editedImage = model.editImage( referenceImages = listOf(styleReference), prompt = prompt, config = ImagenEditingConfig( editSteps = 50 // Number of editing steps, a higher value can improve quality ), ) return editedImage }
後續步驟
- 如要進一步瞭解 Firebase AI Logic,請參閱 Firebase 說明文件。
- 探索 Android AI 範例目錄。