
Android 提供了各种工具和 API,可帮助您针对不同的屏幕和窗口尺寸创建测试。
DeviceConfigurationOverride
借助 DeviceConfigurationOverride 可组合项,您可以替换配置属性,以便在 Compose 布局中测试多种屏幕和窗口尺寸。ForcedSize 替换项可适应可用空间中的任何布局,以便您在任何屏幕尺寸上运行任何界面测试。例如,您可以使用小尺寸手机来运行所有界面测试,包括针对大尺寸手机、可折叠设备和平板电脑的界面测试。
   DeviceConfigurationOverride(
        DeviceConfigurationOverride.ForcedSize(DpSize(1280.dp, 800.dp))
    ) {
        MyScreen() // Will be rendered in the space for 1280dp by 800dp without clipping.
    }
此外,您还可以使用此可组合项来设置字体缩放比例、主题和其他属性,以便在不同窗口大小下测试。
Robolectric
使用 Robolectric 在 JVM 上本地运行基于 Compose 或视图的界面测试,无需使用设备或模拟器。您可以配置 Robolectric 以使用特定的屏幕尺寸以及其他实用属性。
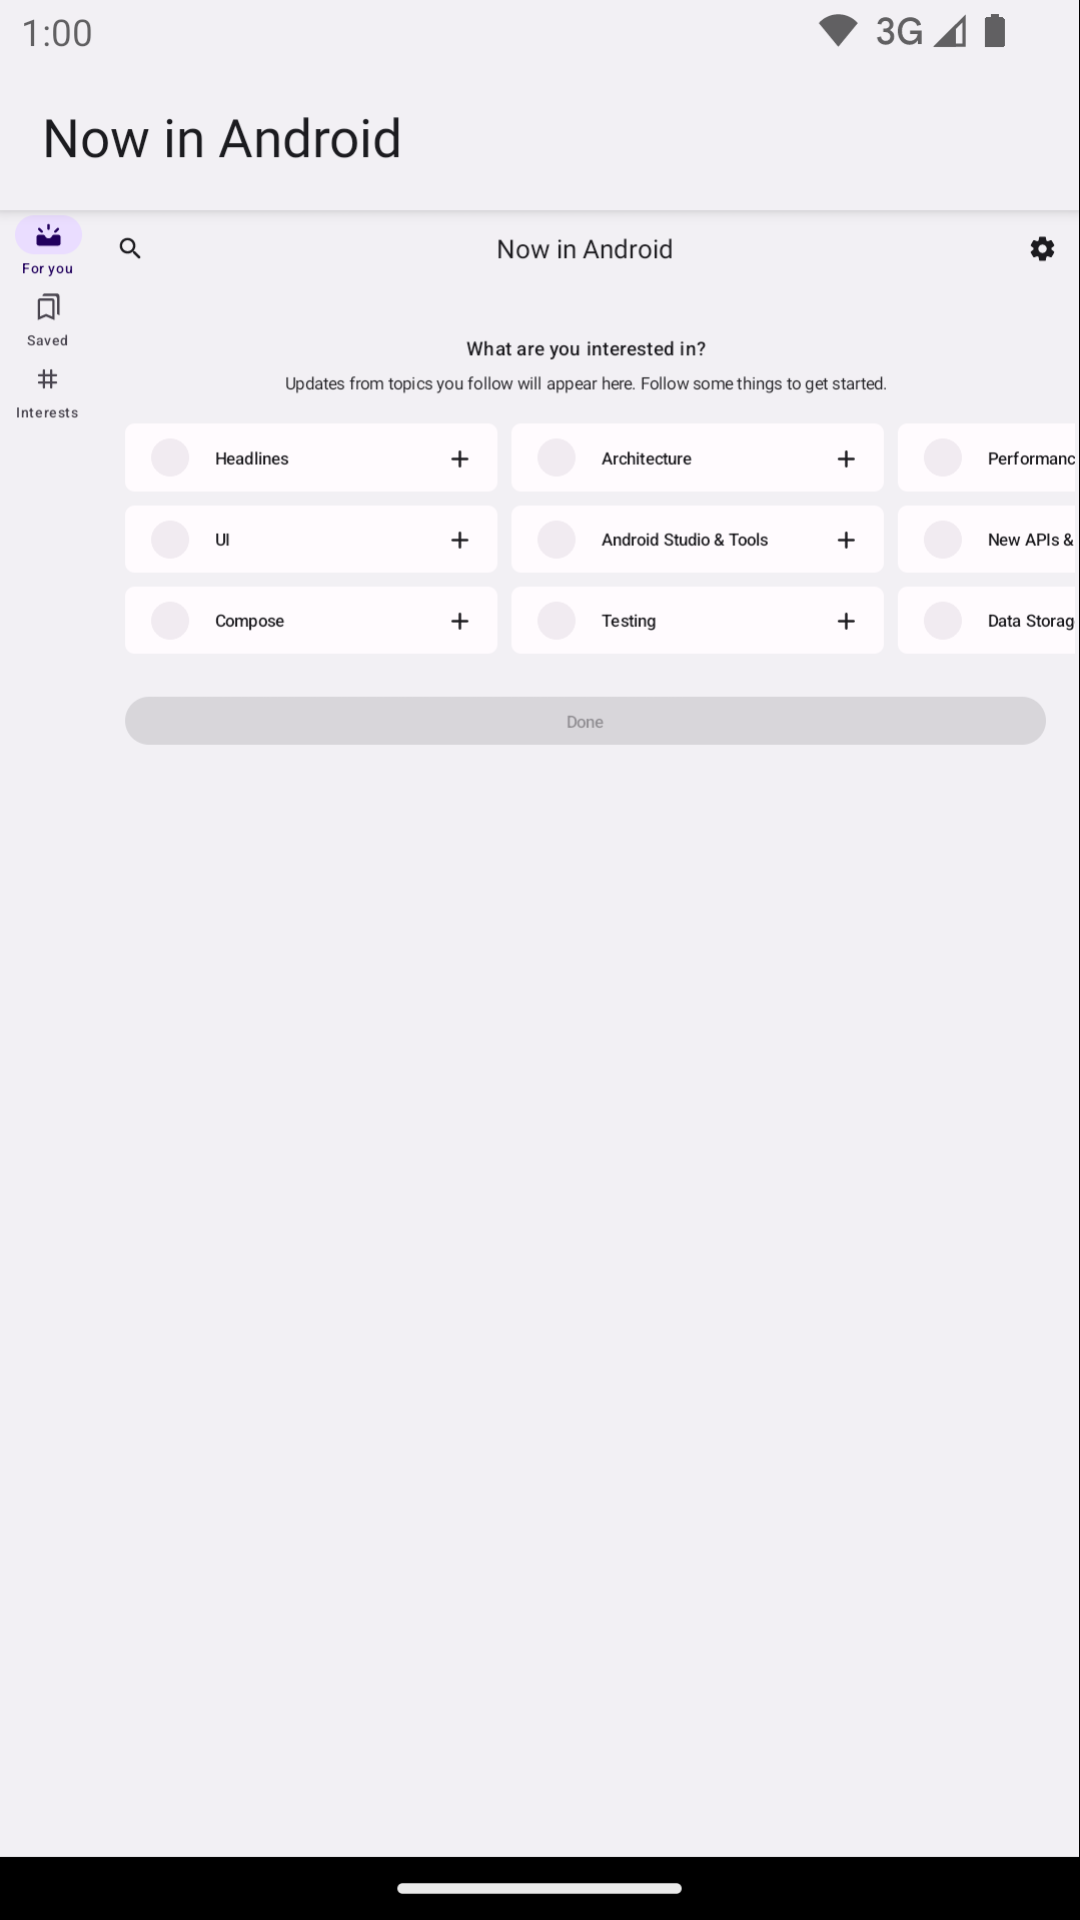
在 Now in Android 的以下示例中,Robolectric 配置为模拟尺寸为 1000x1000 dp、分辨率为 480 dpi 的屏幕:
@RunWith(RobolectricTestRunner::class)
// Configure Robolectric to use a very large screen size that can fit all of the test sizes.
// This allows enough room to render the content under test without clipping or scaling.
@Config(qualifiers = "w1000dp-h1000dp-480dpi")
class NiaAppScreenSizesScreenshotTests { ... }
您还可以在测试正文中设置限定符,如 Now in Android 示例中的此代码段所示:
val (width, height, dpi) = ...

// Set qualifiers from specs.
RuntimeEnvironment.setQualifiers("w${width}dp-h${height}dp-${dpi}dpi")
请注意,RuntimeEnvironment.setQualifiers() 会使用新配置更新系统和应用资源,但不会对活跃 activity 或其他组件触发任何操作。
如需了解详情,请参阅 Robolectric 设备配置文档。
Gradle 管理的设备
借助 Gradle 管理的设备 (GMD) Android Gradle 插件,您可以定义模拟器和真实设备的规范,以便在这些设备上运行插桩测试。通过为具有不同屏幕尺寸的设备创建规范,可实现按特定屏幕尺寸运行特定测试的测试策略。通过将 GMD 与持续集成 (CI) 搭配使用,您可以确保在需要时运行适当的测试,从而配置和启动模拟器,并简化 CI 设置。
android {
    testOptions {
        managedDevices {
            devices {
                // Run with ./gradlew nexusOneApi30DebugAndroidTest.
                nexusOneApi30(com.android.build.api.dsl.ManagedVirtualDevice) {
                    device = "Nexus One"
                    apiLevel = 30
                    // Use the AOSP ATD image for better emulator performance
                    systemImageSource = "aosp-atd"
                }
                // Run with ./gradlew  foldApi34DebugAndroidTest.
                foldApi34(com.android.build.api.dsl.ManagedVirtualDevice) {
                    device = "Pixel Fold"
                    apiLevel = 34
                    systemImageSource = "aosp-atd"
                }
            }
        }
    }
}
您可以在 testing-samples 项目中找到多个 GMD 示例。
Firebase Test Lab
使用 Firebase Test Lab (FTL) 或类似的设备农场服务,在您可能无法访问的特定真实设备(例如不同尺寸的折叠屏手机或平板电脑)上运行测试。Firebase Test Lab 是一项付费服务,提供免费层级。FTL 还支持在模拟器上运行测试。 这些服务可以提前配置设备和模拟器,因此可以提高插桩测试的可靠性和速度。
如需了解如何将 FTL 与 GMD 搭配使用,请参阅使用 Gradle 管理的设备扩大测试范围。
使用测试运行程序过滤测试
理想的测试策略应避免重复验证同一事物,因此大多数界面测试无需在多个设备上运行。通常,您会过滤界面测试,在手机设备上运行全部或大部分界面测试,而在其他屏幕尺寸的设备上仅运行一部分界面测试。
您可以对某些测试进行注释,使其仅在特定设备上运行,然后使用运行测试的命令将实参传递给 AndroidJUnitRunner。
例如,您可以创建不同的注释:
annotation class TestExpandedWidth
annotation class TestCompactWidth
并在不同的测试中使用它们:
class MyTestClass {

    @Test
    @TestExpandedWidth
    fun myExample_worksOnTablet() {
        ...
    }

    @Test
    @TestCompactWidth
    fun myExample_worksOnPortraitPhone() {
        ...
    }

}
然后,您可以在运行测试时使用 android.testInstrumentationRunnerArguments.annotation 属性来过滤特定测试。例如,如果您使用的是 Gradle 管理的设备:
$ ./gradlew pixelTabletApi30DebugAndroidTest -Pandroid.testInstrumentationRunnerArguments.annotation='com.sample.TestExpandedWidth'
如果您不使用 GMD,并且在 CI 上管理模拟器,请先确保正确的模拟器或设备已准备就绪并已连接,然后将参数传递给某个 Gradle 命令以运行插桩测试:
$ ./gradlew connectedAndroidTest -Pandroid.testInstrumentationRunnerArguments.annotation='com.sample.TestExpandedWidth'
请注意,Espresso 设备(请参阅下一部分)也可以使用设备属性过滤测试。
Espresso 设备
通过 Espresso 设备,您可以在任何类型的插桩测中对模拟器执行操作,包括 Espresso、Compose 或 UI Automator 测试。这些操作可能包括设置屏幕大小或切换可折叠状态或形态。例如,您可以控制可折叠设备模拟器并将其设置为桌面模式。Espresso 设备还包含 JUnit 规则和注释,用于要求某些功能:
@RunWith(AndroidJUnit4::class)
class OnDeviceTest {

    @get:Rule(order=1) val activityScenarioRule = activityScenarioRule<MainActivity>()

    @get:Rule(order=2) val screenOrientationRule: ScreenOrientationRule =
        ScreenOrientationRule(ScreenOrientation.PORTRAIT)

    @Test
    fun tabletopMode_playerIsDisplayed() {
        // Set the device to tabletop mode.
        onDevice().setTabletopMode()
        onView(withId(R.id.player)).check(matches(isDisplayed()))
    }
}
请注意,Espresso 设备仍处于 Alpha 版阶段,并具有以下要求:
- Android Gradle 插件 8.3 或更高版本
- Android 模拟器 33.1.10 或更高版本
- 运行 API 级别 24 或更高级别的 Android 虚拟设备
过滤测试
Espresso 设备可以读取已连接设备的属性,以便您使用注释过滤测试。如果未满足带注释的要求,则跳过测试。
RequiresDeviceMode 注释
RequiresDeviceMode 注释可多次使用,以指明仅当设备支持 DeviceMode 的所有值时才运行的测试。
class OnDeviceTest {
    ...
    @Test
    @RequiresDeviceMode(TABLETOP)
    @RequiresDeviceMode(BOOK)
    fun tabletopMode_playerIdDisplayed() {
        // Set the device to tabletop mode.
        onDevice().setTabletopMode()
        onView(withId(R.id.player)).check(matches(isDisplayed()))
    }
}
RequiresDisplay 注释
借助 RequiresDisplay 注释,您可以使用大小类指定设备屏幕的宽度和高度,这些类定义了遵循官方窗口大小类别的尺寸区间。
class OnDeviceTest {
    ...
    @Test
    @RequiresDisplay(EXPANDED, COMPACT)
    fun myScreen_expandedWidthCompactHeight() {
        ...
    }
}
调整显示屏大小
使用 setDisplaySize() 方法可在运行时调整屏幕尺寸。请将此方法与 DisplaySizeRule 类结合使用,该类可确保在下一个测试之前撤消测试期间所做的任何更改。
@RunWith(AndroidJUnit4::class)
class ResizeDisplayTest {

    @get:Rule(order = 1) val activityScenarioRule = activityScenarioRule<MainActivity>()

    // Test rule for restoring device to its starting display size when a test case finishes.
    @get:Rule(order = 2) val displaySizeRule: DisplaySizeRule = DisplaySizeRule()

    @Test
    fun resizeWindow_compact() {
        onDevice().setDisplaySize(
            widthSizeClass = WidthSizeClass.COMPACT,
            heightSizeClass = HeightSizeClass.COMPACT
        )
        // Verify visual attributes or state restoration.
    }
}
使用 setDisplaySize() 调整显示屏大小时,您不会影响设备的密度,因此如果某个维度不适合目标设备,测试会失败并显示 UnsupportedDeviceOperationException。为防止在这种情况下运行测试,请使用 RequiresDisplay 注释将其过滤掉:
@RunWith(AndroidJUnit4::class)
class ResizeDisplayTest {

    @get:Rule(order = 1) var activityScenarioRule = activityScenarioRule<MainActivity>()

    // Test rule for restoring device to its starting display size when a test case finishes.
    @get:Rule(order = 2) var displaySizeRule: DisplaySizeRule = DisplaySizeRule()

    /**
     * Setting the display size to EXPANDED would fail in small devices, so the [RequiresDisplay]
     * annotation prevents this test from being run on devices outside the EXPANDED buckets.
     */
    @RequiresDisplay(
        widthSizeClass = WidthSizeClassEnum.EXPANDED,
        heightSizeClass = HeightSizeClassEnum.EXPANDED
    )
    @Test
    fun resizeWindow_expanded() {
        onDevice().setDisplaySize(
            widthSizeClass = WidthSizeClass.EXPANDED,
            heightSizeClass = HeightSizeClass.EXPANDED
        )
        // Verify visual attributes or state restoration.
    }
}
StateRestorationTester
StateRestorationTester 类用于在不重新创建 activity 的情况下测试可组合组件的状态恢复。这样一来,测试速度更快,可靠性更高,因为 activity 重新创建是一个涉及多种同步机制的复杂过程:
@Test
fun compactDevice_selectedEmailEmailRetained_afterConfigChange() {
    val stateRestorationTester = StateRestorationTester(composeTestRule)

    // Set content through the StateRestorationTester object.
    stateRestorationTester.setContent {
        MyApp()
    }

    // Simulate a config change.
    stateRestorationTester.emulateSavedInstanceStateRestore()
}
窗口测试库
窗口测试库包含一些实用程序,可帮助您编写一些测试,这些测试依赖于窗口管理相关功能(例如 activity 嵌入或可折叠设备功能),或用于验证这类功能。该制品可通过 Google 的 Maven 制品库获取。
例如,您可以使用 FoldingFeature() 函数生成自定义 FoldingFeature,该函数可在 Compose 预览中使用。在 Java 中,使用 createFoldingFeature() 函数。
在 Compose 预览中,您可以通过以下方式实现 FoldingFeature:
@Preview(showBackground = true, widthDp = 480, heightDp = 480)
@Composable private fun FoldablePreview() =
    MyApplicationTheme {
        ExampleScreen(
            displayFeatures = listOf(FoldingFeature(Rect(0, 240, 480, 240)))
        )
 }
此外,您还可以在界面测试中使用 TestWindowLayoutInfo() 函数来模拟显示功能。以下示例模拟了屏幕中心有 HALF_OPENED 垂直铰链的 FoldingFeature,然后检查布局是否符合预期:
Compose
import androidx.window.layout.FoldingFeature.Orientation.Companion.VERTICAL
import androidx.window.layout.FoldingFeature.State.Companion.HALF_OPENED
import androidx.window.testing.layout.FoldingFeature
import androidx.window.testing.layout.TestWindowLayoutInfo
import androidx.window.testing.layout.WindowLayoutInfoPublisherRule

@RunWith(AndroidJUnit4::class)
class MediaControlsFoldingFeatureTest {

    @get:Rule(order=1)
    val composeTestRule = createAndroidComposeRule<ComponentActivity>()

    @get:Rule(order=2)
    val windowLayoutInfoPublisherRule = WindowLayoutInfoPublisherRule()

    @Test
    fun foldedWithHinge_foldableUiDisplayed() {
        composeTestRule.setContent {
            MediaPlayerScreen()
        }

        val hinge = FoldingFeature(
            activity = composeTestRule.activity,
            state = HALF_OPENED,
            orientation = VERTICAL,
            size = 2
        )

        val expected = TestWindowLayoutInfo(listOf(hinge))
        windowLayoutInfoPublisherRule.overrideWindowLayoutInfo(expected)

        composeTestRule.waitForIdle()

        // Verify that the folding feature is detected and media controls shown.
        composeTestRule.onNodeWithTag("MEDIA_CONTROLS").assertExists()
    }
}
View
import androidx.window.layout.FoldingFeature.Orientation
import androidx.window.layout.FoldingFeature.State
import androidx.window.testing.layout.FoldingFeature
import androidx.window.testing.layout.TestWindowLayoutInfo
import androidx.window.testing.layout.WindowLayoutInfoPublisherRule

@RunWith(AndroidJUnit4::class)
class MediaControlsFoldingFeatureTest {

    @get:Rule(order=1)
    val activityRule = ActivityScenarioRule(MediaPlayerActivity::class.java)

    @get:Rule(order=2)
    val windowLayoutInfoPublisherRule = WindowLayoutInfoPublisherRule()

    @Test
    fun foldedWithHinge_foldableUiDisplayed() {
        activityRule.scenario.onActivity { activity ->
            val feature = FoldingFeature(
                activity = activity,
                state = State.HALF_OPENED,
                orientation = Orientation.VERTICAL)
            val expected = TestWindowLayoutInfo(listOf(feature))
            windowLayoutInfoPublisherRule.overrideWindowLayoutInfo(expected)
        }

        // Verify that the folding feature is detected and media controls shown.
        onView(withId(R.id.media_controls)).check(matches(isDisplayed()))
    }
}
您可以在 WindowManager 项目中找到更多示例。
其他资源
文档
示例
- WindowManager 示例
- Espresso 设备示例
- Now In Android
- 使用屏幕截图测试来验证不同的屏幕尺寸
Codelab