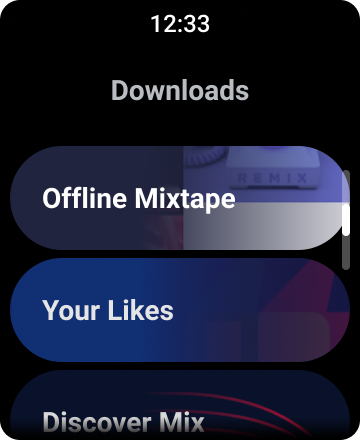
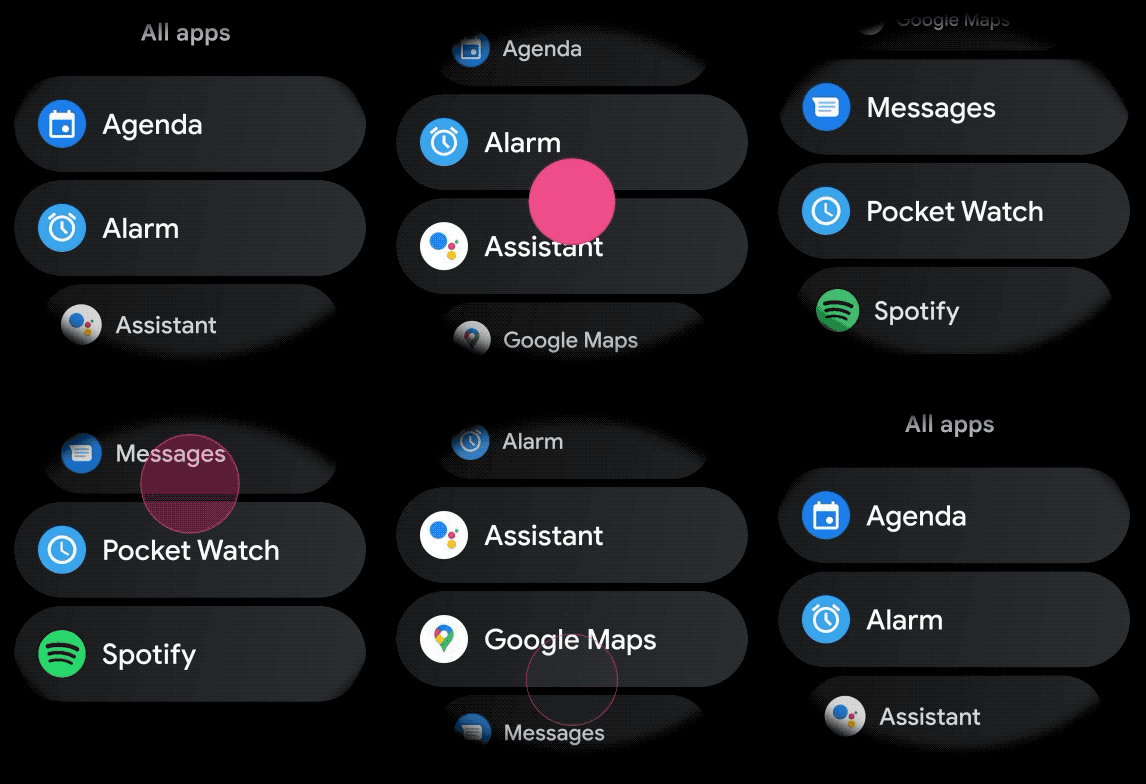
רשימות מאפשרות למשתמשים לבחור פריט בקלות מתוך קבוצת אפשרויות במכשירי Wear OS.
ספריית ממשק המשתמש של מכשירים לבישים כוללת את הכיתה
WearableRecyclerView, שהיא הטמעה של RecyclerView ליצירת רשימות שמותאמות למכשירים לבישים. כדי להשתמש בממשק הזה באפליקציה ללבוש חכם, צריך ליצור קונטיינר חדש של WearableRecyclerView.
משתמשים ב-WearableRecyclerView לרשימת פריטים פשוטה ארוכה, כמו מרכז האפליקציות או רשימת אנשי קשר. לכל פריט יכול להיות מחרוזת קצרה וסמל משויך. לחלופין, לכל פריט יכול להיות רק מחרוזת או סמל.
הערה: מומלץ להימנע מפריסות מורכבות. המשתמשים צריכים להבין מהו הפריט רק במבט חטוף, במיוחד במכשירי לבישה עם מסך מוגבל.
על ידי הרחבת הכיתה הקיימת RecyclerView, ממשקי ה-API של WearableRecyclerView מציגים כברירת מחדל רשימה של פריטים שאפשר לגלול בהם אנכית ברשימה ישרה. אפשר גם להשתמש בממשקי ה-API של WearableRecyclerView כדי להביע הסכמה לשימוש בפריסה מעוגלת ובתנועת גלילה עגולה באפליקציות ללבוש חכם.

איור 1. תצוגת ברירת המחדל של רשימה ב-Wear OS.
במדריך הזה מוסבר איך להשתמש בכיתה WearableRecyclerView כדי ליצור רשימות באפליקציות ל-Wear OS, איך להביע הסכמה לפריסה מעוגלת של הפריטים שאפשר לגלול בהם ואיך להתאים אישית את המראה של הפריטים המשניים בזמן הגלילה.
הוספת WearableRecyclerView לפעילות באמצעות XML
בפריסת הקוד הבאה מתווסף WearableRecyclerView לפעילות:
<androidx.wear.widget.WearableRecyclerView
    xmlns:android="http://schemas.android.com/apk/res/android"
    xmlns:tools="http://schemas.android.com/tools"
    android:id="@+id/recycler_launcher_view"
    android:layout_width="match_parent"
    android:layout_height="match_parent"
    android:scrollbars="vertical" />
בדוגמה הבאה מוצגת הפונקציה WearableRecyclerView שחלה על פעילות:
Kotlin
class MainActivity : Activity() {

    override fun onCreate(savedInstanceState: Bundle?) {
        super.onCreate(savedInstanceState)
        setContentView(R.layout.activity_main)
    }
    ...
}
Java
public class MainActivity extends Activity {
    @Override
    public void onCreate(Bundle savedInstanceState) {
        super.onCreate(savedInstanceState);
        setContentView(R.layout.activity_main);
    }
    ...
}
יצירת פריסה מעוקלת

כדי ליצור פריסה מעוגלת לפריטים שאפשר לגלול בהם באפליקציה ללבוש חכם:
-
משתמשים ב-
WearableRecyclerViewבתור המאגר הראשי בפריסה הרלוונטית של ה-XML. -
מגדירים את השיטה
setEdgeItemsCenteringEnabled(boolean)לערךtrue. כך הפריטים הראשון והאחרון ברשימה מוצגים במרכז המסך באופן אנכי. -
משתמשים בשיטה
WearableRecyclerView.setLayoutManager()כדי להגדיר את הפריסה של הפריטים במסך.
Kotlin
wearableRecyclerView.apply {
    // To align the edge children (first and last) with the center of the screen.
    isEdgeItemsCenteringEnabled = true
    ...
    layoutManager = WearableLinearLayoutManager(this@MainActivity)
}
Java
// To align the edge children (first and last) with the center of the screen.
wearableRecyclerView.setEdgeItemsCenteringEnabled(true);
...
wearableRecyclerView.setLayoutManager(
                new WearableLinearLayoutManager(this));
אם יש לאפליקציה שלכם דרישות ספציפיות להתאמה אישית של המראה של הצאצאים בזמן הגלילה – לדוגמה, שינוי קנה המידה של הסמלים והטקסט בזמן שהפריטים גוללים מהמרכז – תוכלו להרחיב את הכיתה
WearableLinearLayoutManager.LayoutCallback ולשנות את השיטה
onLayoutFinished.
בקטעי הקוד הבאים מוצגת דוגמה להתאמה אישית של גלילה של פריטים כדי לשנות את קנה המידה שלהם כך שירחיקו מהמרכז, על ידי הרחבת הכיתה WearableLinearLayoutManager.LayoutCallback:
Kotlin
/** How much icons should scale, at most.  */
private const val MAX_ICON_PROGRESS = 0.65f

class CustomScrollingLayoutCallback : WearableLinearLayoutManager.LayoutCallback() {

    private var progressToCenter: Float = 0f

    override fun onLayoutFinished(child: View, parent: RecyclerView) {
        child.apply {
            // Figure out % progress from top to bottom.
            val centerOffset = height.toFloat() / 2.0f / parent.height.toFloat()
            val yRelativeToCenterOffset = y / parent.height + centerOffset

            // Normalize for center.
            progressToCenter = Math.abs(0.5f - yRelativeToCenterOffset)
            // Adjust to the maximum scale.
            progressToCenter = Math.min(progressToCenter, MAX_ICON_PROGRESS)

            scaleX = 1 - progressToCenter
            scaleY = 1 - progressToCenter
        }
    }
}
Java
public class CustomScrollingLayoutCallback extends WearableLinearLayoutManager.LayoutCallback {
    /** How much icons should scale, at most. */
    private static final float MAX_ICON_PROGRESS = 0.65f;

    private float progressToCenter;

    @Override
    public void onLayoutFinished(View child, RecyclerView parent) {

        // Figure out % progress from top to bottom.
        float centerOffset = ((float) child.getHeight() / 2.0f) / (float) parent.getHeight();
        float yRelativeToCenterOffset = (child.getY() / parent.getHeight()) + centerOffset;

        // Normalize for center.
        progressToCenter = Math.abs(0.5f - yRelativeToCenterOffset);
        // Adjust to the maximum scale.
        progressToCenter = Math.min(progressToCenter, MAX_ICON_PROGRESS);

        child.setScaleX(1 - progressToCenter);
        child.setScaleY(1 - progressToCenter);
    }
}
Kotlin
wearableRecyclerView.layoutManager =
        WearableLinearLayoutManager(this, CustomScrollingLayoutCallback())
Java
CustomScrollingLayoutCallback customScrollingLayoutCallback =
                new CustomScrollingLayoutCallback();
wearableRecyclerView.setLayoutManager(
                new WearableLinearLayoutManager(this, customScrollingLayoutCallback));

