Zadbaj o dobrą organizację dzięki kolekcji
Zapisuj i kategoryzuj treści zgodnie ze swoimi preferencjami.
Na wielu urządzeniach z Androidem możesz zrobić zrzut ekranu, naciskając jednocześnie przyciski zasilania i zmniejszania głośności. Aby zapisać zrzut ekranu bezpośrednio na stacji roboczej, możesz zrobić zrzut ekranu w Android Studio.
Aby zrobić zrzut ekranu w Android Studio, wykonaj te czynności:
Uruchom aplikację na połączonym urządzeniu lub w emulatorze. Jeśli używasz podłączonego urządzenia, sprawdź, czy debugowanie USB jest włączone.
W Android Studio wybierz Widok > Okna narzędzi > Logcat, aby otworzyć aplikację Logcat.
Wybierz urządzenie i proces z menu u góry okna.
Kliknij Zrzut ekranu po lewej stronie okna.
Zrzut ekranu pojawi się w oknie edytora zrzutów ekranu.
Wskazówka: w Androidzie 7.0 i nowszych możesz zresetować pasek stanu, aby tymczasowo usunąć powiadomienia oraz ustawić pełny poziom sygnału i baterii. Aby to zrobić, otwórz Ustawienia i wybierz Opcje programisty > Tryb demonstracyjny. Włącz Pokaż tryb demonstracyjny. Więcej informacji znajdziesz w artykule o konfigurowaniu opcji dla programistów na urządzeniu.
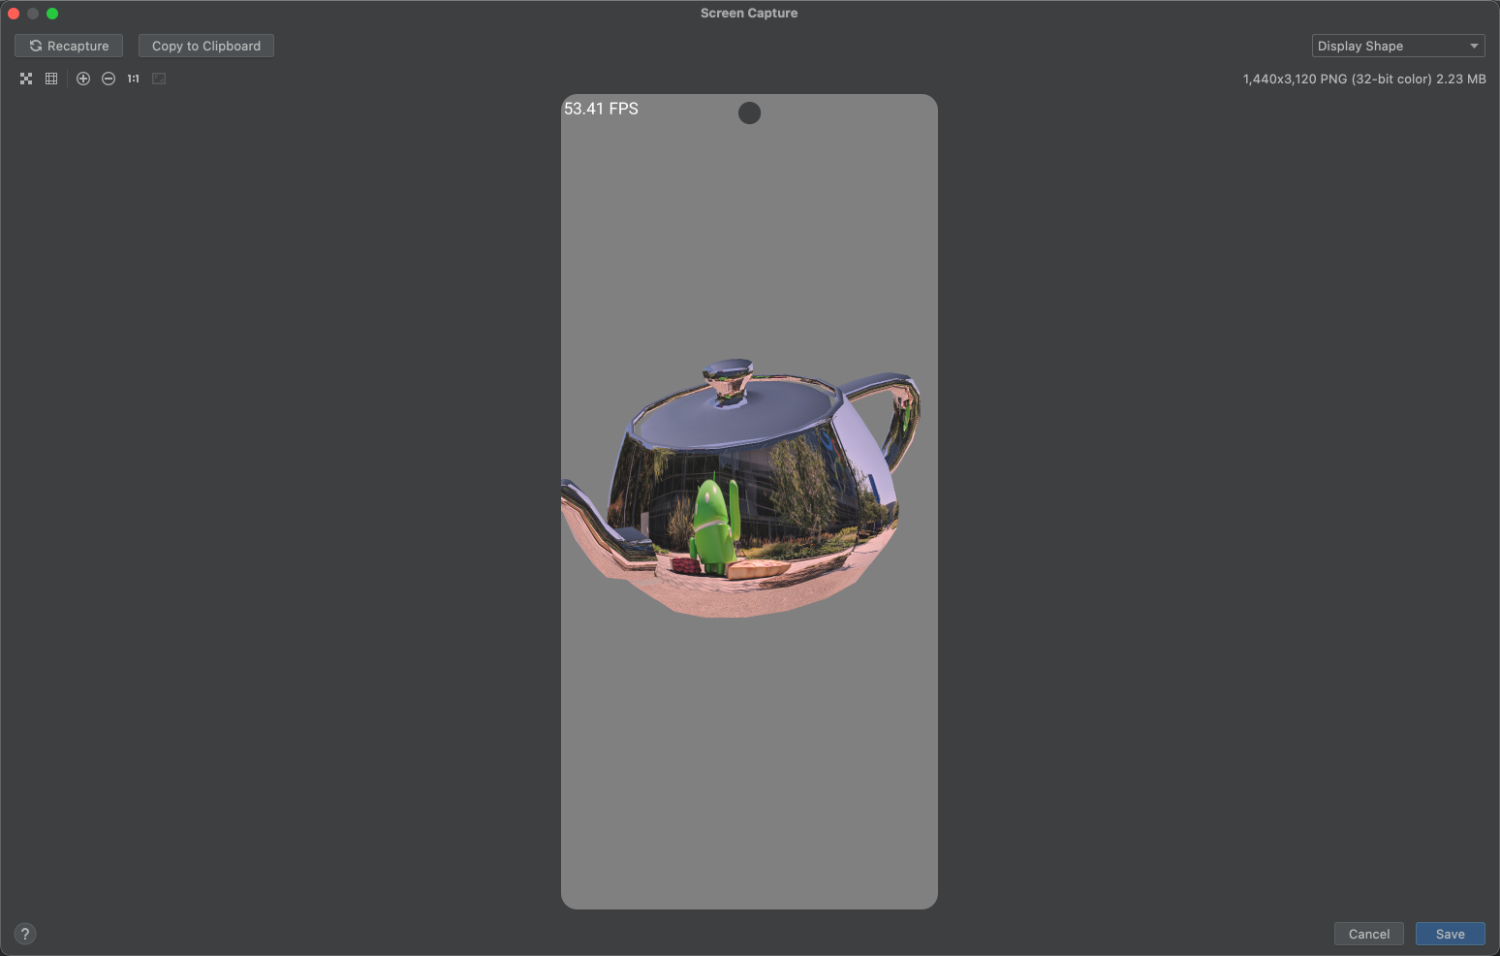
Rysunek 1. Edytor zrzutów ekranu w Android Studio.
(Opcjonalnie) Zmień obraz, korzystając z tych opcji:
Podsumowanie: zrób nowy zrzut ekranu.
Obróć w lewo: obróć zdjęcie o 90 stopni w lewo.
Obróć w prawo: obróć zdjęcie o 90 stopni w prawo.
Zrzut ekranu z ramką: wybierz urządzenie, na którym chcesz zapakować zrzut ekranu w postaci prawdziwej grafiki.
Uwaga: jeśli wybierzesz urządzenie, na którym zostanie umieszczona ramka zrzutu ekranu, inna niż zarejestrowane urządzenie, edytor rozciągnie obraz, aby pasował do wymiarów ramki urządzenia. Zamiast tego możesz skorzystać z generatora grafiki urządzeń online, który oferuje ramki na popularne urządzenia.
Kliknij Zapisz.
Podaj lokalizację i nazwę pliku, a następnie kliknij OK.
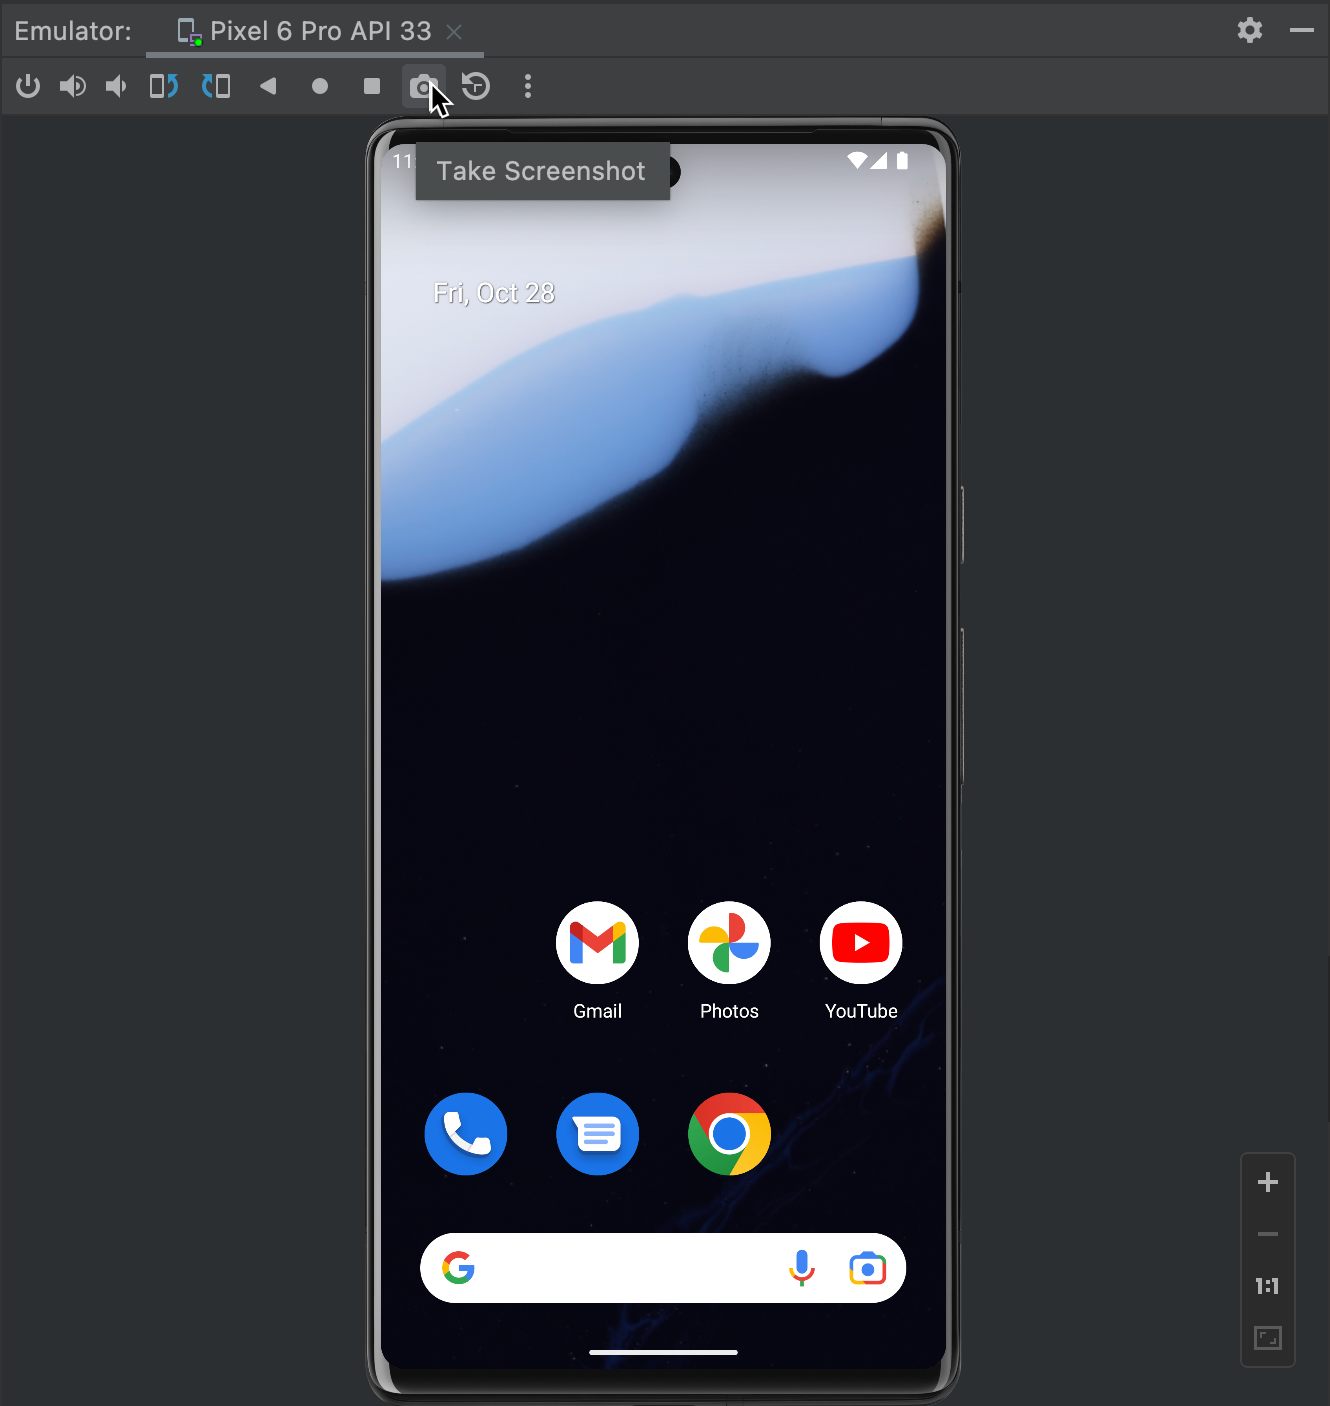
Robienie zrzutu ekranu z emulatora
Jeśli używasz emulatora, możesz zrobić zrzut ekranu w oknie emulatora, klikając przycisk Zrób zrzut ekranu, jak pokazano na rysunku 2:
<figure">
Rysunek 2. Zrób zrzut ekranu z okna emulatora.
</figure">
Treść strony i umieszczone na niej fragmenty kodu podlegają licencjom opisanym w Licencji na treści. Java i OpenJDK są znakami towarowymi lub zastrzeżonymi znakami towarowymi należącymi do firmy Oracle lub jej podmiotów stowarzyszonych.
Ostatnia aktualizacja: 2024-04-02 UTC.
[null,null,["Ostatnia aktualizacja: 2024-04-02 UTC."],[],[],null,["# Take a screenshot\n\nOn many Android devices, you can capture a screenshot by pressing the Power and Volume-down buttons\non the device simultaneously. To save a screenshot directly to your workstation, you can\ncapture the screenshot using Android Studio.\n\nTo capture a screenshot with Android Studio, follow these steps:\n\n1. Run your app on a connected device or emulator. If using a connected device, be sure you have [enabled USB debugging](/studio/run/device#setting-up).\n2. In Android Studio, select **View \\\u003e Tool Windows \\\u003e Logcat** to open [Logcat](/studio/debug/am-logcat).\n3. Select the device and a process from the menus at the top of the window.\n4. Click **Screen Capture** on the left side of the window.\n\n The screenshot appears in a **Screenshot Editor** window.\n\n **Tip:** On Android 7.0 and higher, you can reset the status bar to\n temporarily remove notifications and set the signal and battery levels to full. To do\n so, open Settings and select **Developer options \\\u003e Demo mode** . Enable\n **Show demo mode** . For more information, see\n [Configure on-device\n developer options](/studio/debug/dev-options).\n **Figure 1.** Screenshot editor in Android Studio.\n5. (Optional) Change the image with the following options:\n - **Recapture**: Take a new screenshot.\n - **Rotate Left**: Rotate the image 90 degrees counter-clockwise.\n - **Rotate Right**: Rotate the image 90 degrees clockwise.\n - **Frame Screenshot** : Choose a device to wrap your screenshot with real device artwork.\n\n **Note:** If\n you select a device for the screenshot frame that differs from the\n actual device you captured, the editor stretches your image to match the\n dimensions of the device frame. You instead might want to use the online\n [Device art\n generator](/distribute/tools/promote/device-art) that offers device frames for popular devices.\n6. Click **Save**.\n7. Specify the location and filename, and then click **OK**.\n\nTake a screenshot from the emulator\n-----------------------------------\n\n\nIf you are using the emulator, you can take a screenshot from the emulator window by clicking the\n**Take Screenshot** button, as shown in figure 2:\n**Figure 2.** Take a screenshot from the emulator window."]]