
Agar notifikasi Anda terlihat sebaik mungkin di berbagai versi Android, gunakan notifikasi standar template untuk membuat notifikasi. Jika Anda ingin memberikan lebih banyak konten dalam notifikasi, pertimbangkan untuk menggunakan salah satu notifikasi yang dapat diperluas template.
Namun, jika template sistem tidak memenuhi kebutuhan Anda, Anda dapat menggunakan template untuk notifikasi.
Membuat tata letak kustom untuk area konten
Jika memerlukan tata letak khusus, Anda dapat menerapkan
NotificationCompat.DecoratedCustomViewStyle
pada notifikasi Anda. API ini memungkinkan Anda menyediakan tata letak kustom untuk konten
area yang biasanya ditempati oleh judul dan konten teks, dengan tetap menggunakan
dekorasi untuk ikon notifikasi, stempel waktu, sub-teks, dan tombol tindakan.
API ini bekerja mirip dengan template notifikasi yang dapat diperluas dengan membuat notifikasi dasar sebagai berikut:
- Membuat notifikasi dasar
dengan
NotificationCompat.Builder - Telepon
setStyle(), meneruskan instanceNotificationCompat.DecoratedCustomViewStyle. - Meng-inflate tata letak kustom Anda sebagai instance
RemoteViews - Telepon
setCustomContentView()untuk menyetel tata letak notifikasi yang diciutkan. - Atau, panggil juga
setCustomBigContentView()untuk menyetel tata letak yang berbeda bagi notifikasi yang diperluas.
Menyiapkan tata letak
Anda memerlukan tata letak small dan large. Untuk contoh ini, tata letak small
akan terlihat seperti ini:
<?xml version="1.0" encoding="utf-8"?>
<LinearLayout xmlns:android="http://schemas.android.com/apk/res/android"
    android:layout_width="match_parent"
    android:layout_height="wrap_content"
    android:orientation="vertical">

    <TextView
        android:id="@+id/notification_title"
        style="@style/TextAppearance.Compat.Notification.Title"
        android:layout_width="wrap_content"
        android:layout_height="0dp"
        android:layout_weight="1"
        android:text="Small notification, showing only a title" />
</LinearLayout>
Dan tata letak large mungkin terlihat seperti ini:
<?xml version="1.0" encoding="utf-8"?>
<LinearLayout xmlns:android="http://schemas.android.com/apk/res/android"
    android:layout_width="match_parent"
    android:layout_height="300dp"
    android:orientation="vertical">

    <TextView
        android:id="@+id/notification_title"
        style="@style/TextAppearance.Compat.Notification.Title"
        android:layout_width="wrap_content"
        android:layout_height="wrap_content"
        android:layout_weight="1"
        android:text="Large notification, showing a title and a body." />

    <TextView
        android:id="@+id/notification_body"
        style="@style/TextAppearance.Compat.Notification.Line2"
        android:layout_width="wrap_content"
        android:layout_height="wrap_content"
        android:layout_weight="1"
        android:text="This is the body. The height is manually forced to 300dp." />
</LinearLayout>
Membuat dan menampilkan notifikasi
Setelah tata letak siap, Anda dapat menggunakannya seperti yang ditunjukkan pada contoh berikut:
Kotlin
val notificationManager = getSystemService(Context.NOTIFICATION_SERVICE) as NotificationManager

// Get the layouts to use in the custom notification.
val notificationLayout = RemoteViews(packageName, R.layout.notification_small)
val notificationLayoutExpanded = RemoteViews(packageName, R.layout.notification_large)

// Apply the layouts to the notification.
val customNotification = NotificationCompat.Builder(context, CHANNEL_ID)
        .setSmallIcon(R.drawable.notification_icon)
        .setStyle(NotificationCompat.DecoratedCustomViewStyle())
        .setCustomContentView(notificationLayout)
        .setCustomBigContentView(notificationLayoutExpanded)
        .build()

notificationManager.notify(666, customNotification)
Java
NotificationManager notificationManager = (NotificationManager) getSystemService(Context.NOTIFICATION_SERVICE);

// Get the layouts to use in the custom notification
RemoteViews notificationLayout = new RemoteViews(getPackageName(), R.layout.notification_small);
RemoteViews notificationLayoutExpanded = new RemoteViews(getPackageName(), R.layout.notification_large);

// Apply the layouts to the notification.
Notification customNotification = new NotificationCompat.Builder(context, CHANNEL_ID)
        .setSmallIcon(R.drawable.notification_icon)
        .setStyle(new NotificationCompat.DecoratedCustomViewStyle())
        .setCustomContentView(notificationLayout)
        .setCustomBigContentView(notificationLayoutExpanded)
        .build();

notificationManager.notify(666, customNotification);
Perlu diketahui bahwa warna latar belakang notifikasi dapat bervariasi di berbagai perangkat.
dan versi. Menerapkan gaya Support Library seperti
TextAppearance_Compat_Notification untuk teks dan
TextAppearance_Compat_Notification_Title untuk judul di tata letak kustom,
seperti yang ditunjukkan dalam contoh berikut. Gaya-gaya ini beradaptasi
dengan variasi warna sehingga
Anda tidak akan mendapatkan teks
hitam di atas hitam atau putih di atas putih.
<TextView
    android:layout_width="wrap_content"
    android:layout_height="match_parent"
    android:layout_weight="1"
    android:text="@string/notification_title"
    android:id="@+id/notification_title"
    style="@style/TextAppearance.Compat.Notification.Title" />
Hindari menyetel gambar latar pada objek RemoteViews, karena teks Anda
mungkin menjadi tidak dapat dibaca.
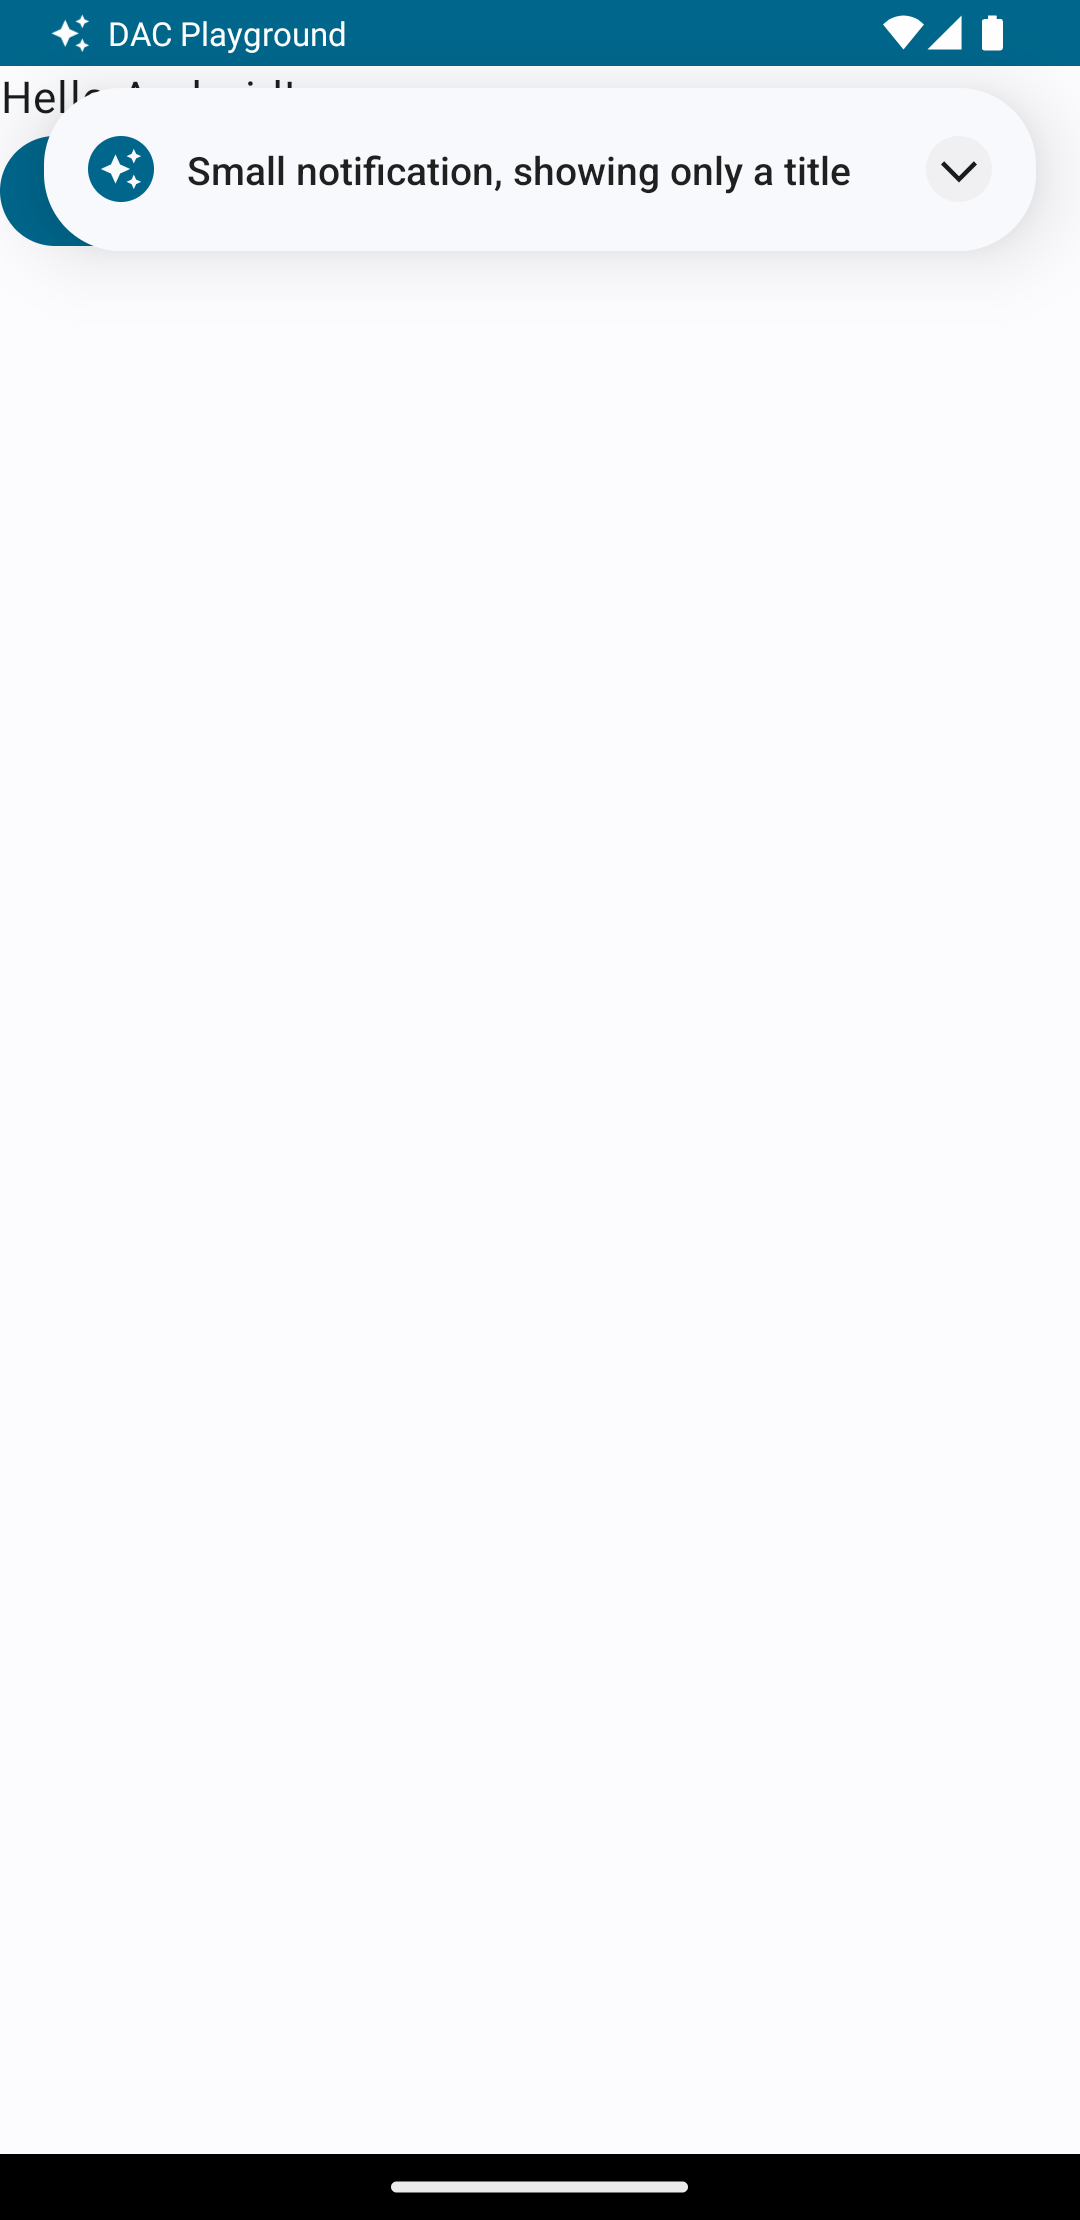
Saat Anda memicu notifikasi saat pengguna menggunakan aplikasi, hasilnya adalah mirip dengan gambar 1:
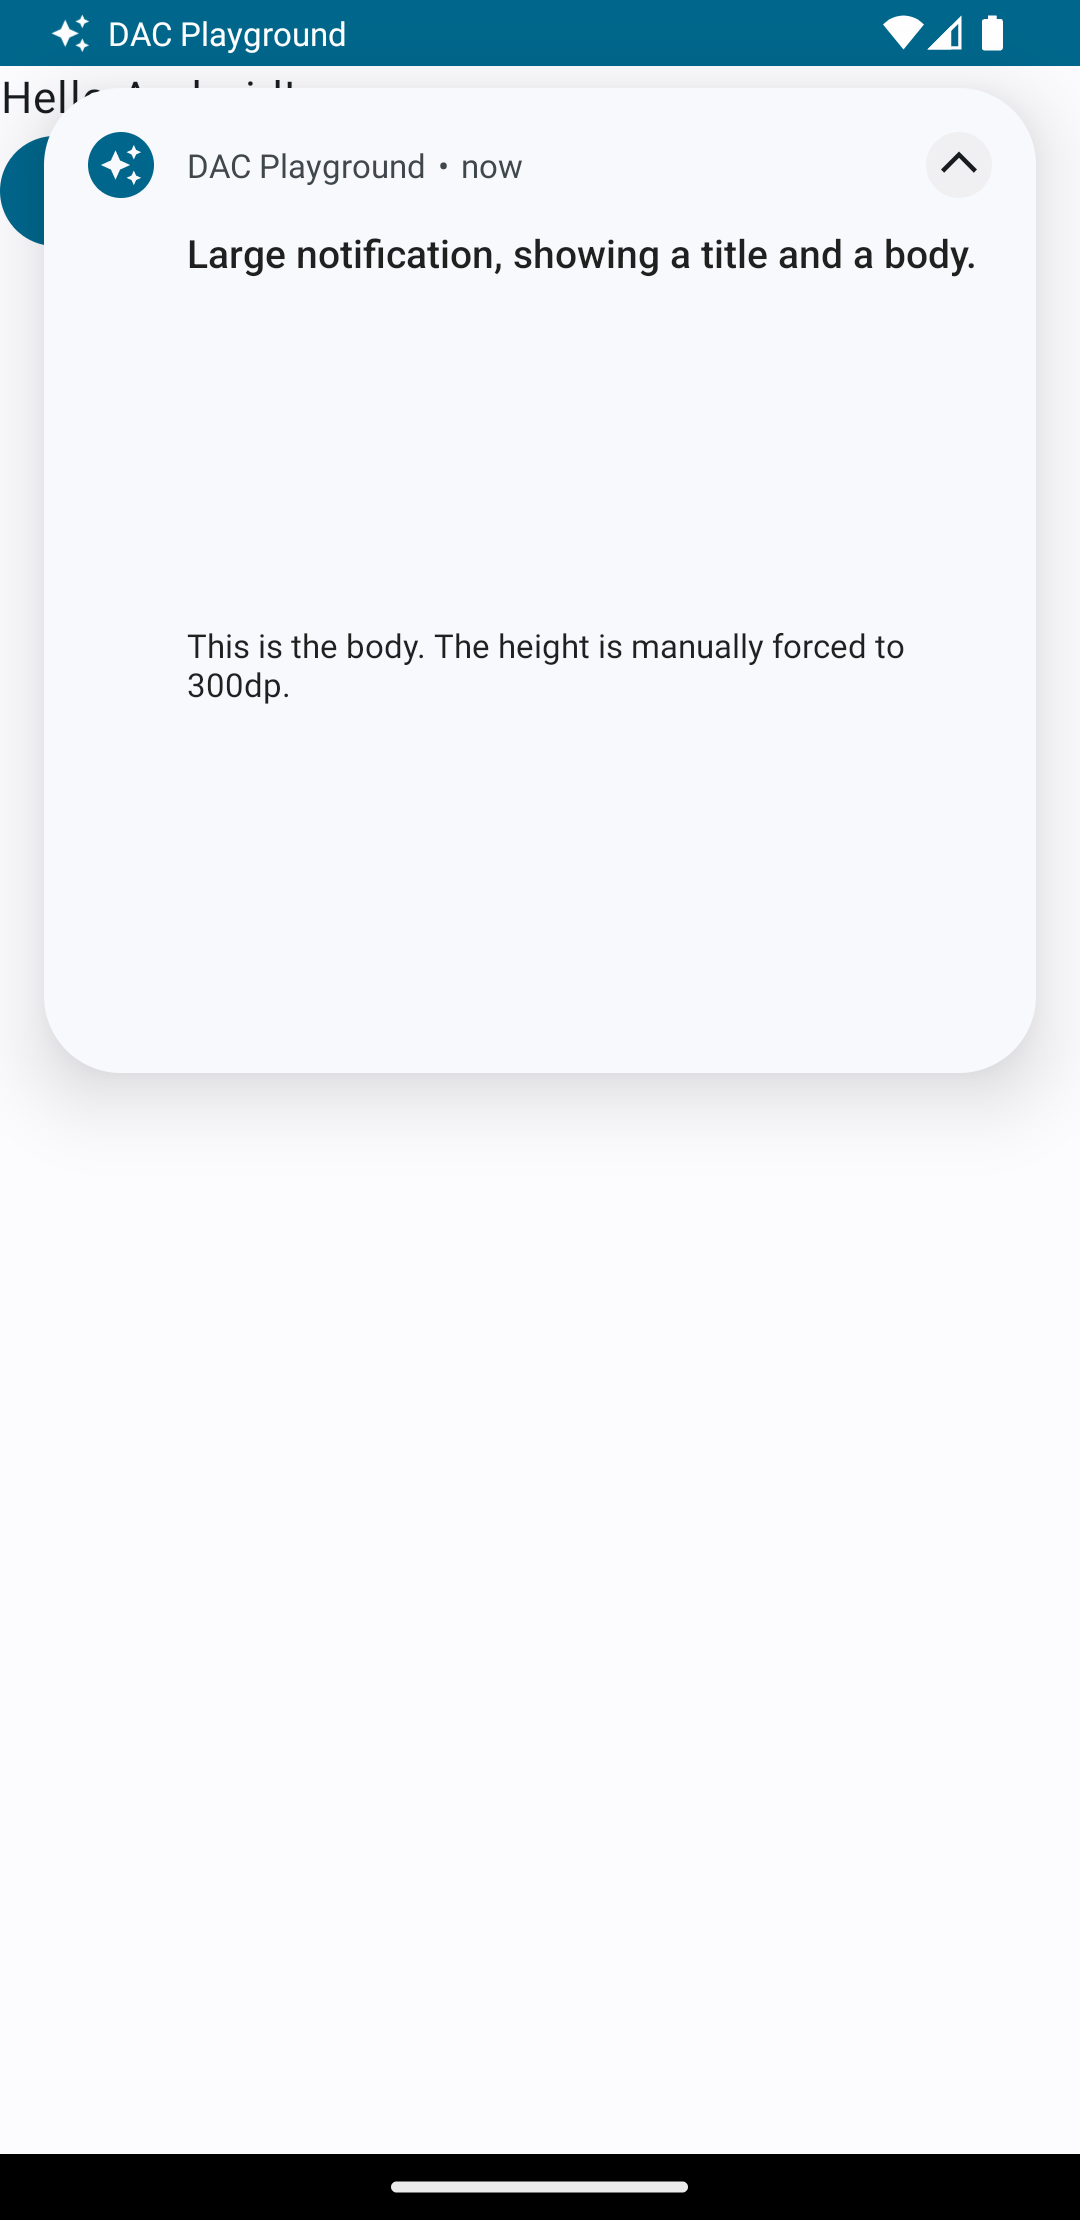
Mengetuk panah luaskan akan memperluas notifikasi, seperti yang ditunjukkan pada gambar 2:
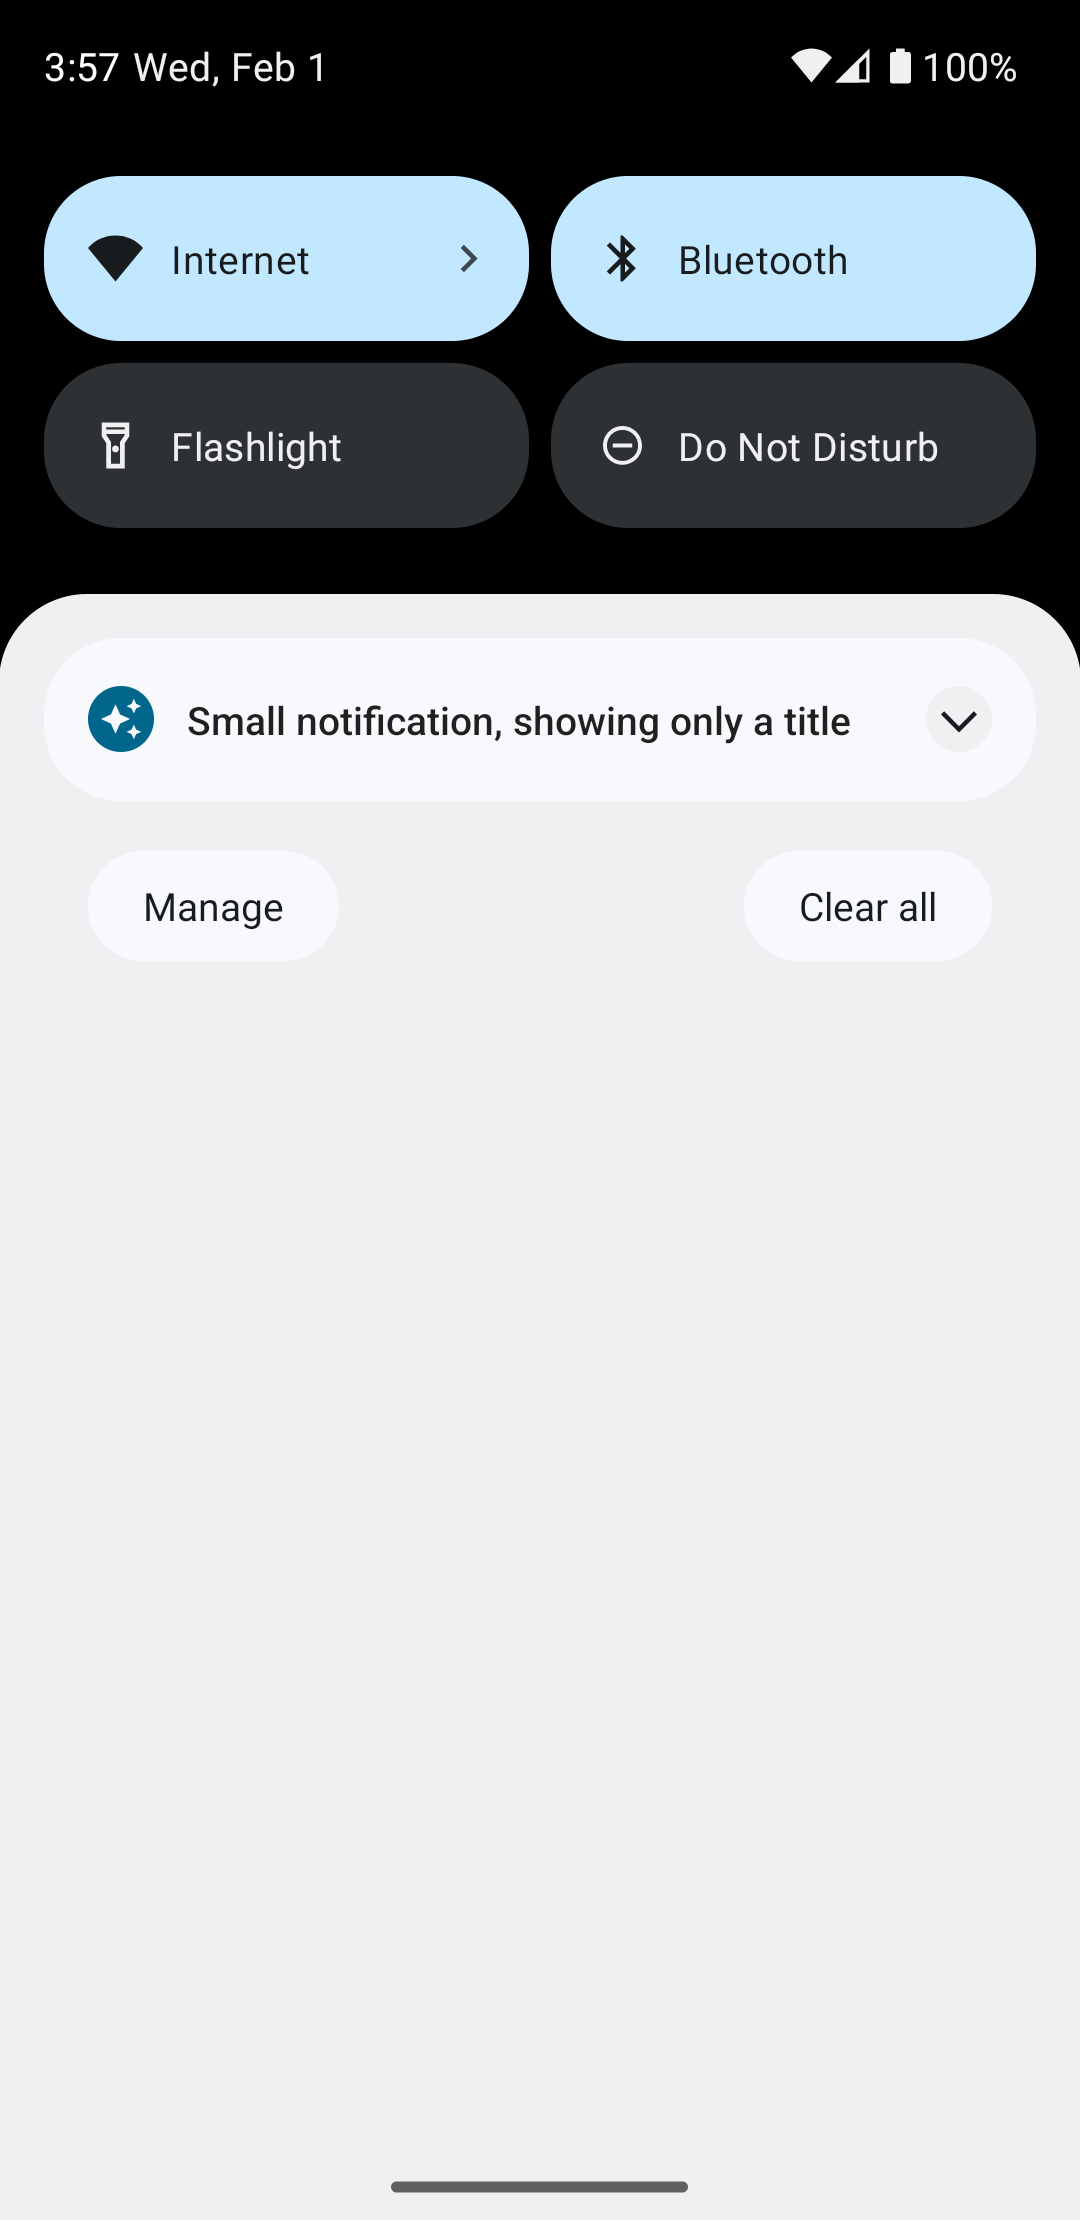
Setelah waktu tunggu notifikasi habis, notifikasi hanya akan terlihat di kolom sistem, yang terlihat seperti gambar 3:
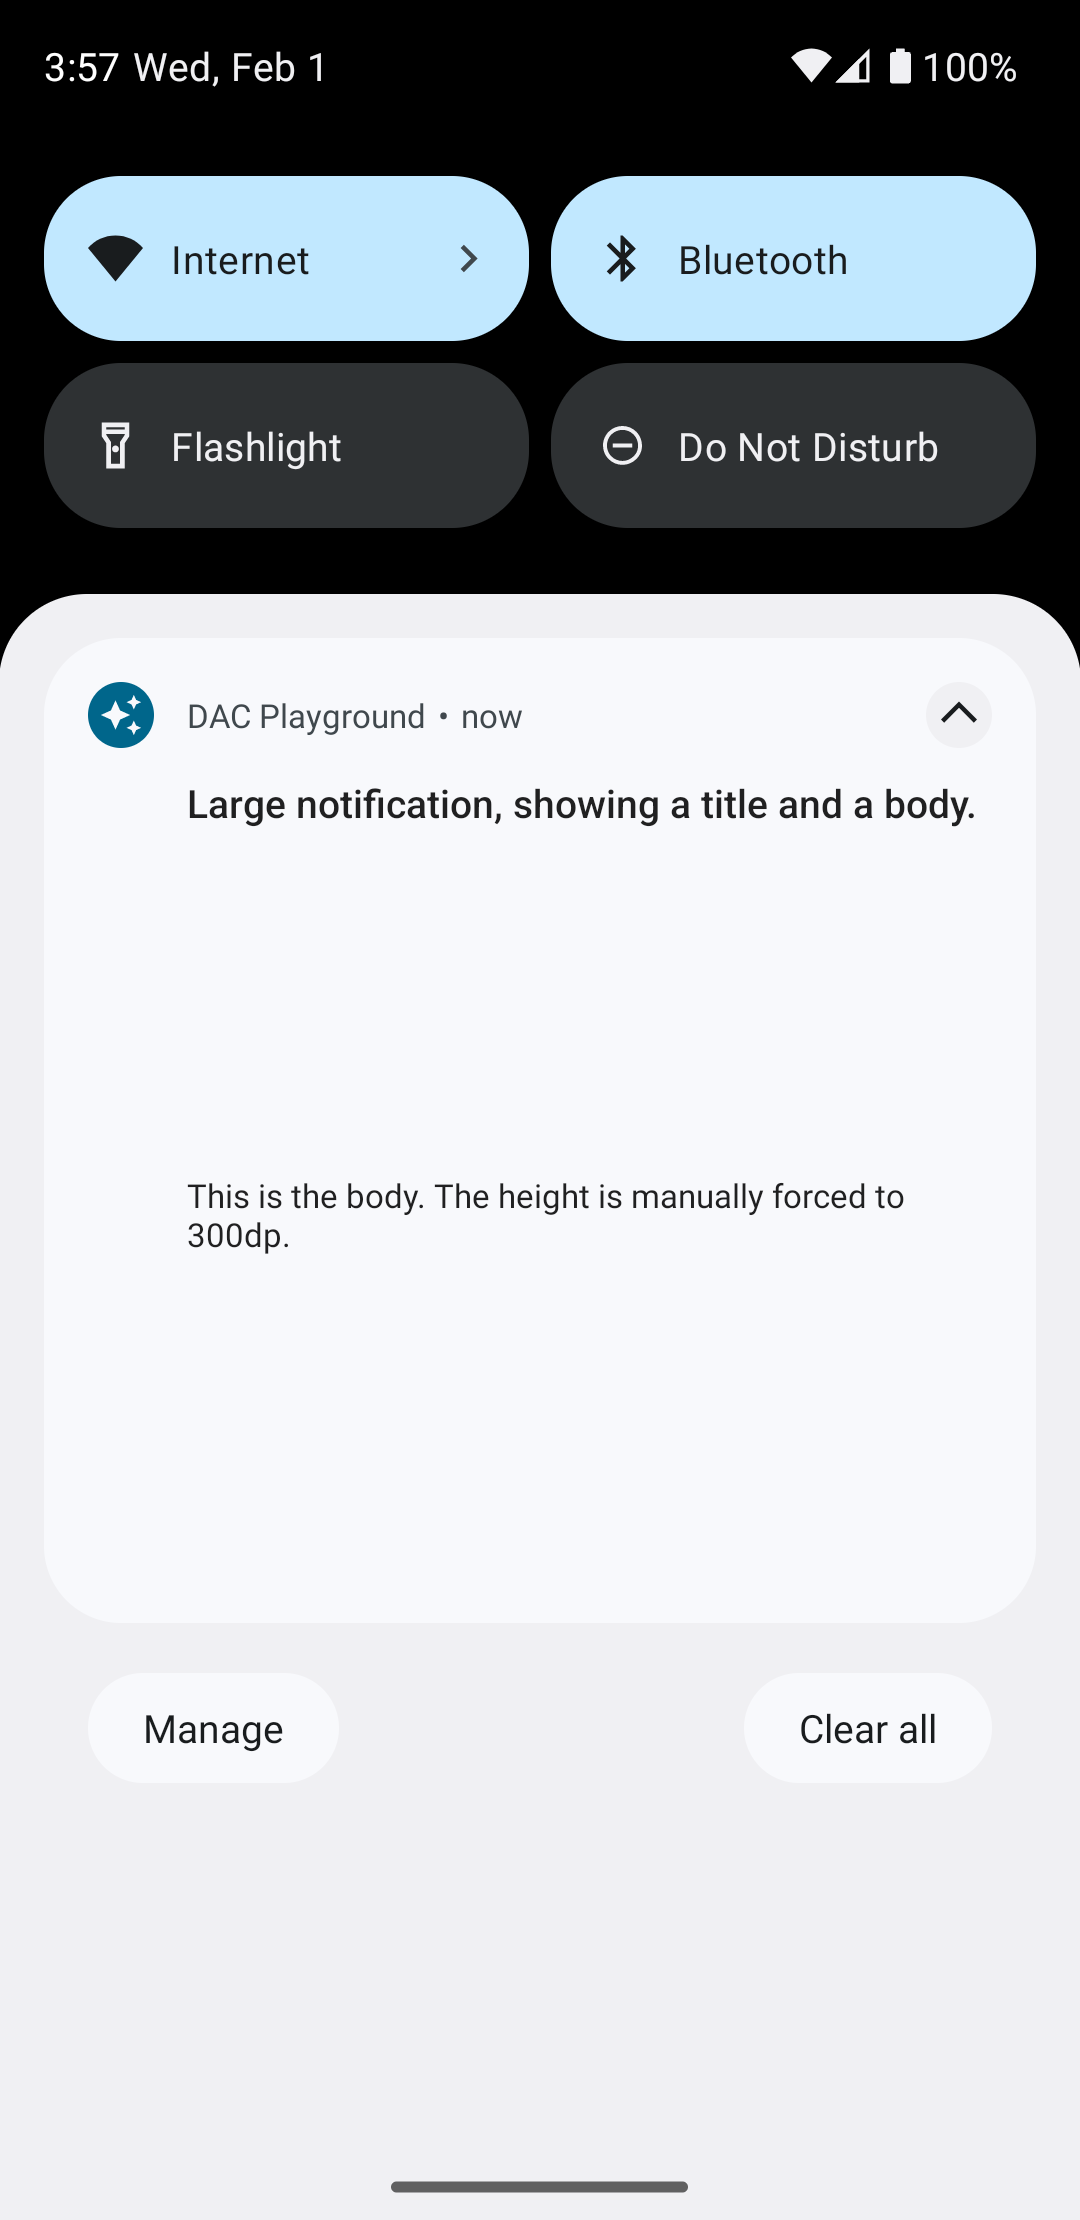
Mengetuk panah luaskan akan memperluas notifikasi, seperti yang ditunjukkan pada gambar 4:
Membuat tata letak notifikasi yang sepenuhnya kustom
Jika Anda tidak ingin notifikasi Anda dihiasi dengan notifikasi standar
ikon dan header, ikuti langkah sebelumnya, tetapi jangan memanggil setStyle().