
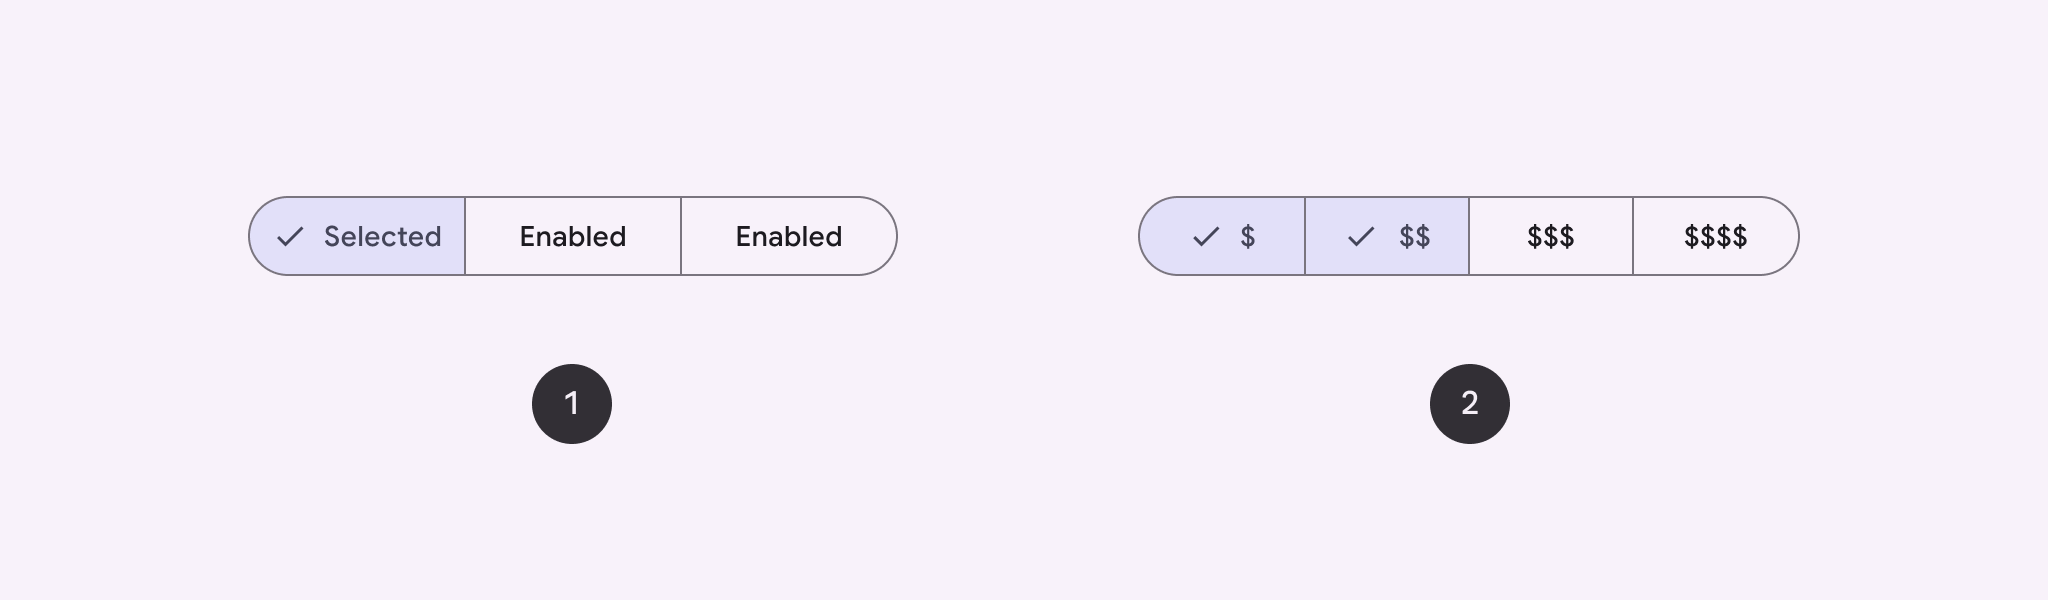
使用區隔按鈕,讓使用者從並列的一組選項中選擇。 區隔按鈕分為兩種類型:
- 單選按鈕:可讓使用者選擇一個選項。
- 多選按鈕:可讓使用者選擇兩到五個項目。如要提供更複雜的選項,或超過五個項目,請使用動態磚。
API 介面
使用 SingleChoiceSegmentedButtonRow 和 MultiChoiceSegmentedButtonRow 版面配置建立區隔按鈕。這些版面配置會正確放置 SegmentedButton 大小,並分享下列重要參數:
space:調整按鈕之間的重疊程度。content:包含區隔按鈕列的內容,通常是SegmentedButton的序列。
建立單選區隔按鈕
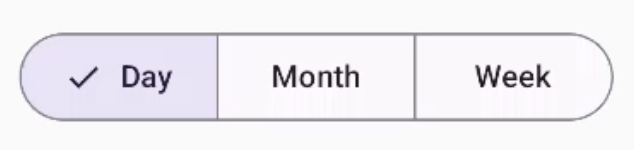
以下範例說明如何建立單選區隔按鈕:
@Composable fun SingleChoiceSegmentedButton(modifier: Modifier = Modifier) { var selectedIndex by remember { mutableIntStateOf(0) } val options = listOf("Day", "Month", "Week") SingleChoiceSegmentedButtonRow { options.forEachIndexed { index, label -> SegmentedButton( shape = SegmentedButtonDefaults.itemShape( index = index, count = options.size ), onClick = { selectedIndex = index }, selected = index == selectedIndex, label = { Text(label) } ) } } }
程式碼重點
- 使用
remember和mutableIntStateOf初始化selectedIndex變數,追蹤所選按鈕的索引。 - 定義代表按鈕標籤的
options清單。 SingleChoiceSegmentedButtonRow只能選取一個按鈕。- 在
forEachIndexed迴圈中,為每個選項建立SegmentedButton:shape會根據按鈕的索引和使用SegmentedButtonDefaults.itemShape的選項總數,定義按鈕的形狀。onClick會以所點選按鈕的索引更新selectedIndex。selected會根據selectedIndex設定按鈕的選取狀態。label會使用Text可組合函式顯示按鈕標籤。
結果
建立多選區隔按鈕
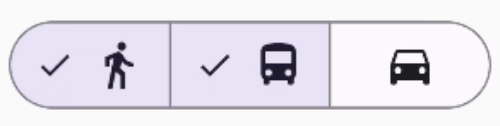
這個範例說明如何建立含有圖示的多選區隔按鈕,讓使用者選取多個選項:
@Composable fun MultiChoiceSegmentedButton(modifier: Modifier = Modifier) { val selectedOptions = remember { mutableStateListOf(false, false, false) } val options = listOf("Walk", "Ride", "Drive") MultiChoiceSegmentedButtonRow { options.forEachIndexed { index, label -> SegmentedButton( shape = SegmentedButtonDefaults.itemShape( index = index, count = options.size ), checked = selectedOptions[index], onCheckedChange = { selectedOptions[index] = !selectedOptions[index] }, icon = { SegmentedButtonDefaults.Icon(selectedOptions[index]) }, label = { when (label) { "Walk" -> Icon( imageVector = Icons.AutoMirrored.Filled.DirectionsWalk, contentDescription = "Directions Walk" ) "Ride" -> Icon( imageVector = Icons.Default.DirectionsBus, contentDescription = "Directions Bus" ) "Drive" -> Icon( imageVector = Icons.Default.DirectionsCar, contentDescription = "Directions Car" ) } } ) } } }
程式碼重點
- 程式碼會使用
remember和mutableStateListOf初始化selectedOptions變數。這會追蹤每個按鈕的選取狀態。 - 程式碼會使用
MultiChoiceSegmentedButtonRow包含按鈕。 - 在
forEachIndexed迴圈中,程式碼會為每個選項建立SegmentedButton:shape:根據按鈕的索引和選項總數定義按鈕形狀。checked會根據selectedOptions中的對應值,設定按鈕的勾選狀態。- 按一下按鈕時,
onCheckedChange會切換selectedOptions中對應項目的選取狀態。 icon會根據SegmentedButtonDefaults.Icon和按鈕的勾選狀態顯示圖示。label會使用適當的圖片向量和內容說明,透過Icon可組合函式顯示對應標籤的圖示。
結果
其他資源
- 材質 3:區隔按鈕