Чтобы ваши уведомления выглядели наилучшим образом в разных версиях Android, используйте стандартный шаблон уведомлений для создания уведомлений. Если вы хотите предоставить больше контента в своем уведомлении, рассмотрите возможность использования одного из расширяемых шаблонов уведомлений .
Однако если системные шаблоны не соответствуют вашим потребностям, вы можете использовать собственный макет уведомления.
Создайте собственный макет для области содержимого.
Если вам нужен собственный макет, вы можете применить NotificationCompat.DecoratedCustomViewStyle к своему уведомлению. Этот API позволяет вам предоставить собственный макет для области содержимого, обычно занимаемой заголовком и текстовым содержимым, при этом используя системные украшения для значка уведомления, метки времени, подтекста и кнопок действий.
Этот API работает аналогично расширяемым шаблонам уведомлений , опираясь на базовый макет уведомлений следующим образом:
- Создайте базовое уведомление с помощью
NotificationCompat.Builder. - Вызовите
setStyle(), передав ему экземплярNotificationCompat.DecoratedCustomViewStyle. - Разверните свой собственный макет как экземпляр
RemoteViews. - Вызовите
setCustomContentView(), чтобы установить макет свернутого уведомления. - При желании также вызовите
setCustomBigContentView()чтобы установить другой макет для расширенного уведомления.
Подготовьте макеты
Вам нужен small и large макет. В этом примере small макет может выглядеть так:
<?xml version="1.0" encoding="utf-8"?>
<LinearLayout xmlns:android="http://schemas.android.com/apk/res/android"
    android:layout_width="match_parent"
    android:layout_height="wrap_content"
    android:orientation="vertical">

    <TextView
        android:id="@+id/notification_title"
        style="@style/TextAppearance.Compat.Notification.Title"
        android:layout_width="wrap_content"
        android:layout_height="0dp"
        android:layout_weight="1"
        android:text="Small notification, showing only a title" />
</LinearLayout>
А large макет может выглядеть так:
<?xml version="1.0" encoding="utf-8"?>
<LinearLayout xmlns:android="http://schemas.android.com/apk/res/android"
    android:layout_width="match_parent"
    android:layout_height="300dp"
    android:orientation="vertical">

    <TextView
        android:id="@+id/notification_title"
        style="@style/TextAppearance.Compat.Notification.Title"
        android:layout_width="wrap_content"
        android:layout_height="wrap_content"
        android:layout_weight="1"
        android:text="Large notification, showing a title and a body." />

    <TextView
        android:id="@+id/notification_body"
        style="@style/TextAppearance.Compat.Notification.Line2"
        android:layout_width="wrap_content"
        android:layout_height="wrap_content"
        android:layout_weight="1"
        android:text="This is the body. The height is manually forced to 300dp." />
</LinearLayout>
Создание и отображение уведомления
После того, как макеты будут готовы, вы можете использовать их, как показано в следующем примере:
Котлин
val notificationManager = getSystemService(Context.NOTIFICATION_SERVICE) as NotificationManager

// Get the layouts to use in the custom notification.
val notificationLayout = RemoteViews(packageName, R.layout.notification_small)
val notificationLayoutExpanded = RemoteViews(packageName, R.layout.notification_large)

// Apply the layouts to the notification.
val customNotification = NotificationCompat.Builder(context, CHANNEL_ID)
        .setSmallIcon(R.drawable.notification_icon)
        .setStyle(NotificationCompat.DecoratedCustomViewStyle())
        .setCustomContentView(notificationLayout)
        .setCustomBigContentView(notificationLayoutExpanded)
        .build()

notificationManager.notify(666, customNotification)
Ява
NotificationManager notificationManager = (NotificationManager) getSystemService(Context.NOTIFICATION_SERVICE);

// Get the layouts to use in the custom notification
RemoteViews notificationLayout = new RemoteViews(getPackageName(), R.layout.notification_small);
RemoteViews notificationLayoutExpanded = new RemoteViews(getPackageName(), R.layout.notification_large);

// Apply the layouts to the notification.
Notification customNotification = new NotificationCompat.Builder(context, CHANNEL_ID)
        .setSmallIcon(R.drawable.notification_icon)
        .setStyle(new NotificationCompat.DecoratedCustomViewStyle())
        .setCustomContentView(notificationLayout)
        .setCustomBigContentView(notificationLayoutExpanded)
        .build();

notificationManager.notify(666, customNotification);
Имейте в виду, что цвет фона уведомления может различаться в зависимости от устройства и версии. Примените стили библиотеки поддержки, такие как TextAppearance_Compat_Notification для текста и TextAppearance_Compat_Notification_Title для заголовка в пользовательском макете, как показано в следующем примере. Эти стили адаптируются к цветовым вариациям, поэтому вам не придется использовать текст «черное на черном» или «белое на белом».
<TextView
    android:layout_width="wrap_content"
    android:layout_height="match_parent"
    android:layout_weight="1"
    android:text="@string/notification_title"
    android:id="@+id/notification_title"
    style="@style/TextAppearance.Compat.Notification.Title" />
Не устанавливайте фоновое изображение для объекта RemoteViews , поскольку ваш текст может стать нечитаемым.
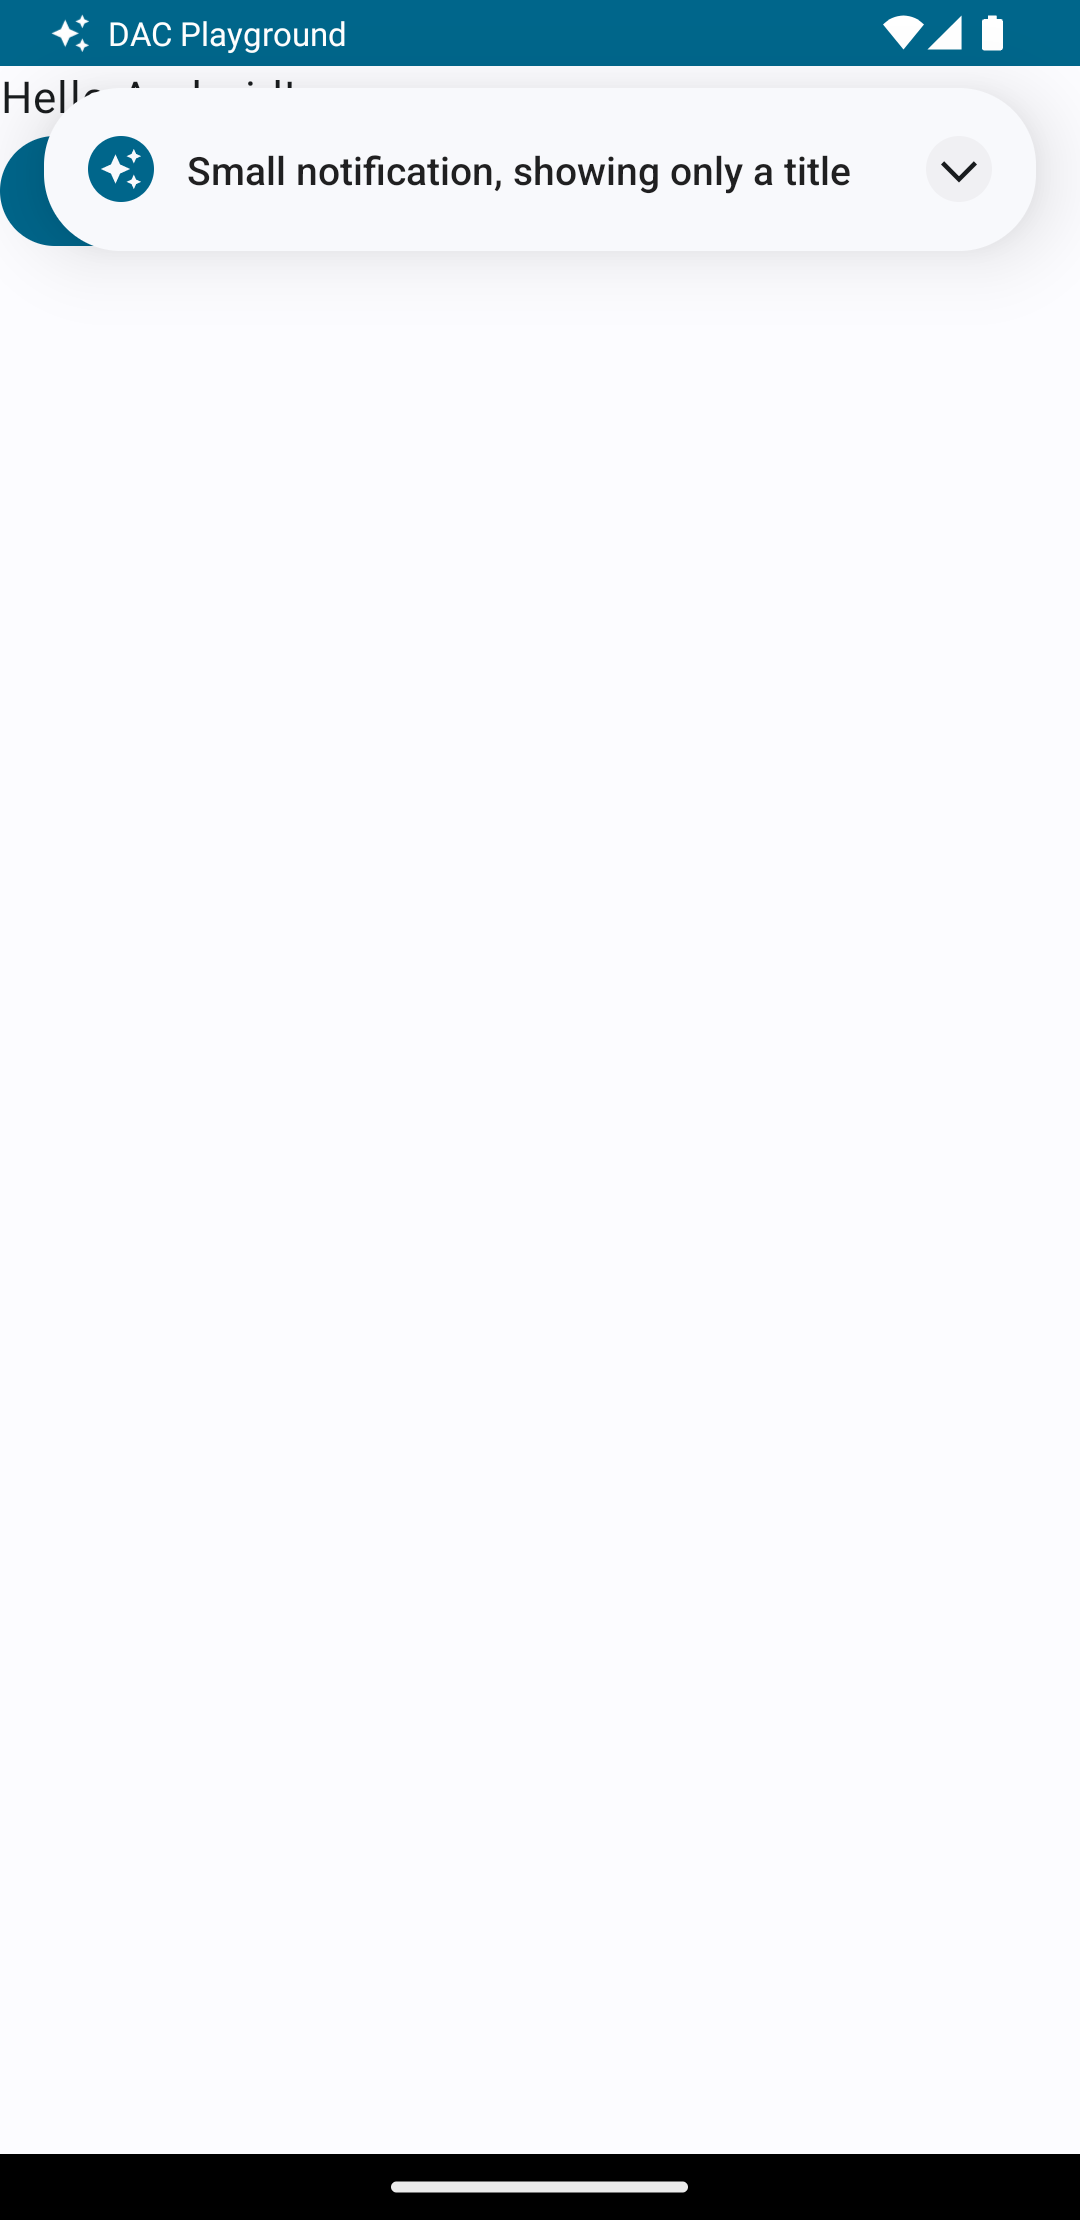
Когда вы запускаете уведомление, когда пользователь использует приложение, результат аналогичен рис. 1:

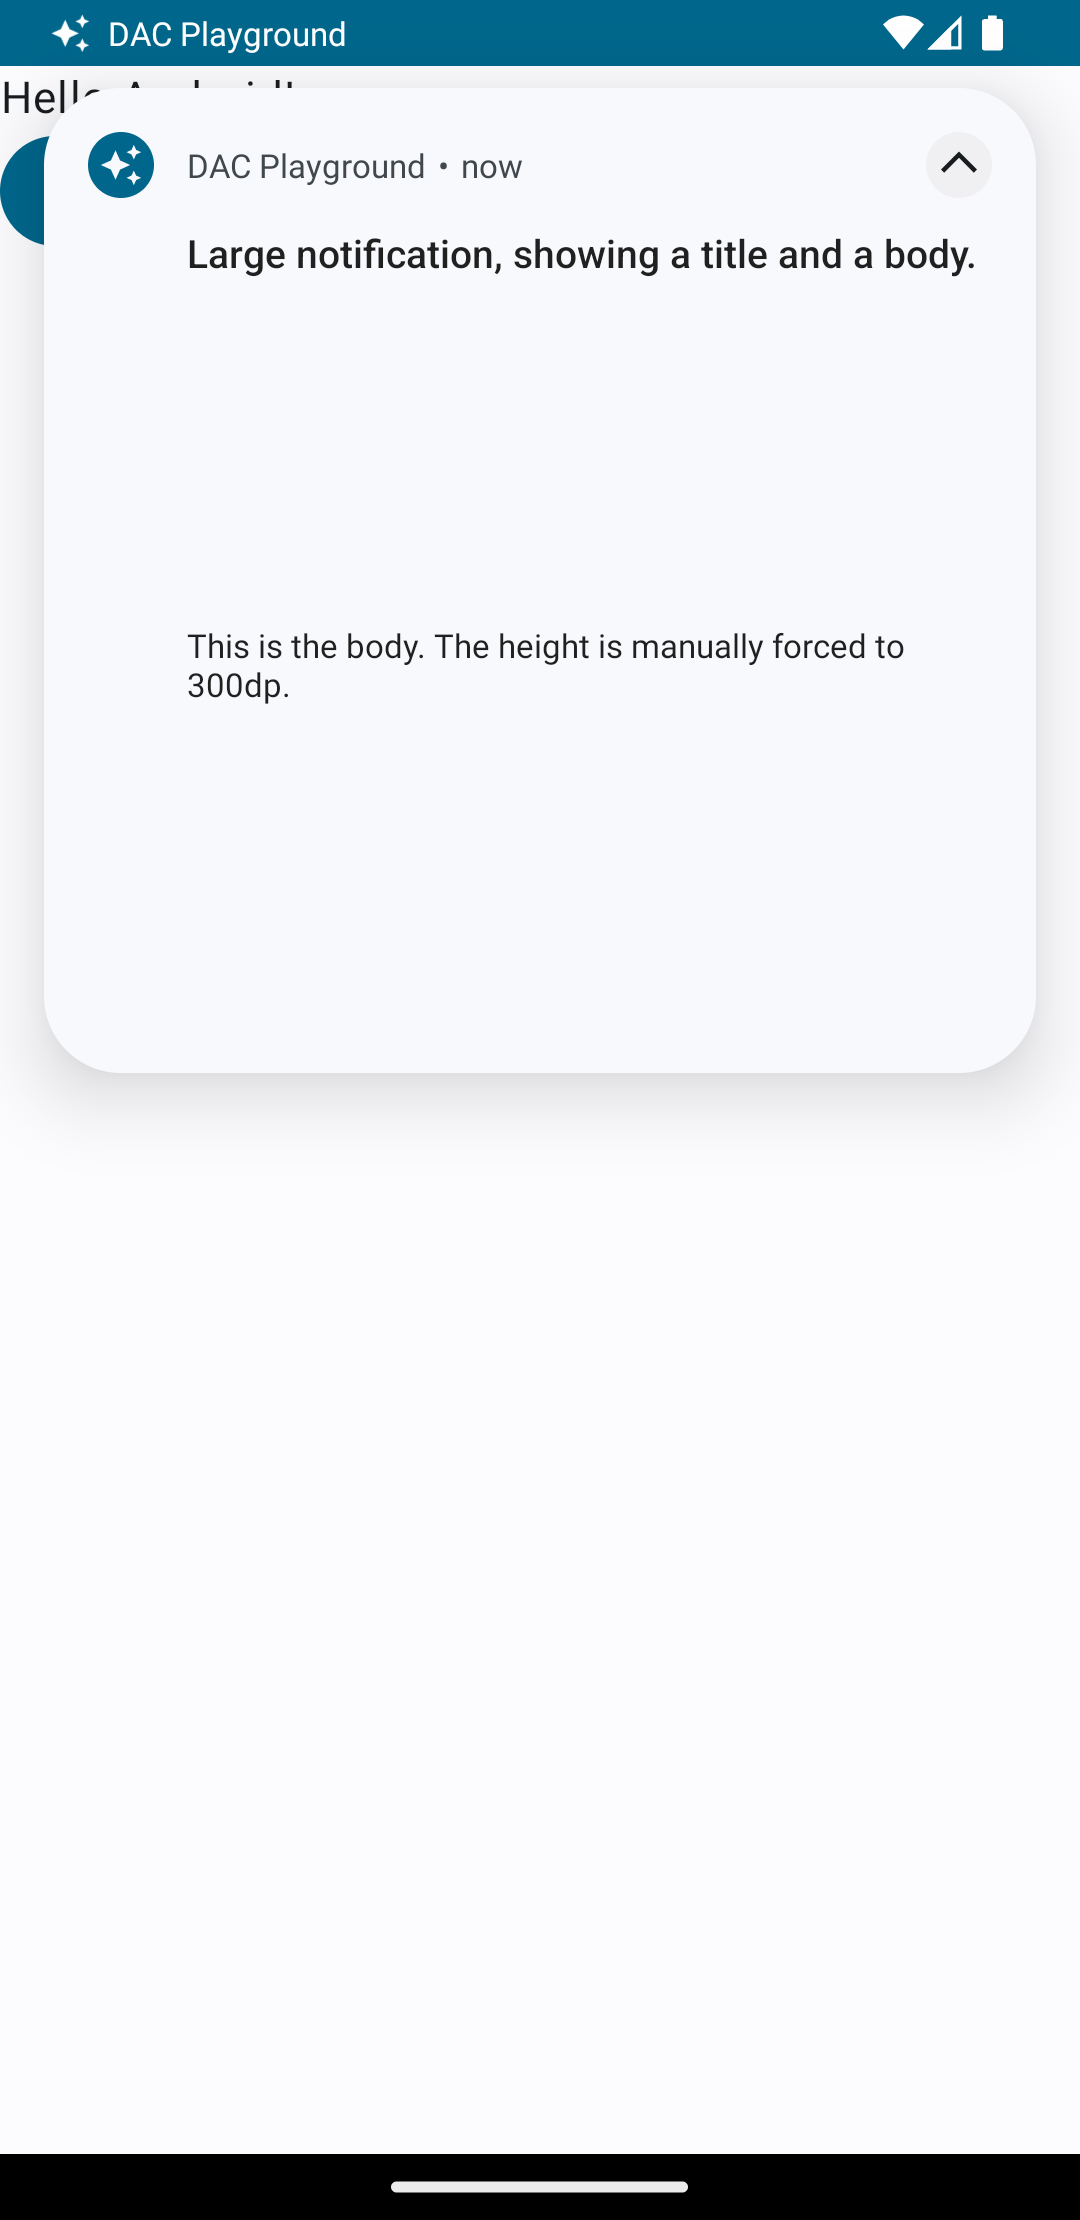
Нажатие на стрелку разворачивания разворачивает уведомление, как показано на рисунке 2:

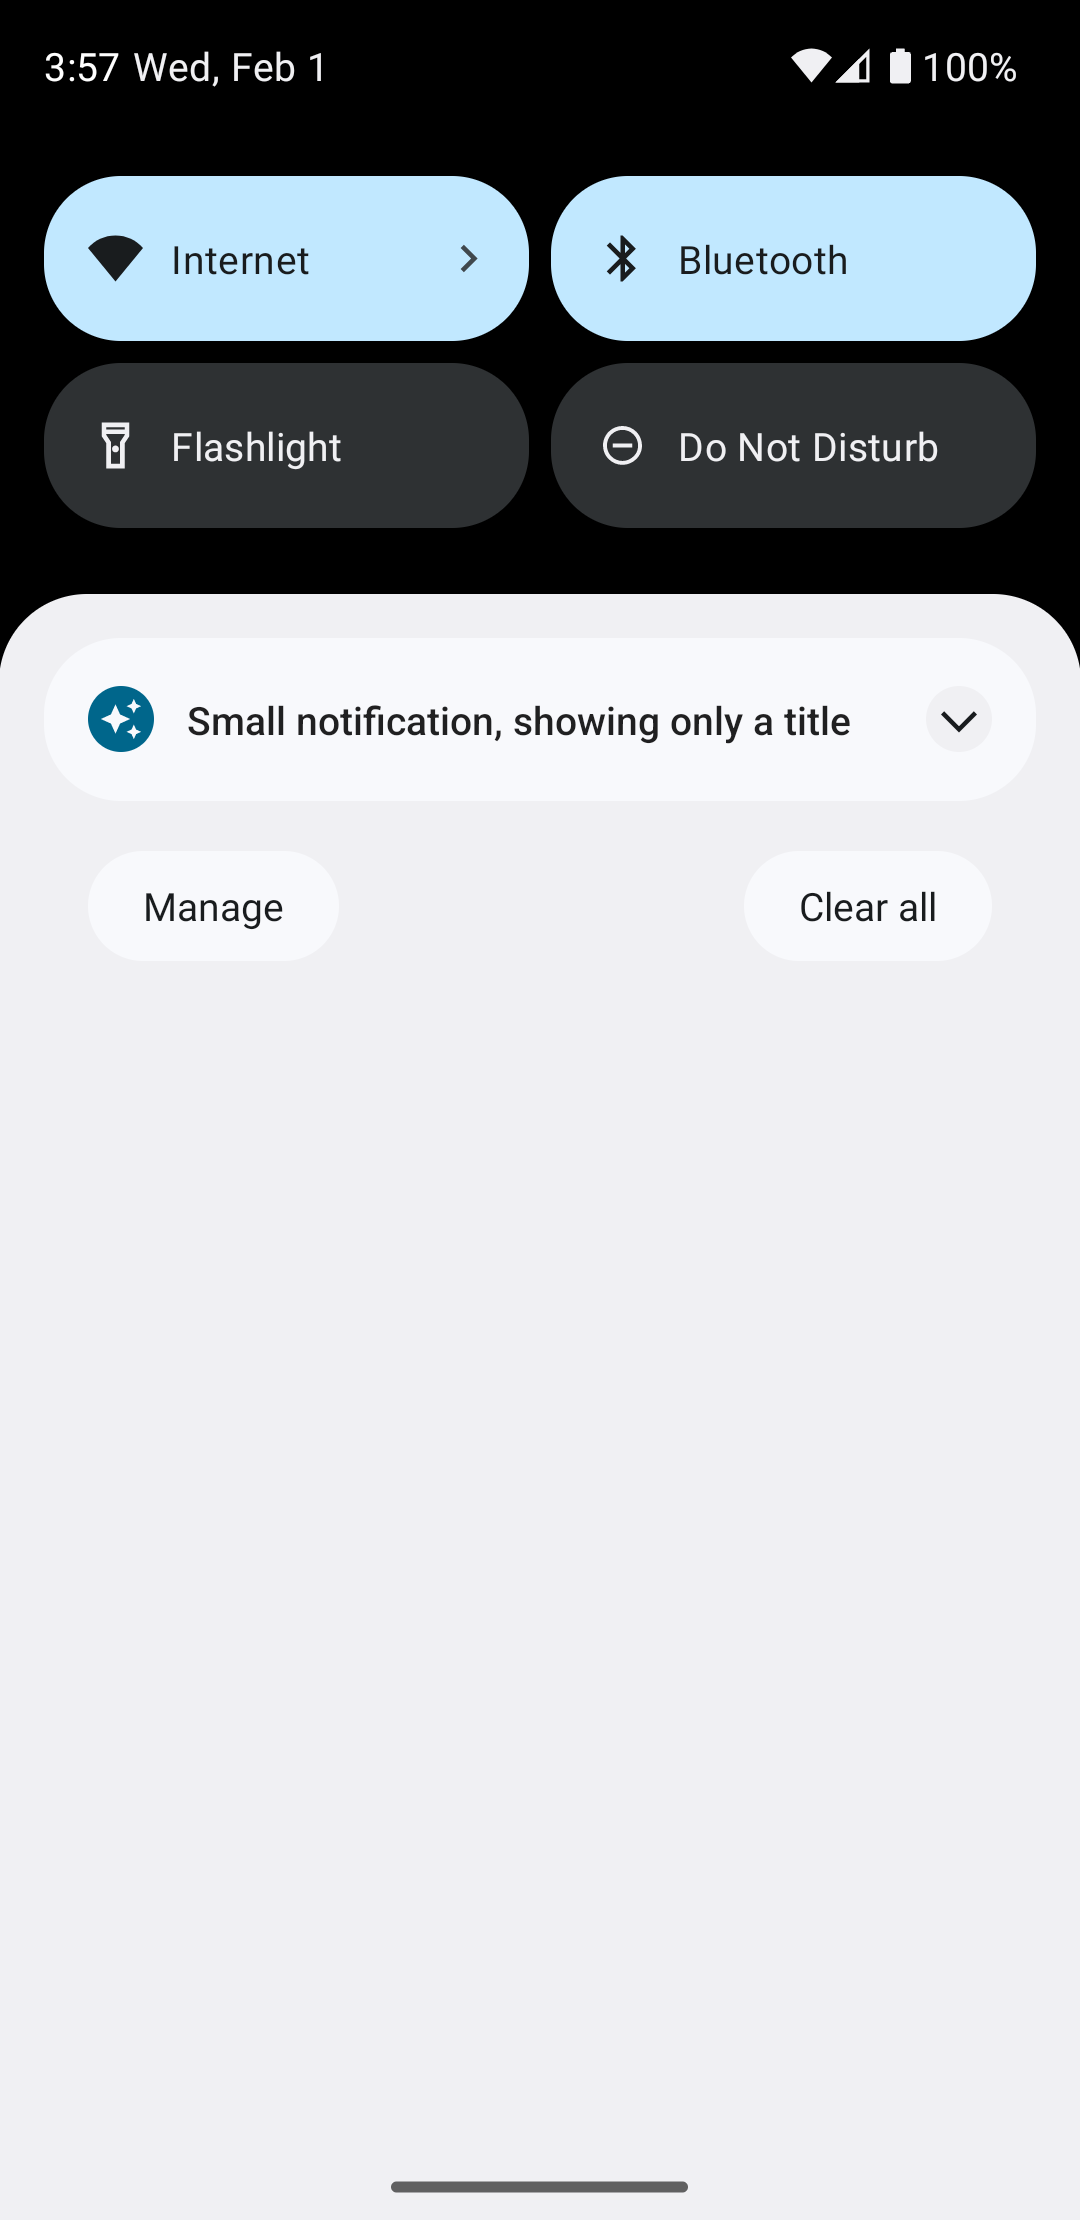
По истечении таймаута уведомления уведомление отображается только на системной панели, которая выглядит как рисунок 3:

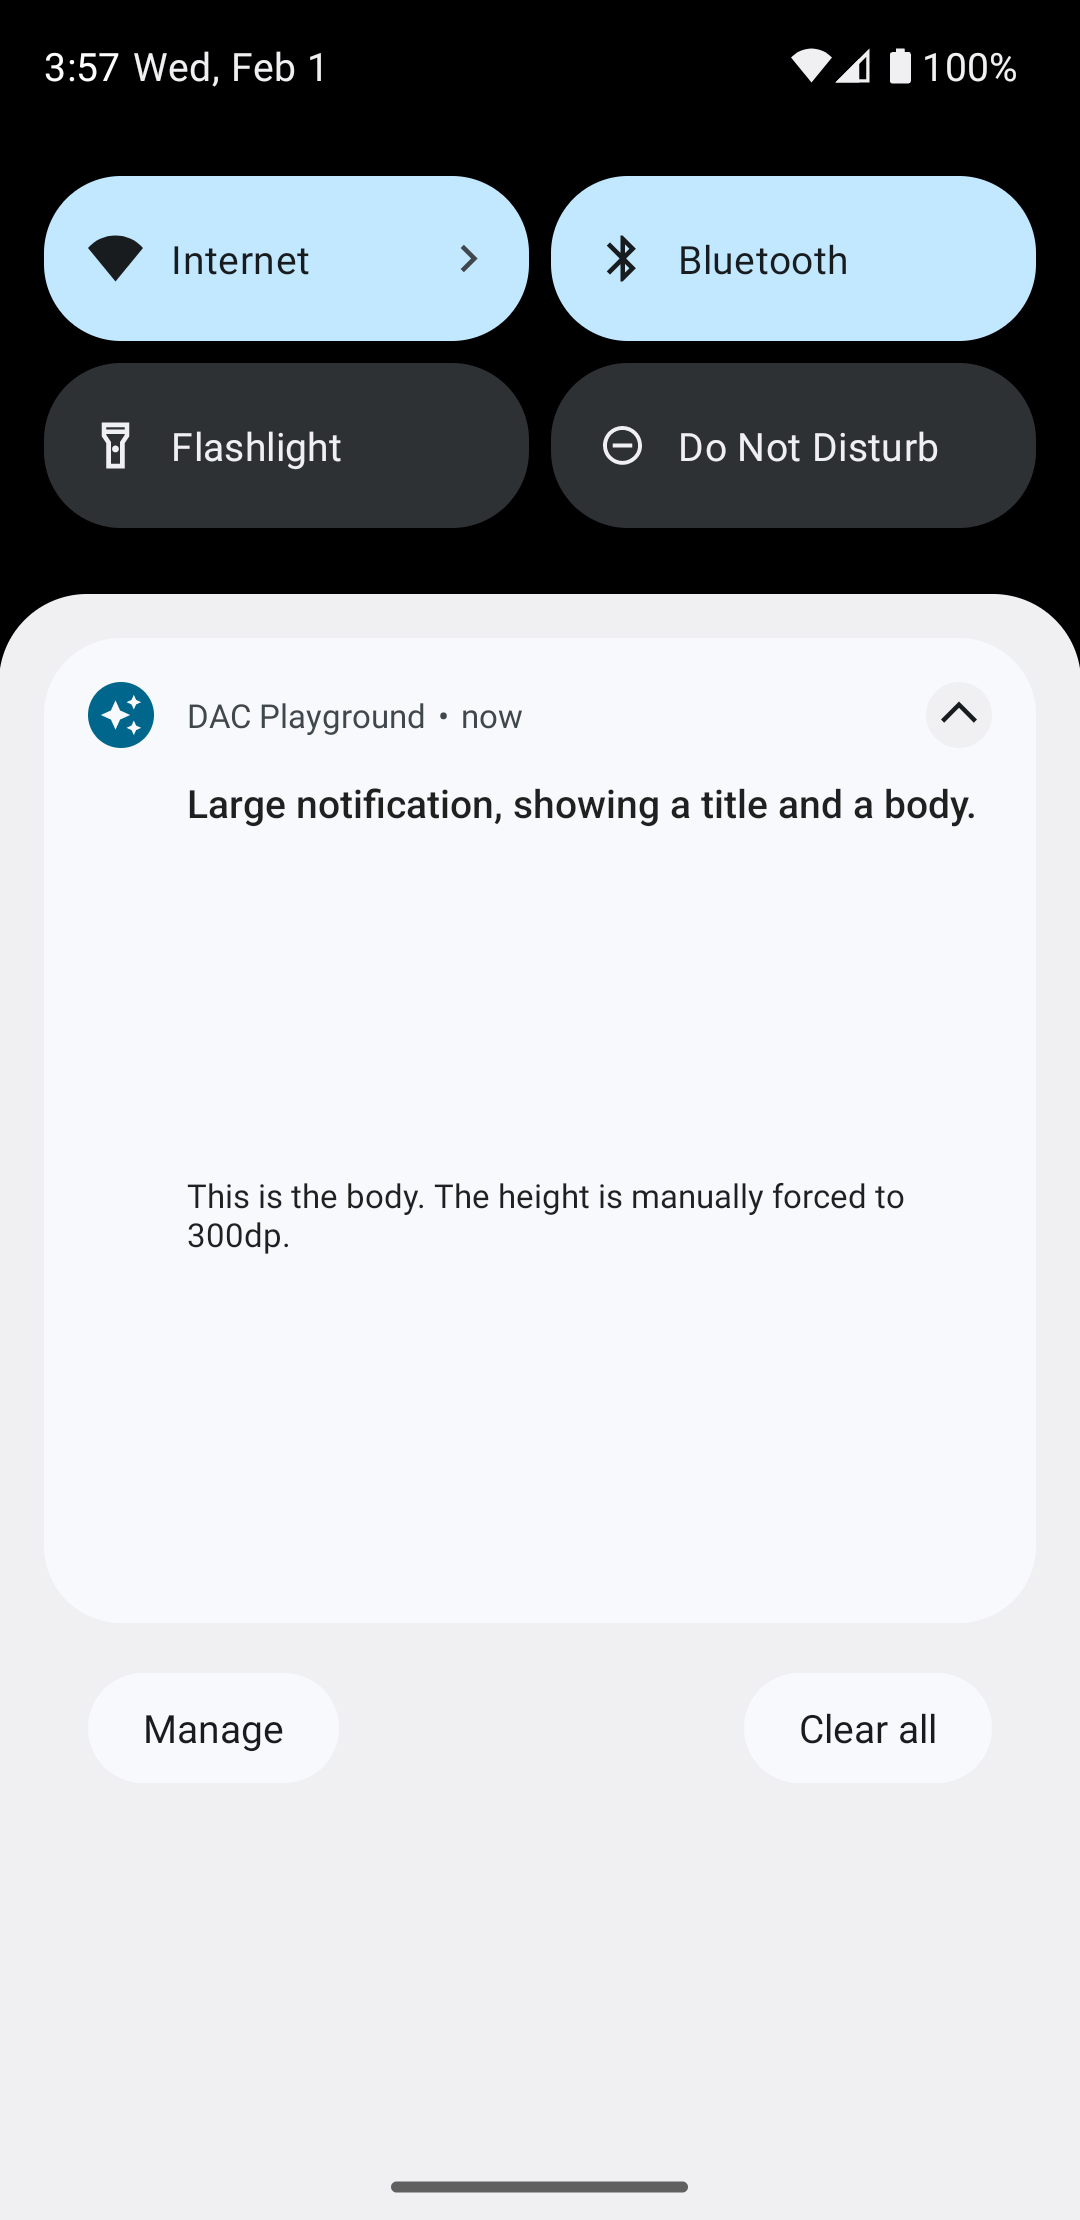
Нажатие на стрелку разворачивания разворачивает уведомление, как показано на рисунке 4:

Создайте полностью индивидуальный макет уведомлений
Если вы не хотите, чтобы ваше уведомление украшалось стандартным значком и заголовком уведомления, выполните предыдущие шаги, но не вызывайте setStyle() .

