您可以使用 Image 可组合项(contentScale 和 colorFilter)中的属性来自定义图片。您还可以使用现有的修饰符来将不同的效果应用到 Image。修饰符可用于任何可组合项,而不仅仅是 Image 可组合项,而 contentScale 和 colorFilter 是 Image 可组合项上的显式参数。
内容缩放
指定 contentScale 选项以剪裁图片或更改图片在其边界内的缩放方式。默认情况下,如果您未指定 contentScale 选项,系统将使用 ContentScale.Fit。
在以下示例中,Image 可组合项的尺寸限制为 150dp,并带有边框,且 Image 可组合项的背景设置为黄色,以展示下表中的不同 ContentScale 选项。
val imageModifier = Modifier .size(150.dp) .border(BorderStroke(1.dp, Color.Black)) .background(Color.Yellow) Image( painter = painterResource(id = R.drawable.dog), contentDescription = stringResource(id = R.string.dog_content_description), contentScale = ContentScale.Fit, modifier = imageModifier )
设置不同的 ContentScale 选项会生成不同的输出。下表可帮助您选择正确的 ContentScale 模式:
| 来源图片 |
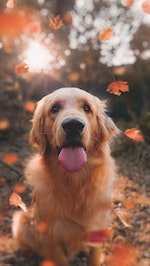
|
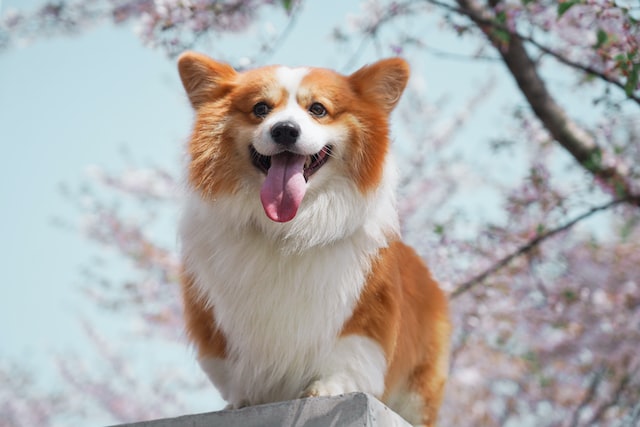
|
ContentScale |
结果 - 纵向图片: | 结果 - 横向图片: |
ContentScale.Fit:均匀缩放图片,并保持宽高比(默认)。如果内容小于指定大小,系统会放大图片以适应边界。 |
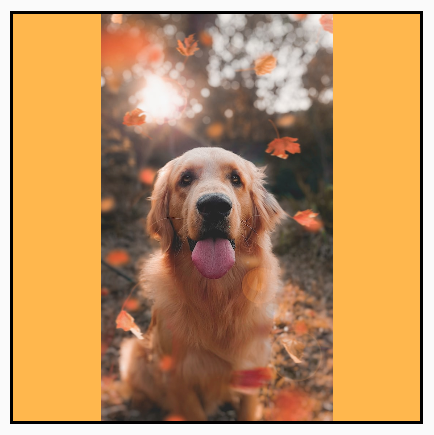
|
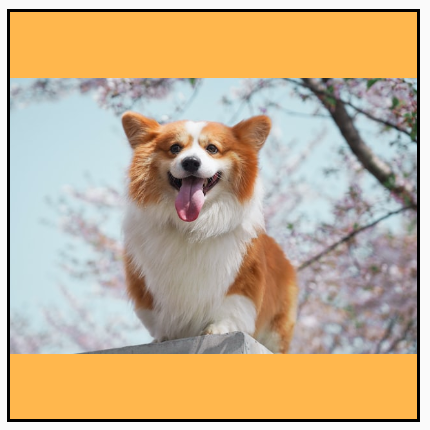
|
ContentScale.Crop:将图片居中裁剪到可用空间。 |
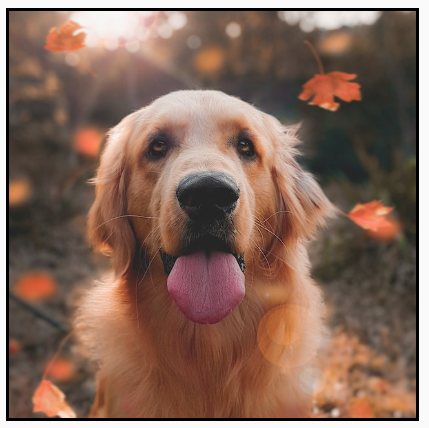
|
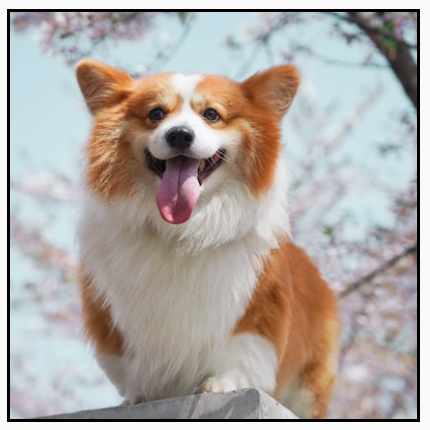
|
ContentScale.FillHeight:缩放来源图片,保持宽高比不变,使边界与目标高度匹配。 |
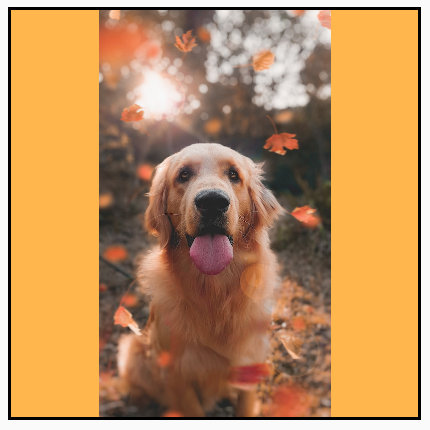
|
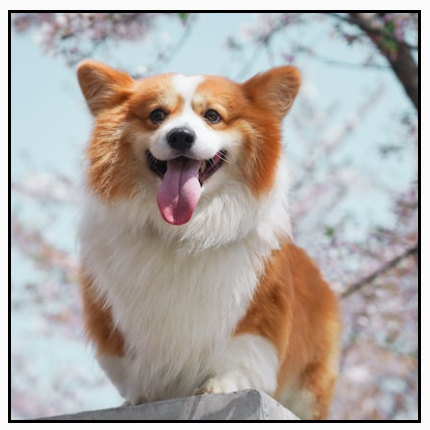
|
ContentScale.FillWidth:缩放来源图片,保持宽高比不变,使边界与目标宽度匹配。 |
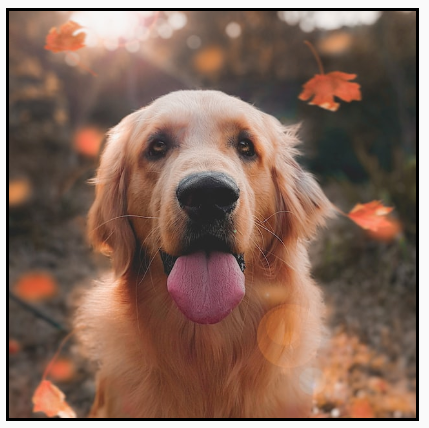
|
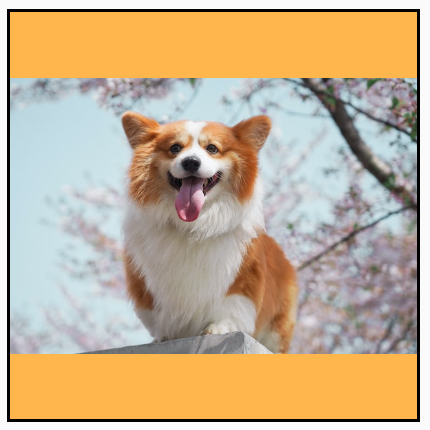
|
ContentScale.FillBounds:以非均匀方式垂直和水平缩放内容,以填充目标边界。(注意:如果将图片放入与其宽高比不完全相符的容器中,则图片会失真)。 |
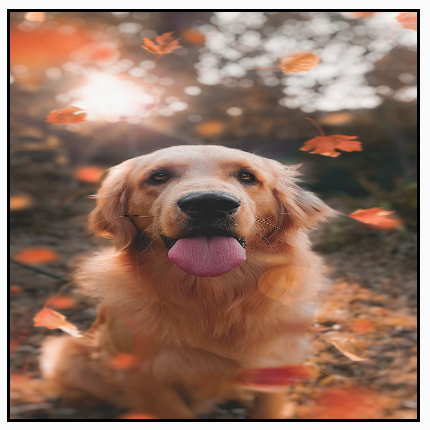
|
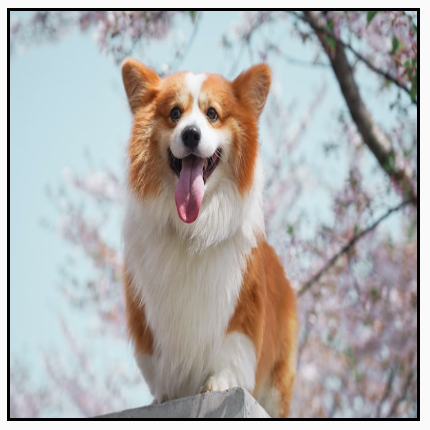
|
ContentScale.Inside:缩放来源图片,使宽高保持在目标边界内。如果来源图片在两个维度上都小于或等于目标,则其行为类似于 None。内容将始终包含在边界内。如果内容小于边界,则不会应用缩放。 |
来源图片大于边界:
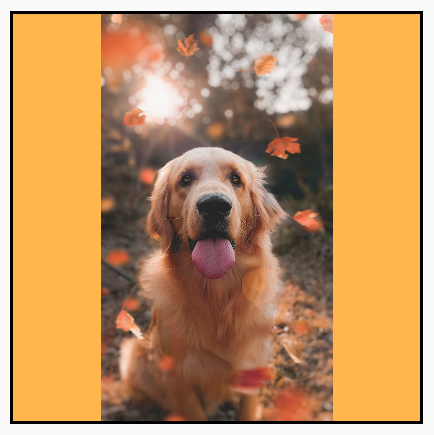 来源图片小于边界:
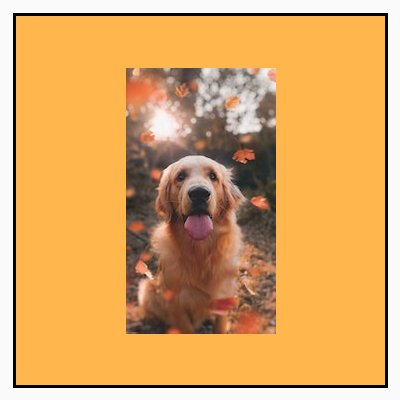
|
来源图片大于边界:
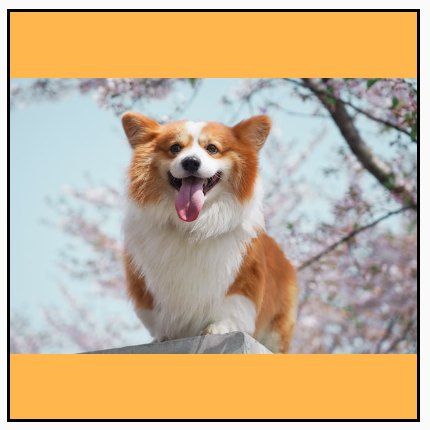 来源图片小于边界:
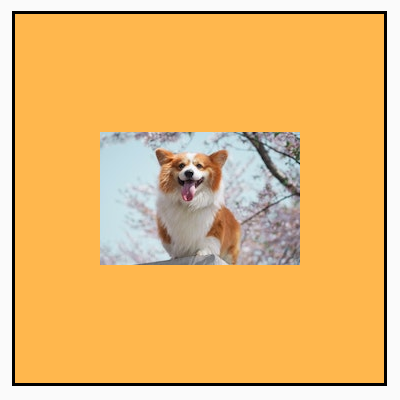
|
ContentScale.None:不对来源图片应用任何缩放。如果内容小于目标边界,则不会缩放以适应相应区域。 |
来源图片大于边界:
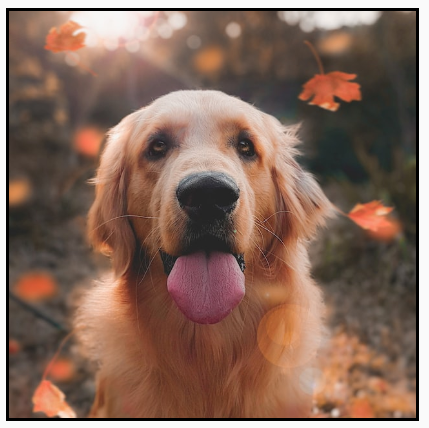 来源图片小于边界:

|
来源图片大于边界:
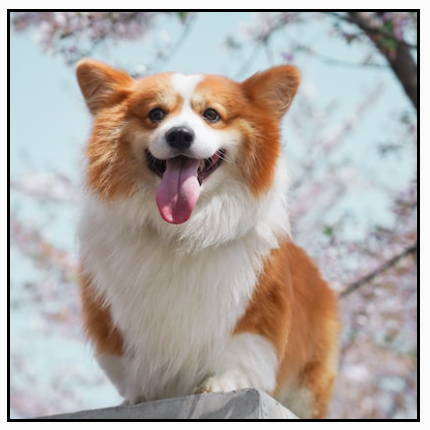 来源图片小于边界:

|
将 Image 可组合项裁剪为某个形状
如需使图片适应形状,请使用内置的 clip 修饰符。如需将图片剪裁成圆形,请使用 Modifier.clip(CircleShape):
Image( painter = painterResource(id = R.drawable.dog), contentDescription = stringResource(id = R.string.dog_content_description), contentScale = ContentScale.Crop, modifier = Modifier .size(200.dp) .clip(CircleShape) )
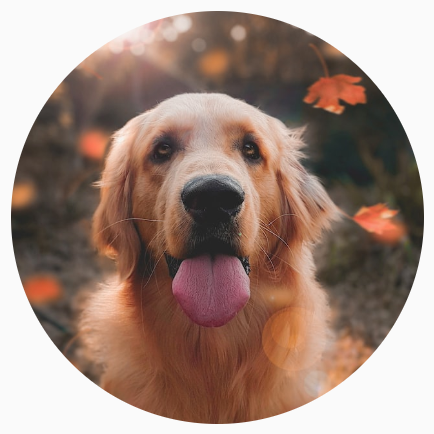
CircleShape 裁剪图片。对于圆角形状,请使用 Modifier.clip(RoundedCornerShape(16.dp) 并指定圆角形状的边角大小:
Image( painter = painterResource(id = R.drawable.dog), contentDescription = stringResource(id = R.string.dog_content_description), contentScale = ContentScale.Crop, modifier = Modifier .size(200.dp) .clip(RoundedCornerShape(16.dp)) )
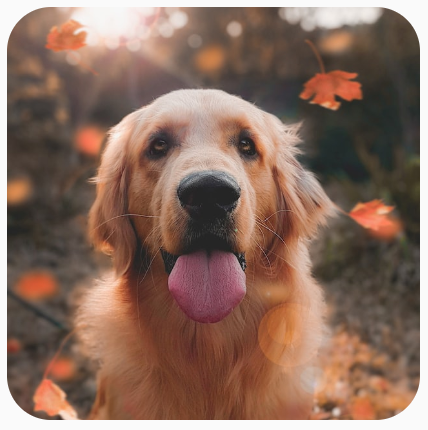
RoundedCornerShape 裁剪图片。您也可以创建自己的剪裁形状,方法是扩展 Shape 并提供 Path 以指定形状剪裁路径:
class SquashedOval : Shape { override fun createOutline( size: Size, layoutDirection: LayoutDirection, density: Density ): Outline { val path = Path().apply { // We create an Oval that starts at ¼ of the width, and ends at ¾ of the width of the container. addOval( Rect( left = size.width / 4f, top = 0f, right = size.width * 3 / 4f, bottom = size.height ) ) } return Outline.Generic(path = path) } } Image( painter = painterResource(id = R.drawable.dog), contentDescription = stringResource(id = R.string.dog_content_description), contentScale = ContentScale.Crop, modifier = Modifier .size(200.dp) .clip(SquashedOval()) )
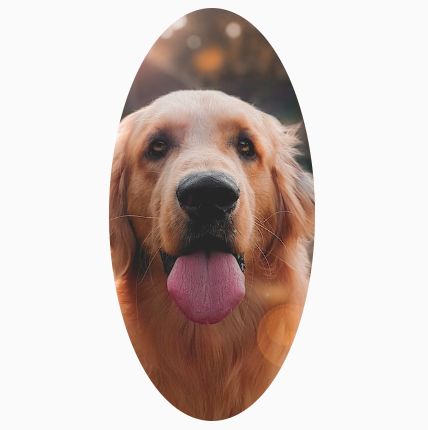
为 Image 可组合项添加边框
一种常见的操作是结合使用 Modifier.border() 与 Modifier.clip() 在图片周围创建边框:
val borderWidth = 4.dp Image( painter = painterResource(id = R.drawable.dog), contentDescription = stringResource(id = R.string.dog_content_description), contentScale = ContentScale.Crop, modifier = Modifier .size(150.dp) .border( BorderStroke(borderWidth, Color.Yellow), CircleShape ) .padding(borderWidth) .clip(CircleShape) )
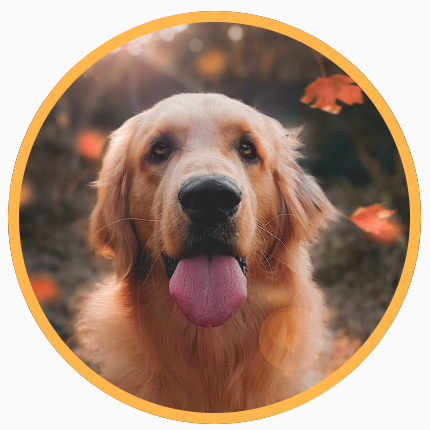
如需创建渐变边框,可以使用 Brush API 在图片周围绘制彩虹渐变边框:
val rainbowColorsBrush = remember { Brush.sweepGradient( listOf( Color(0xFF9575CD), Color(0xFFBA68C8), Color(0xFFE57373), Color(0xFFFFB74D), Color(0xFFFFF176), Color(0xFFAED581), Color(0xFF4DD0E1), Color(0xFF9575CD) ) ) } val borderWidth = 4.dp Image( painter = painterResource(id = R.drawable.dog), contentDescription = stringResource(id = R.string.dog_content_description), contentScale = ContentScale.Crop, modifier = Modifier .size(150.dp) .border( BorderStroke(borderWidth, rainbowColorsBrush), CircleShape ) .padding(borderWidth) .clip(CircleShape) )
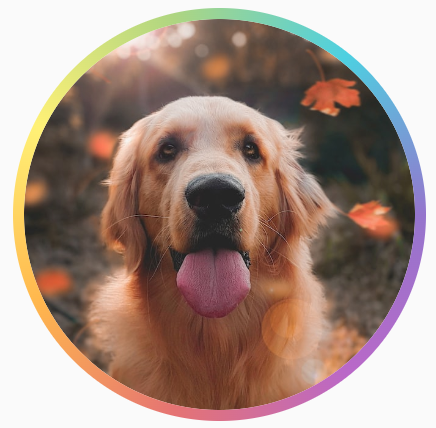
设置自定义宽高比
如需将图片转换为自定义宽高比,请使用 Modifier.aspectRatio(16f/9f) 为图片(或任何可组合项)提供自定义宽高比。
Image( painter = painterResource(id = R.drawable.dog), contentDescription = stringResource(id = R.string.dog_content_description), modifier = Modifier.aspectRatio(16f / 9f) )
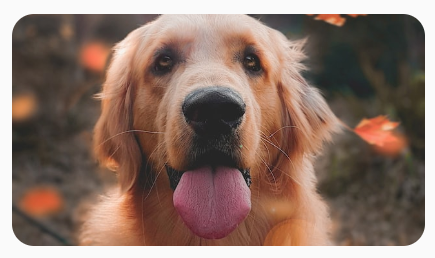
Image 上使用 Modifier.aspectRatio(16f/9f)。颜色滤镜:转换图片的像素颜色
Image 可组合项包含一个 colorFilter 参数,可用于更改图片中各个像素的输出。
为图片着色
使用 ColorFilter.tint(color, blendMode) 会将具有指定颜色的混合模式应用于 Image 可组合项。ColorFilter.tint(color, blendMode) 使用 BlendMode.SrcIn 对内容进行色调调节,这意味着系统将在屏幕上显示图片的位置显示所提供的颜色。这对于需要以不同方式设置主题的图标和矢量非常有用。
Image( painter = painterResource(id = R.drawable.baseline_directions_bus_24), contentDescription = stringResource(id = R.string.bus_content_description), colorFilter = ColorFilter.tint(Color.Yellow) )

ColorFilter.tint已应用,但存在BlendMode.SrcIn。其他 BlendMode 的结果有所不同。例如,对图片设置 BlendMode.Darken 和 Color.Green 会产生以下效果:
Image( painter = painterResource(id = R.drawable.dog), contentDescription = stringResource(id = R.string.dog_content_description), colorFilter = ColorFilter.tint(Color.Green, blendMode = BlendMode.Darken) )
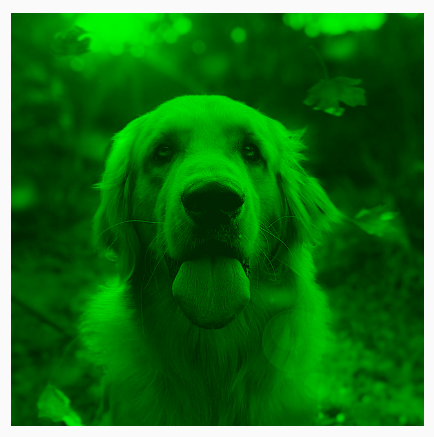
Color.Green tint 替换为 BlendMode.Darken。如需详细了解可用的不同混合模式,请参阅 BlendMode 参考文档。
通过颜色矩阵应用 Image 滤镜
颜色矩阵 ColorFilter 选项可用于转换图片。例如,如需对图片应用黑白滤镜,您可以使用 ColorMatrix 并将饱和度设置为 0f。
Image( painter = painterResource(id = R.drawable.dog), contentDescription = stringResource(id = R.string.dog_content_description), colorFilter = ColorFilter.colorMatrix(ColorMatrix().apply { setToSaturation(0f) }) )
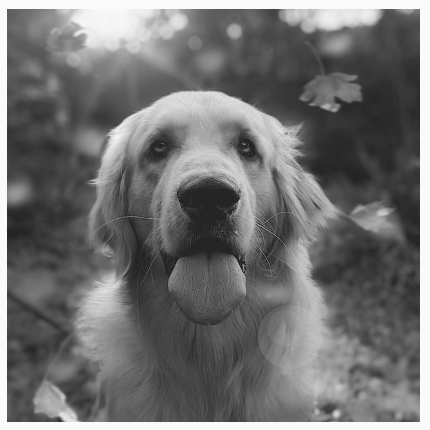
调整 Image 可组合项的对比度或亮度
如需更改图片的对比度和亮度,您可以使用 ColorMatrix 更改多项值:
val contrast = 2f // 0f..10f (1 should be default) val brightness = -180f // -255f..255f (0 should be default) val colorMatrix = floatArrayOf( contrast, 0f, 0f, 0f, brightness, 0f, contrast, 0f, 0f, brightness, 0f, 0f, contrast, 0f, brightness, 0f, 0f, 0f, 1f, 0f ) Image( painter = painterResource(id = R.drawable.dog), contentDescription = stringResource(id = R.string.dog_content_description), colorFilter = ColorFilter.colorMatrix(ColorMatrix(colorMatrix)) )
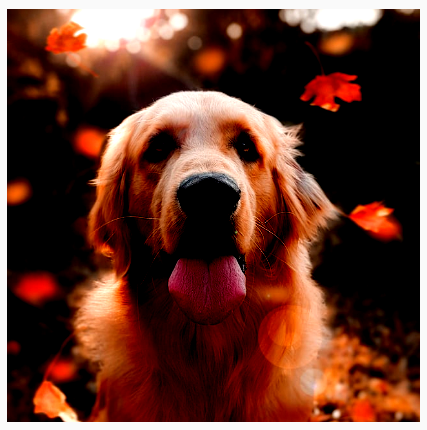
ColorMatrix 调整图片亮度和对比度。反转 Image 可组合项的颜色
如需反转图片的颜色,请设置 ColorMatrix 以反转颜色:
val colorMatrix = floatArrayOf( -1f, 0f, 0f, 0f, 255f, 0f, -1f, 0f, 0f, 255f, 0f, 0f, -1f, 0f, 255f, 0f, 0f, 0f, 1f, 0f ) Image( painter = painterResource(id = R.drawable.dog), contentDescription = stringResource(id = R.string.dog_content_description), colorFilter = ColorFilter.colorMatrix(ColorMatrix(colorMatrix)) )
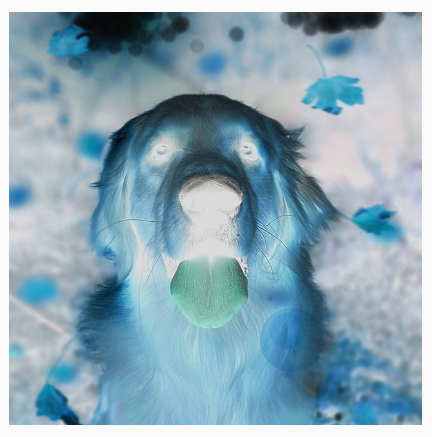
模糊处理 Image 可组合项
如需对图片进行模糊处理,请使用 Modifier.blur() 并同时提供 radiusX 和 radiusY,两者分别指定水平方向和垂直方向的模糊半径。
Image( painter = painterResource(id = R.drawable.dog), contentDescription = stringResource(id = R.string.dog_content_description), contentScale = ContentScale.Crop, modifier = Modifier .size(150.dp) .blur( radiusX = 10.dp, radiusY = 10.dp, edgeTreatment = BlurredEdgeTreatment(RoundedCornerShape(8.dp)) ) )
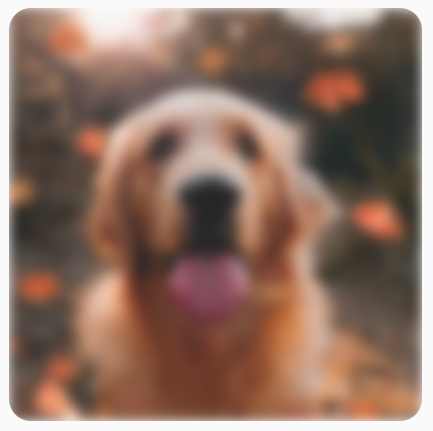
BlurEffect 应用于图片。对 Images 进行模糊处理时,建议使用 BlurredEdgeTreatment(Shape)(而非 BlurredEdgeTreatment.Unbounded),因为后者用于对预计会在原始内容边界以外呈现的任意渲染进行模糊处理。图片很可能不会在内容边界以外呈现;而在对圆角矩形进行模糊处理时,可能需要这种不同的处理方式。
例如,在上图中,如果将 BlurredEdgeTreatment 设置为 Unbounded,则图片的边缘会显得模糊不清,而不会有清晰锐利的边缘:
Image( painter = painterResource(id = R.drawable.dog), contentDescription = stringResource(id = R.string.dog_content_description), contentScale = ContentScale.Crop, modifier = Modifier .size(150.dp) .blur( radiusX = 10.dp, radiusY = 10.dp, edgeTreatment = BlurredEdgeTreatment.Unbounded ) .clip(RoundedCornerShape(8.dp)) )
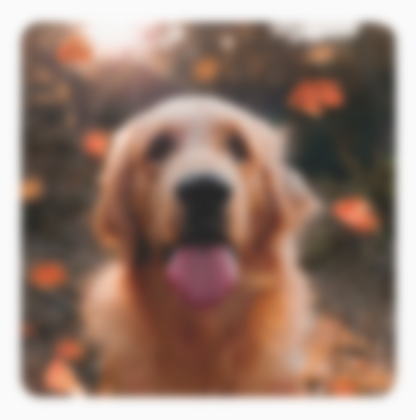
BlurEdgeTreatment.Unbounded.为您推荐
- 注意:当 JavaScript 处于关闭状态时,系统会显示链接文字
- 图形修饰符
- 加载图片
- Material 图标
