Compose est fourni avec des composables et des modificateurs intégrés pour gérer les cas d'utilisation courants des animations.
Composables animés intégrés
Compose fournit plusieurs composables qui animent l'apparition et la disparition du contenu, ainsi que les modifications de mise en page.
Animer l'apparition et la disparition
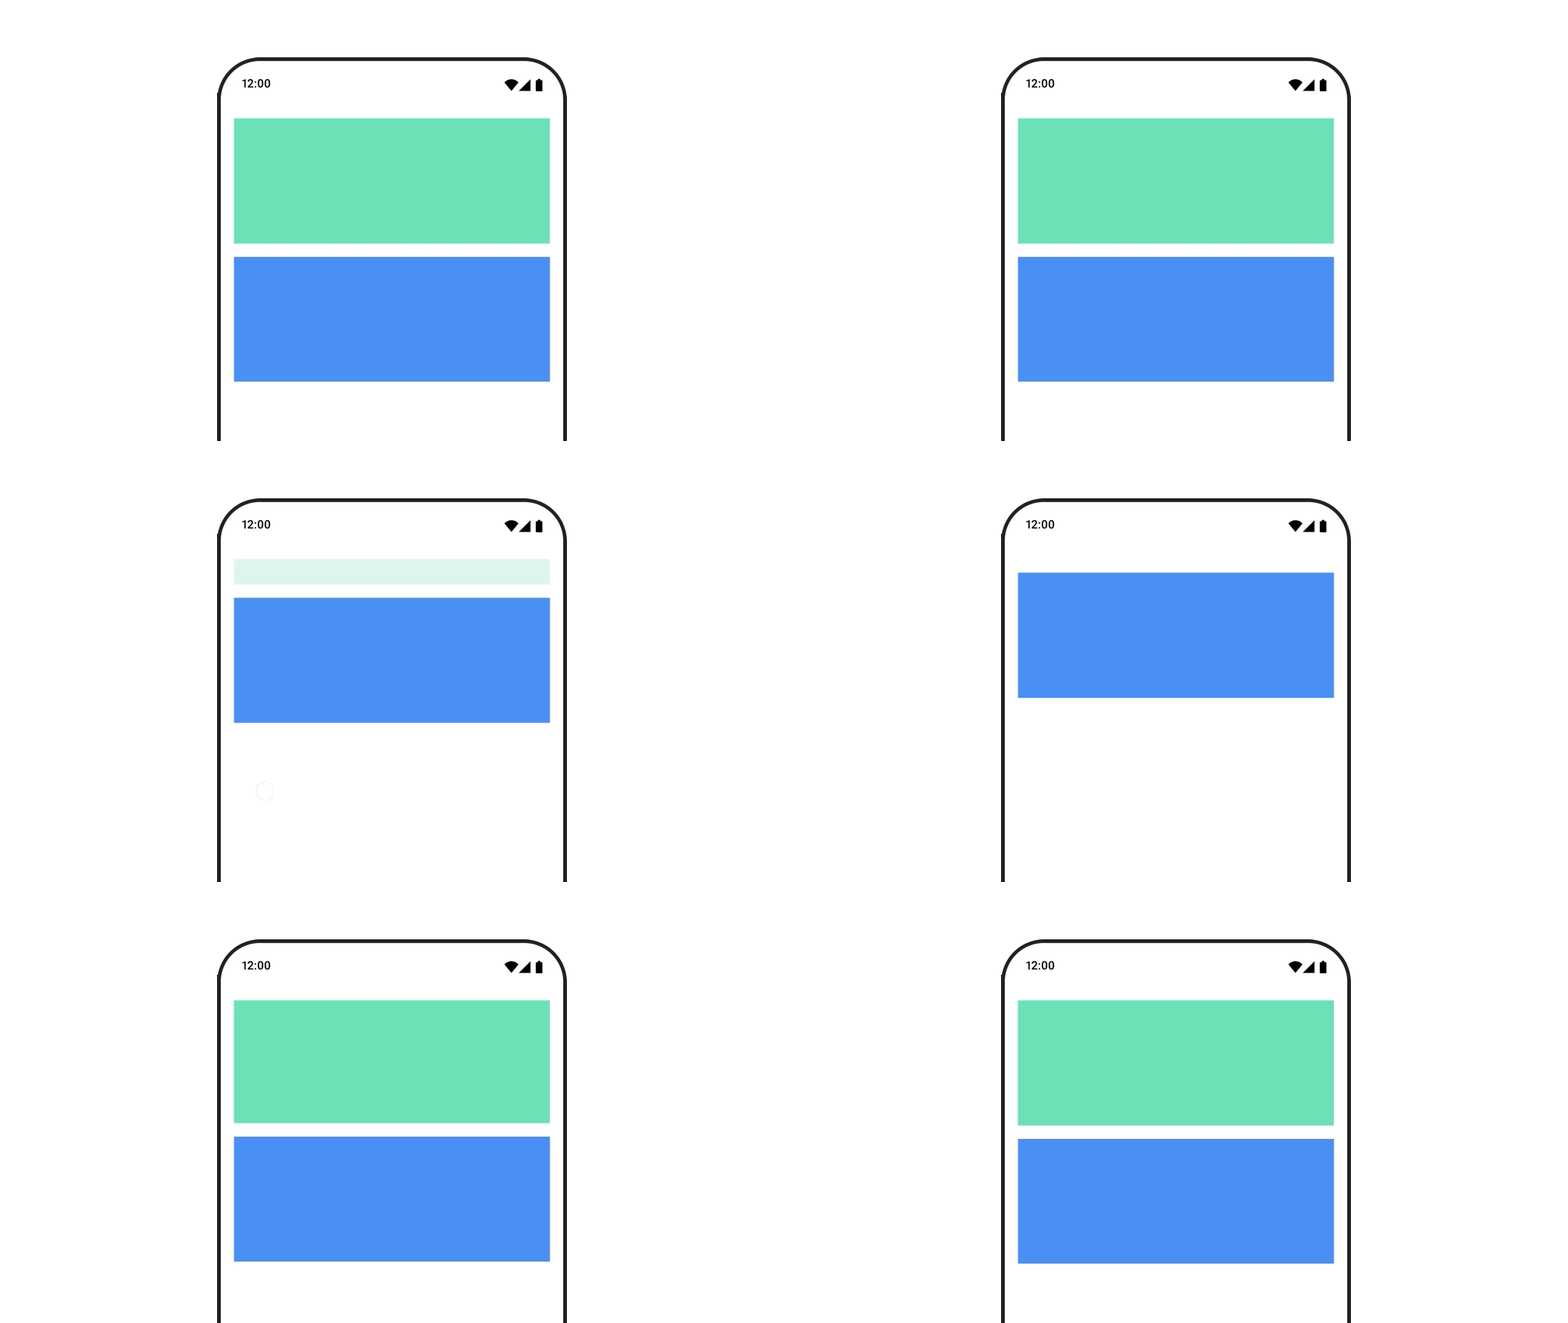
Le composable AnimatedVisibility anime l'apparition et la disparition de son contenu.
var visible by remember { mutableStateOf(true) } // Animated visibility will eventually remove the item from the composition once the animation has finished. AnimatedVisibility(visible) { // your composable here // ... }
Par défaut, le contenu apparaît en fondu et en s'agrandissant, et disparaît en fondu et en se rétrécissant. Personnalisez cette transition en spécifiant les objets EnterTransition et ExitTransition.
var visible by remember { mutableStateOf(true) } val density = LocalDensity.current AnimatedVisibility( visible = visible, enter = slideInVertically { // Slide in from 40 dp from the top. with(density) { -40.dp.roundToPx() } } + expandVertically( // Expand from the top. expandFrom = Alignment.Top ) + fadeIn( // Fade in with the initial alpha of 0.3f. initialAlpha = 0.3f ), exit = slideOutVertically() + shrinkVertically() + fadeOut() ) { Text( "Hello", Modifier .fillMaxWidth() .height(200.dp) ) }
Comme indiqué dans l'exemple précédent, il est possible de combiner plusieurs objets EnterTransition ou ExitTransition avec un opérateur +. Chaque objet accepte des paramètres facultatifs permettant de personnaliser son comportement. Pour en savoir plus, consultez les pages de référence.
Exemples de transitions d'entrée et de sortie
AnimatedVisibility propose également une variante qui accepte un argument MutableTransitionState. Cela vous permet de déclencher une animation dès que le composable AnimatedVisibility est ajouté à l'arborescence de composition. et aussi d'observer l'état de l'animation.
// Create a MutableTransitionState<Boolean> for the AnimatedVisibility. val state = remember { MutableTransitionState(false).apply { // Start the animation immediately. targetState = true } } Column { AnimatedVisibility(visibleState = state) { Text(text = "Hello, world!") } // Use the MutableTransitionState to know the current animation state // of the AnimatedVisibility. Text( text = when { state.isIdle && state.currentState -> "Visible" !state.isIdle && state.currentState -> "Disappearing" state.isIdle && !state.currentState -> "Invisible" else -> "Appearing" } ) }
Animer l'entrée et la sortie des enfants
Le contenu dans AnimatedVisibility (enfants directs ou indirects) peut utiliser le modificateur animateEnterExit afin de spécifier un comportement d'animation différent pour chacun d'eux. L'effet visuel pour chacun de ces enfants combine les animations définies dans le composable AnimatedVisibility et les animations d'entrée et de sortie de l'enfant.
var visible by remember { mutableStateOf(true) } AnimatedVisibility( visible = visible, enter = fadeIn(), exit = fadeOut() ) { // Fade in/out the background and the foreground. Box( Modifier .fillMaxSize() .background(Color.DarkGray) ) { Box( Modifier .align(Alignment.Center) .animateEnterExit( // Slide in/out the inner box. enter = slideInVertically(), exit = slideOutVertically() ) .sizeIn(minWidth = 256.dp, minHeight = 64.dp) .background(Color.Red) ) { // Content of the notification… } } }
Dans certains cas, vous souhaiterez peut-être que AnimatedVisibility n'applique aucune animation afin que les enfants puissent avoir leurs propres animations avec animateEnterExit. Pour ce faire, spécifiez EnterTransition.None et ExitTransition.None dans le composable AnimatedVisibility.
Ajouter une animation personnalisée
Si vous souhaitez ajouter des effets d'animation personnalisés en plus des animations d'entrée et de sortie intégrées, accédez à l'instance Transition sous-jacente à l'aide de la propriété transition dans le lambda de contenu de AnimatedVisibility. Tous les états d'animation ajoutés à l'instance Transition s'exécuteront simultanément avec les animations d'entrée et de sortie de AnimatedVisibility. AnimatedVisibility attend que toutes les animations de Transition soient terminées avant de supprimer son contenu.
Si des animations de sortie sont créées indépendamment de Transition (par exemple, à l'aide de animate*AsState), AnimatedVisibility ne pourra pas les prendre en compte. Il risque donc de supprimer le composable de contenu avant la fin de ces animations.
var visible by remember { mutableStateOf(true) } AnimatedVisibility( visible = visible, enter = fadeIn(), exit = fadeOut() ) { // this: AnimatedVisibilityScope // Use AnimatedVisibilityScope#transition to add a custom animation // to the AnimatedVisibility. val background by transition.animateColor(label = "color") { state -> if (state == EnterExitState.Visible) Color.Blue else Color.Gray } Box( modifier = Modifier .size(128.dp) .background(background) ) }
Pour en savoir plus sur l'utilisation de Transition pour gérer les animations, consultez Animer plusieurs propriétés simultanément avec une transition.
Animer en fonction de l'état cible
Le composable AnimatedContent anime son contenu à mesure qu'il change en fonction d'un état cible.
Row { var count by remember { mutableIntStateOf(0) } Button(onClick = { count++ }) { Text("Add") } AnimatedContent( targetState = count, label = "animated content" ) { targetCount -> // Make sure to use `targetCount`, not `count`. Text(text = "Count: $targetCount") } }
Par défaut, le contenu initial disparaît en fondu, puis le contenu cible apparaît en fondu (ce comportement est appelé fondu total). Vous pouvez personnaliser ce comportement d'animation en spécifiant un objet ContentTransform pour le paramètre transitionSpec. Vous pouvez créer une instance de ContentTransform en associant un objet EnterTransition à un objet ExitTransition à l'aide de la fonction infixe with. Vous pouvez appliquer SizeTransform à l'objet ContentTransform en l'associant avec la fonction infixe using.
AnimatedContent( targetState = count, transitionSpec = { // Compare the incoming number with the previous number. if (targetState > initialState) { // If the target number is larger, it slides up and fades in // while the initial (smaller) number slides up and fades out. slideInVertically { height -> height } + fadeIn() togetherWith slideOutVertically { height -> -height } + fadeOut() } else { // If the target number is smaller, it slides down and fades in // while the initial number slides down and fades out. slideInVertically { height -> -height } + fadeIn() togetherWith slideOutVertically { height -> height } + fadeOut() }.using( // Disable clipping since the faded slide-in/out should // be displayed out of bounds. SizeTransform(clip = false) ) }, label = "animated content" ) { targetCount -> Text(text = "$targetCount") }

EnterTransition définit la façon dont le contenu cible doit apparaître, et ExitTransition la manière dont le contenu initial doit disparaître. En plus de toutes les fonctions EnterTransition et ExitTransition disponibles pour AnimatedVisibility, AnimatedContent propose slideIntoContainer et slideOutOfContainer.
Il s'agit d'alternatives pratiques à slideInHorizontally/Vertically et slideOutHorizontally/Vertically pour calculer la distance de glissement en fonction de la taille du contenu initial et du contenu cible de AnimatedContent.
SizeTransform définit la manière dont la taille doit être animée entre le contenu initial et le contenu cible. Vous avez accès à la taille initiale et à la taille cible lorsque vous créez l'animation. SizeTransform contrôle également si le contenu doit être rogné et adapté à la taille du composant durant les animations.
var expanded by remember { mutableStateOf(false) } Surface( color = MaterialTheme.colorScheme.primary, onClick = { expanded = !expanded } ) { AnimatedContent( targetState = expanded, transitionSpec = { fadeIn(animationSpec = tween(150, 150)) togetherWith fadeOut(animationSpec = tween(150)) using SizeTransform { initialSize, targetSize -> if (targetState) { keyframes { // Expand horizontally first. IntSize(targetSize.width, initialSize.height) at 150 durationMillis = 300 } } else { keyframes { // Shrink vertically first. IntSize(initialSize.width, targetSize.height) at 150 durationMillis = 300 } } } }, label = "size transform" ) { targetExpanded -> if (targetExpanded) { Expanded() } else { ContentIcon() } } }

Animer les transitions d'entrée et de sortie des enfants
Tout comme AnimatedVisibility, le modificateur animateEnterExit est disponible dans le lambda de contenu de AnimatedContent. Il vous permet d'appliquer séparément EnterAnimation et ExitAnimation à chaque enfant direct ou indirect.
Ajouter une animation personnalisée
Tout comme AnimatedVisibility, le champ transition est disponible dans le lambda de contenu de AnimatedContent. Il permet de créer un effet d'animation personnalisé qui s'exécute simultanément avec la transition AnimatedContent. Pour en savoir plus, consultez la section updateTransition.
Animer entre deux mises en page
Crossfade exécute une animation de fondu enchaîné entre deux mises en page. Il permet de remplacer le contenu avec une animation de fondu enchaîné en basculant la valeur transmise au paramètre current.
var currentPage by remember { mutableStateOf("A") } Crossfade(targetState = currentPage, label = "cross fade") { screen -> when (screen) { "A" -> Text("Page A") "B" -> Text("Page B") } }
Modificateurs d'animation intégrés
Compose fournit des modificateurs pour animer des modifications spécifiques directement sur les composables.
Animer les changements de taille des composables
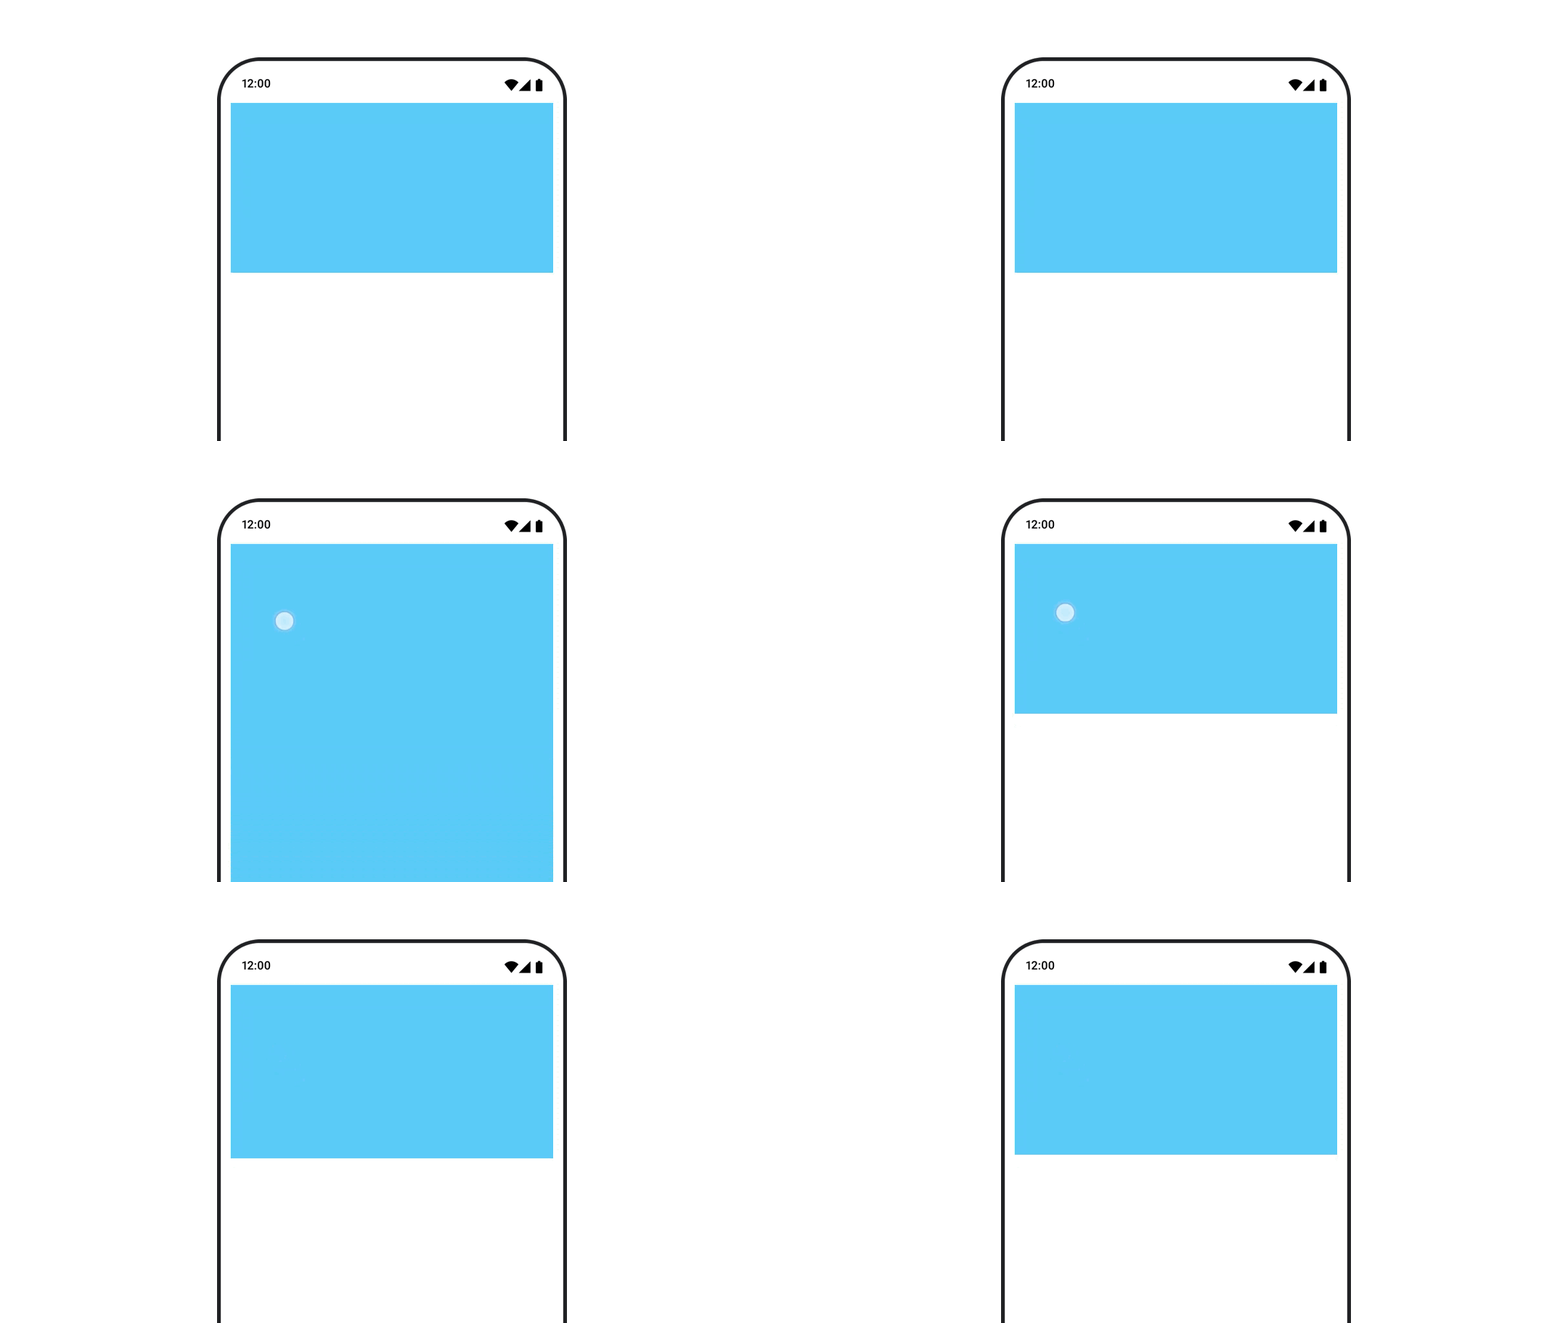
Le modificateur animateContentSize anime un changement de taille.
var expanded by remember { mutableStateOf(false) } Box( modifier = Modifier .background(colorBlue) .animateContentSize() .height(if (expanded) 400.dp else 200.dp) .fillMaxWidth() .clickable( interactionSource = remember { MutableInteractionSource() }, indication = null ) { expanded = !expanded } ) { }
Animer des éléments de liste
Si vous souhaitez animer la réorganisation des éléments d'une liste ou d'une grille différée, consultez la documentation sur l'animation des éléments d'une mise en page différée.
Recommandations personnalisées
- Remarque : Le texte du lien s'affiche lorsque JavaScript est désactivé
- Animations basées sur la valeur
- Animations dans Compose
- Compatibilité avec les outils d'animation {:#tooling}


