
لإظهار الإشعارات بأفضل شكل عبر إصدارات مختلفة من Android، استخدام الإشعار العادي نموذجك لإنشاء الإشعارات. إذا أردت تضمين المزيد من المحتوى في إشعارك، يمكنك استخدام أحد الإشعارات القابلة للتوسيع النماذج.
ومع ذلك، إذا كانت نماذج النظام لا تلبي احتياجاتك، يمكنك استخدام نماذجك الخاصة تخطيط الإشعار.
إنشاء تخطيط مخصص لمنطقة المحتوى
إذا كنت بحاجة إلى تنسيق مخصّص، يمكنك تطبيقه
NotificationCompat.DecoratedCustomViewStyle
إلى الإشعار. تتيح لك واجهة برمجة التطبيقات هذه توفير تنسيق مخصص للمحتوى
التي تشغلها عادةً العنوان والمحتوى النصي، مع الاستمرار في استخدام النظام
زخارف لرمز الإشعار والطابع الزمني والنص الفرعي وأزرار الإجراءات.
تعمل واجهة برمجة التطبيقات هذه بشكل مشابه لنماذج الإشعارات القابلة للتوسيع من خلال إنشاء إشعار أساسي التخطيط على النحو التالي:
- إنشاء إشعار أساسي
مع
NotificationCompat.Builder - اتصل
setStyle()، وتمريره مثيلاًNotificationCompat.DecoratedCustomViewStyle - تضخيم التنسيق المخصص كمثيل
RemoteViews - اتصل
setCustomContentView()لضبط تنسيق الإشعار المصغّر. - اختياريًا، يمكنك أيضًا استدعاء
setCustomBigContentView()لضبط تنسيق مختلف للإشعارات الموسّعة.
تجهيز التخطيطات
يجب استخدام التنسيقَين small وlarge. في هذا المثال، تنسيق small
هكذا:
<?xml version="1.0" encoding="utf-8"?>
<LinearLayout xmlns:android="http://schemas.android.com/apk/res/android"
    android:layout_width="match_parent"
    android:layout_height="wrap_content"
    android:orientation="vertical">

    <TextView
        android:id="@+id/notification_title"
        style="@style/TextAppearance.Compat.Notification.Title"
        android:layout_width="wrap_content"
        android:layout_height="0dp"
        android:layout_weight="1"
        android:text="Small notification, showing only a title" />
</LinearLayout>
وقد يظهر التنسيق large على النحو التالي:
<?xml version="1.0" encoding="utf-8"?>
<LinearLayout xmlns:android="http://schemas.android.com/apk/res/android"
    android:layout_width="match_parent"
    android:layout_height="300dp"
    android:orientation="vertical">

    <TextView
        android:id="@+id/notification_title"
        style="@style/TextAppearance.Compat.Notification.Title"
        android:layout_width="wrap_content"
        android:layout_height="wrap_content"
        android:layout_weight="1"
        android:text="Large notification, showing a title and a body." />

    <TextView
        android:id="@+id/notification_body"
        style="@style/TextAppearance.Compat.Notification.Line2"
        android:layout_width="wrap_content"
        android:layout_height="wrap_content"
        android:layout_weight="1"
        android:text="This is the body. The height is manually forced to 300dp." />
</LinearLayout>
إنشاء الإشعار وعرضه
بعد أن تصبح التخطيطات جاهزة، يمكنك استخدامها كما هو موضّح في المثال التالي:
Kotlin
val notificationManager = getSystemService(Context.NOTIFICATION_SERVICE) as NotificationManager

// Get the layouts to use in the custom notification.
val notificationLayout = RemoteViews(packageName, R.layout.notification_small)
val notificationLayoutExpanded = RemoteViews(packageName, R.layout.notification_large)

// Apply the layouts to the notification.
val customNotification = NotificationCompat.Builder(context, CHANNEL_ID)
        .setSmallIcon(R.drawable.notification_icon)
        .setStyle(NotificationCompat.DecoratedCustomViewStyle())
        .setCustomContentView(notificationLayout)
        .setCustomBigContentView(notificationLayoutExpanded)
        .build()

notificationManager.notify(666, customNotification)
Java
NotificationManager notificationManager = (NotificationManager) getSystemService(Context.NOTIFICATION_SERVICE);

// Get the layouts to use in the custom notification
RemoteViews notificationLayout = new RemoteViews(getPackageName(), R.layout.notification_small);
RemoteViews notificationLayoutExpanded = new RemoteViews(getPackageName(), R.layout.notification_large);

// Apply the layouts to the notification.
Notification customNotification = new NotificationCompat.Builder(context, CHANNEL_ID)
        .setSmallIcon(R.drawable.notification_icon)
        .setStyle(new NotificationCompat.DecoratedCustomViewStyle())
        .setCustomContentView(notificationLayout)
        .setCustomBigContentView(notificationLayoutExpanded)
        .build();

notificationManager.notify(666, customNotification);
تجدر الإشارة إلى أنّ لون خلفية الإشعار قد يختلف من جهاز إلى آخر.
والإصدارات. تطبيق أنماط مكتبة الدعم، مثل
TextAppearance_Compat_Notification للنص
TextAppearance_Compat_Notification_Title للعنوان في التنسيق المخصص،
كما هو موضح في المثال التالي. تتكيف هذه الأنماط مع اختلافات الألوان بحيث
لن ينتهي بك الأمر بنص أسود على أسود أو أبيض على أبيض.
<TextView
    android:layout_width="wrap_content"
    android:layout_height="match_parent"
    android:layout_weight="1"
    android:text="@string/notification_title"
    android:id="@+id/notification_title"
    style="@style/TextAppearance.Compat.Notification.Title" />
تجنُّب ضبط صورة خلفية للعنصر RemoteViews، لأنّ النص
غير قابل للقراءة.
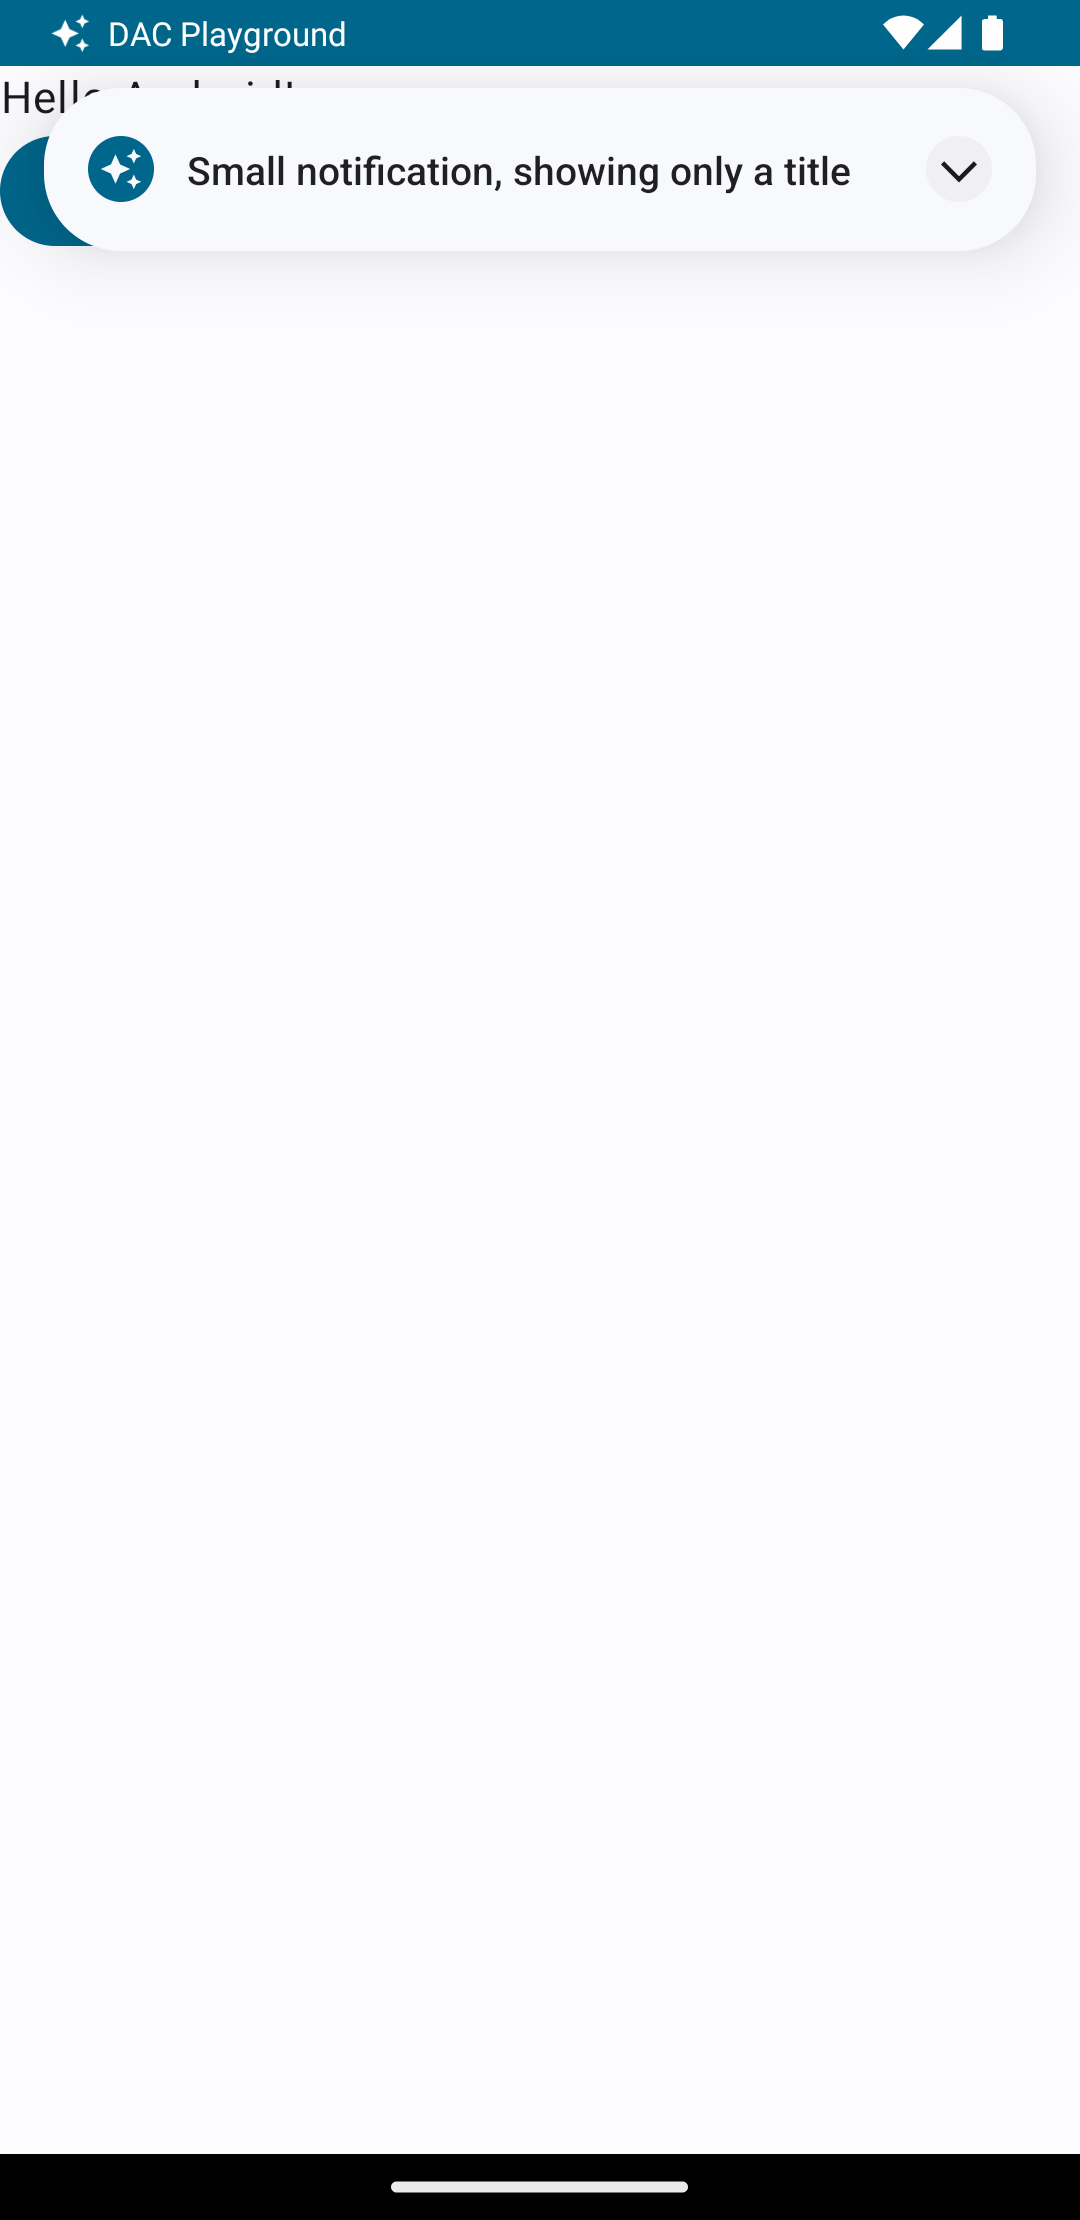
عند تشغيل إشعار أثناء استخدام المستخدم لأحد التطبيقات، تكون النتيجة على غرار الشكل 1:
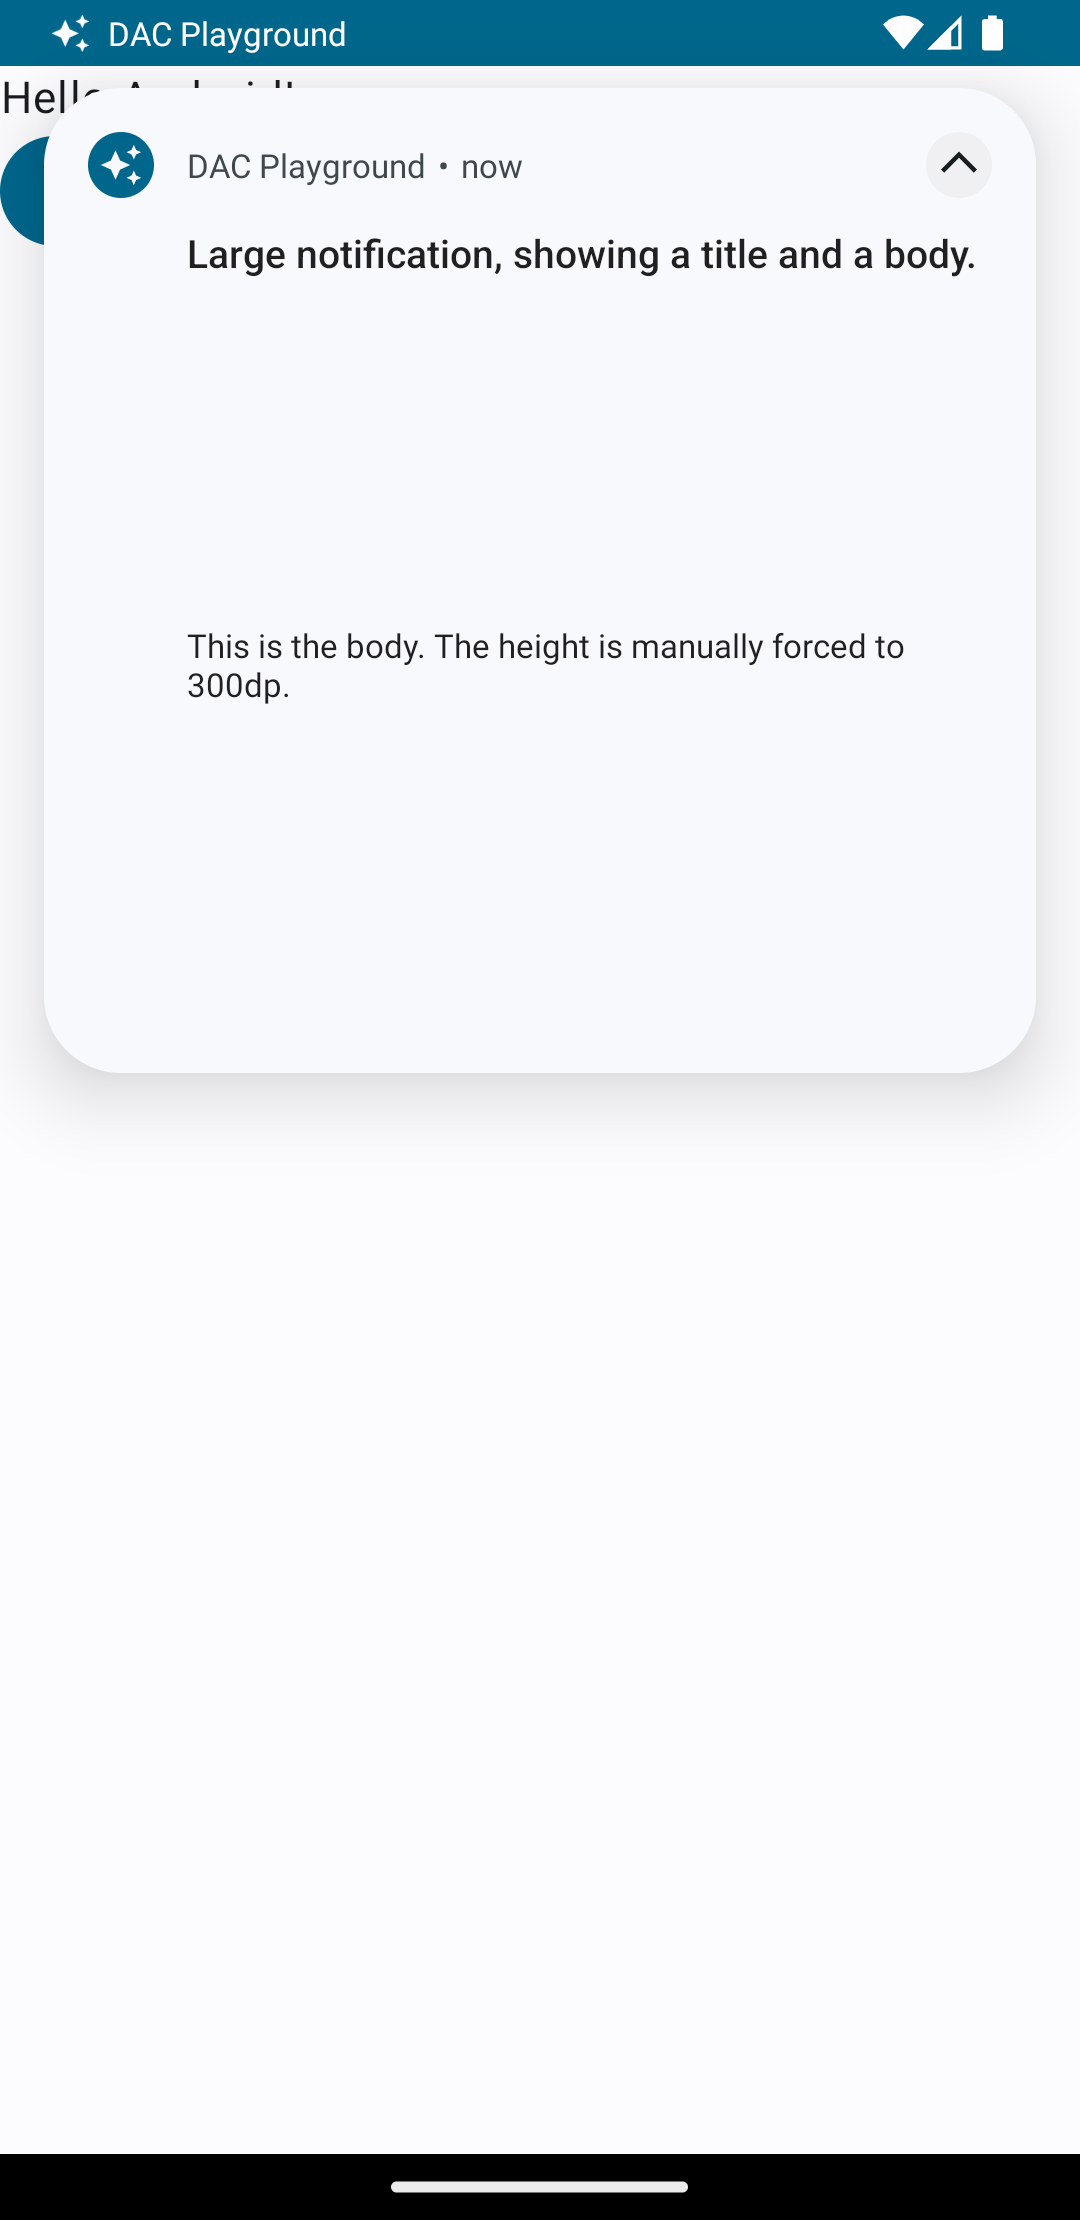
يؤدي النقر على سهم التوسيع إلى توسيع الإشعار، كما هو موضح في الشكل 2:
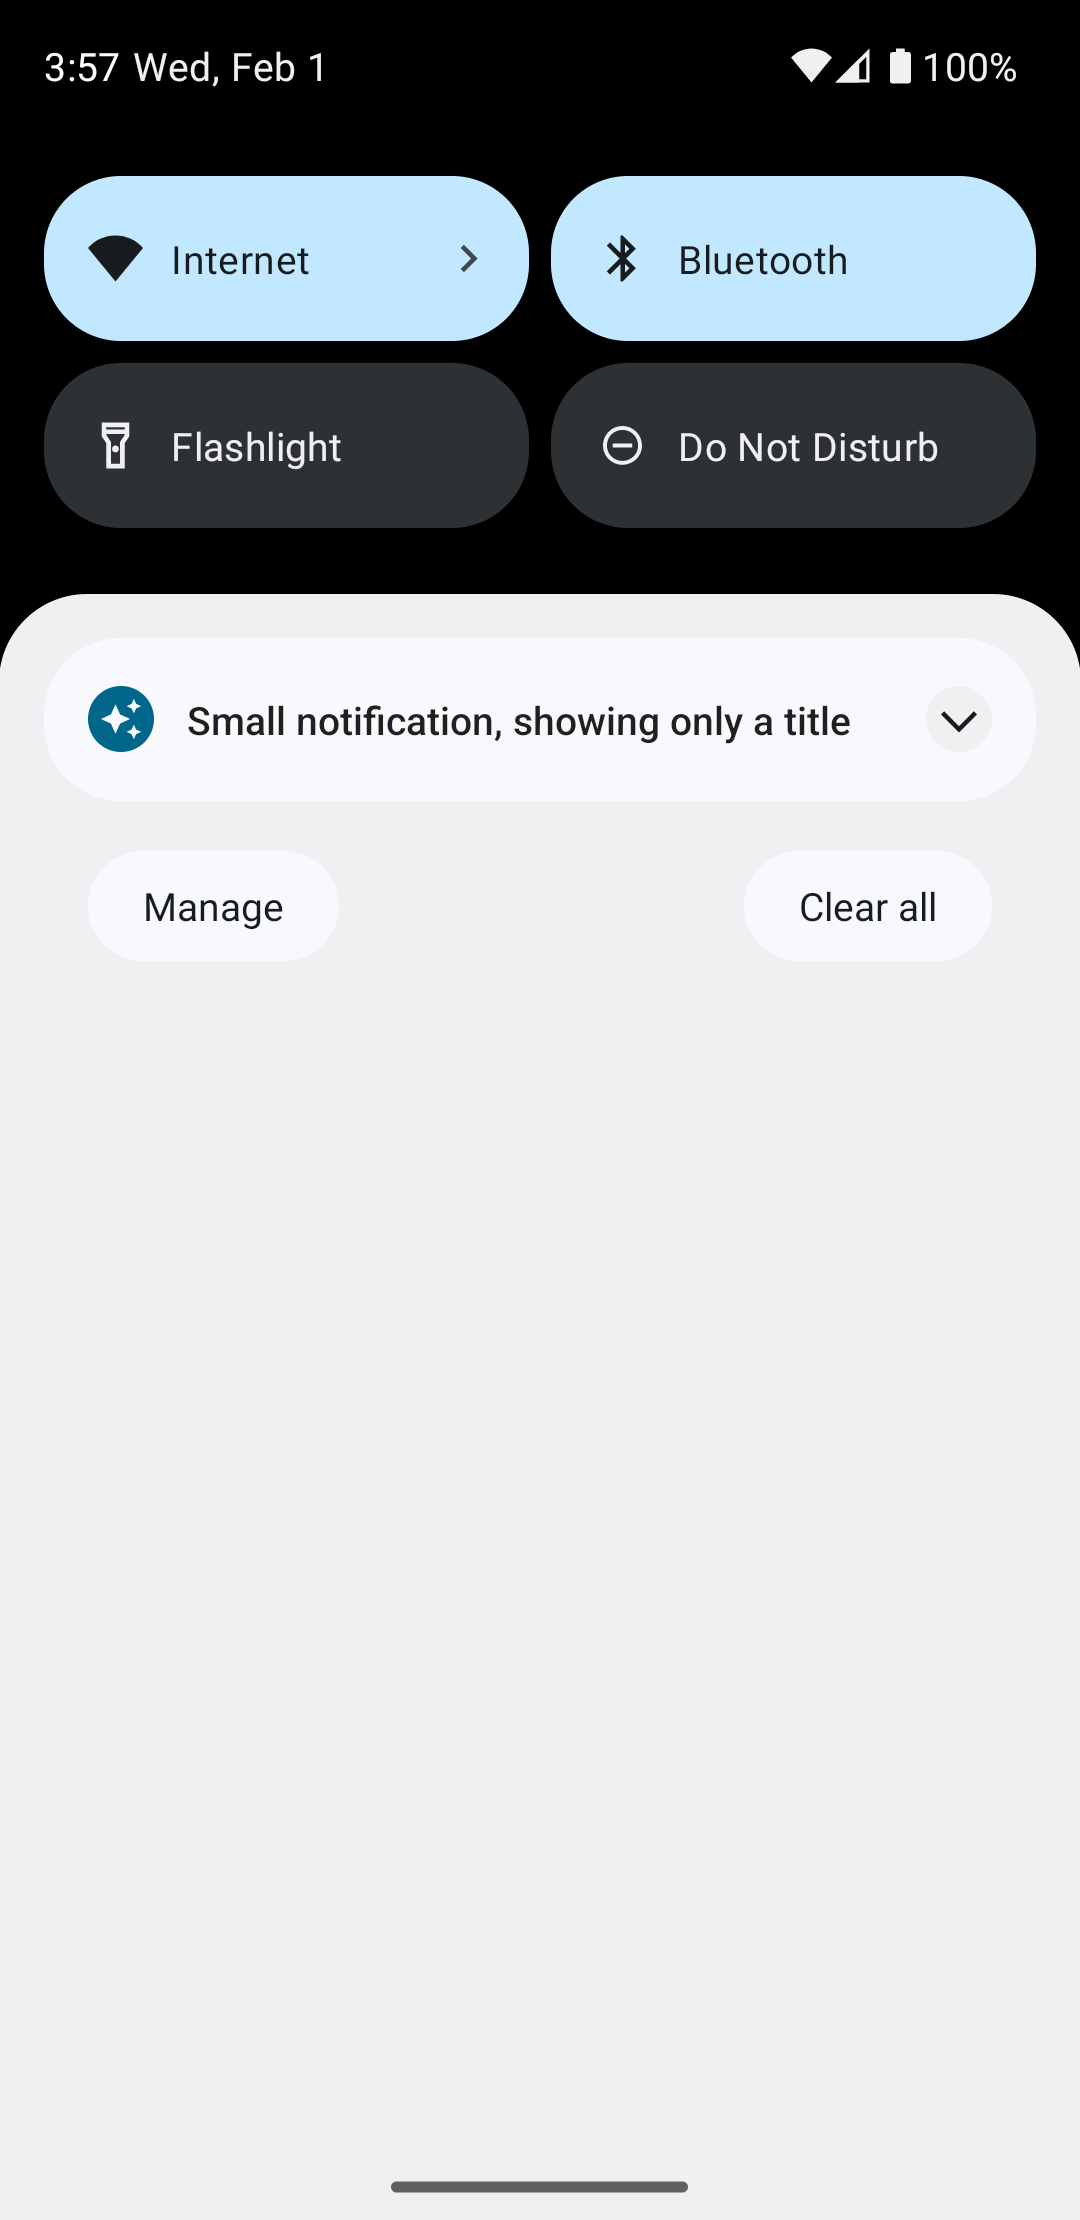
بعد انتهاء مهلة الإشعار، يكون الإشعار مرئيًا فقط في شريط النظام، الذي يبدو كالشكل 3:
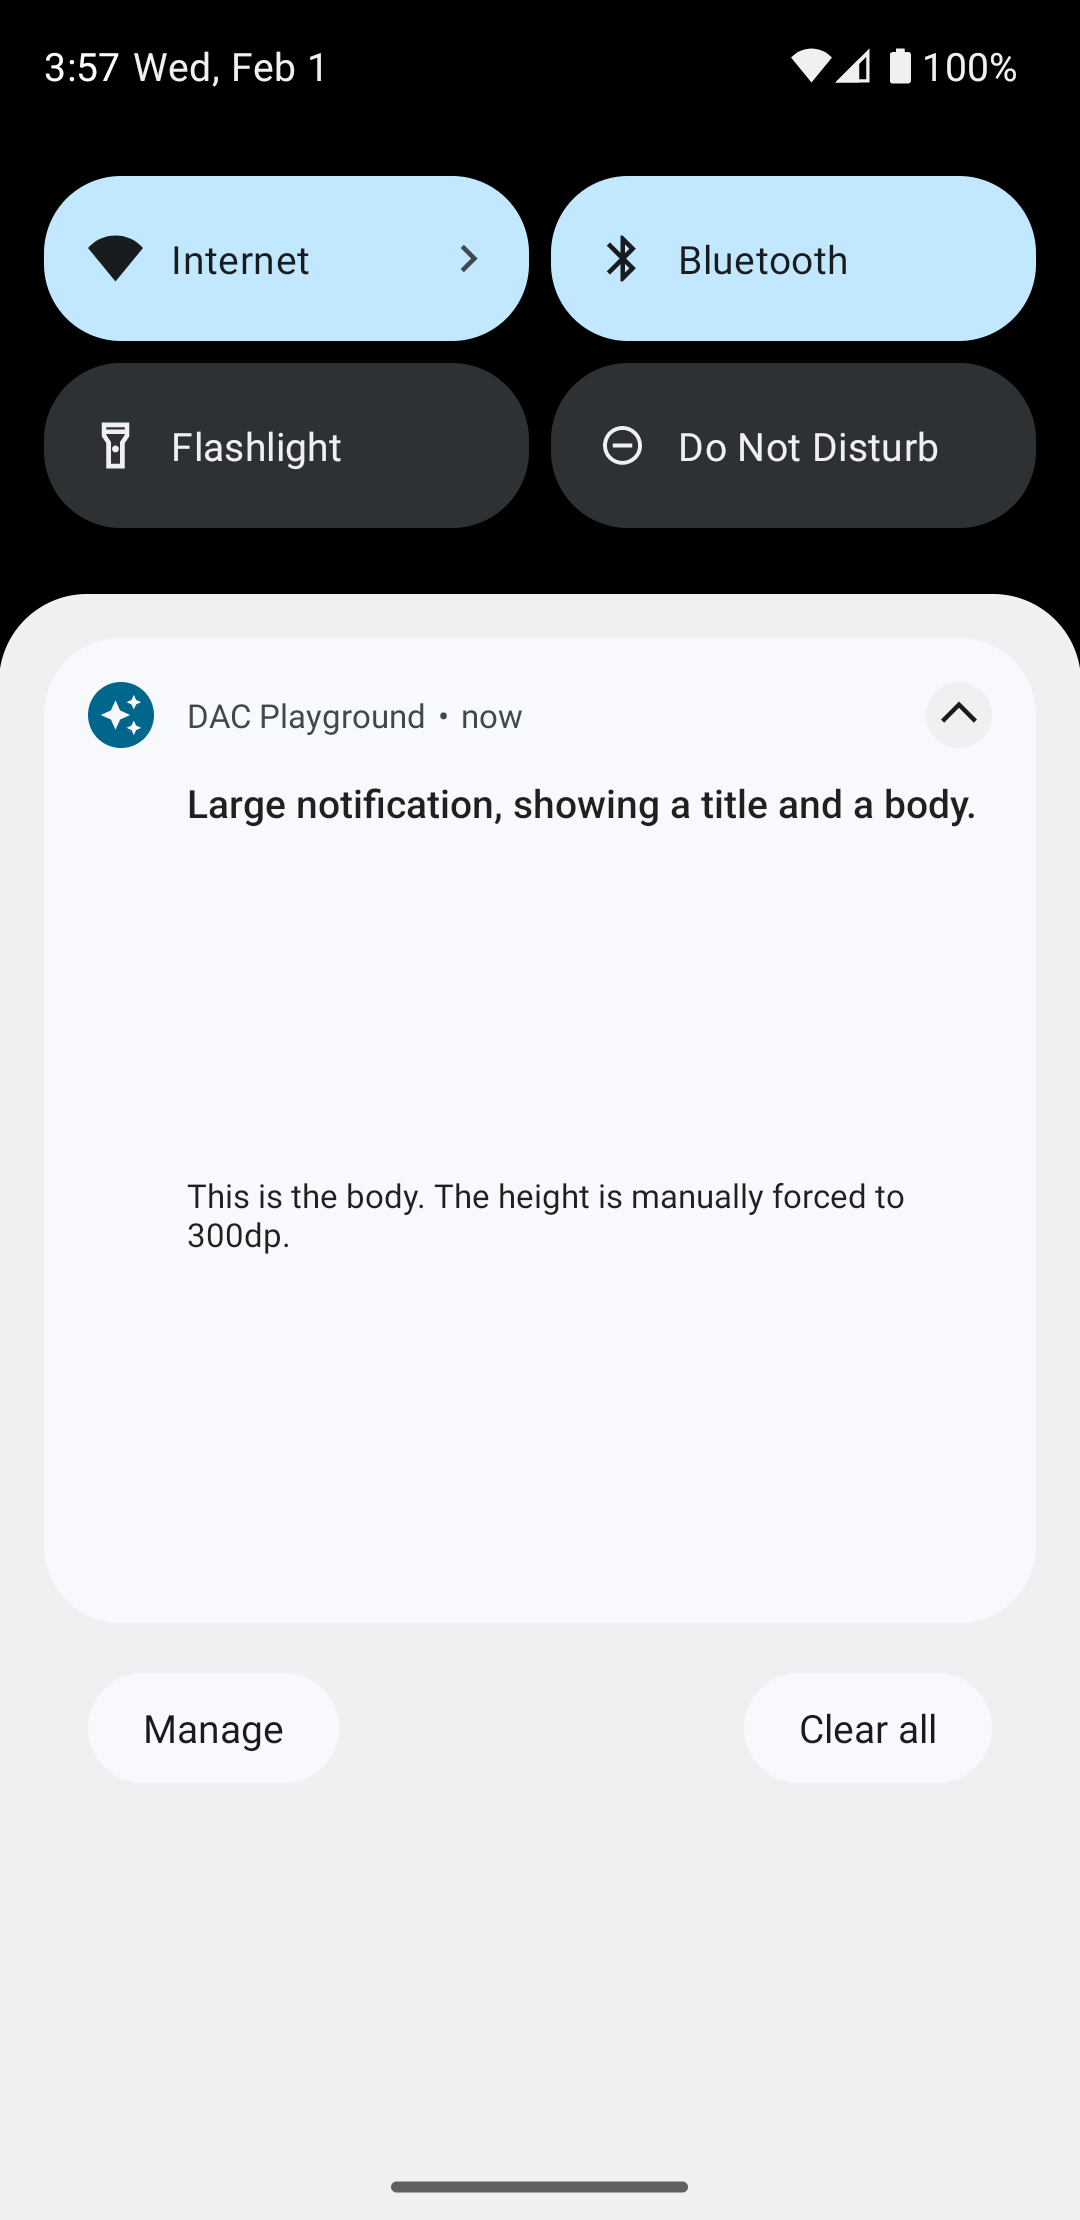
يؤدي النقر على سهم التوسيع إلى توسيع الإشعار، كما هو موضح في الشكل 4:
إنشاء تنسيق مخصّص بالكامل للإشعارات
إذا كنت لا تريد عرض الإشعار العادي في الإشعار
الرمز والعنوان، فاتبع الخطوات السابقة ولكن لا تستدعي setStyle().