
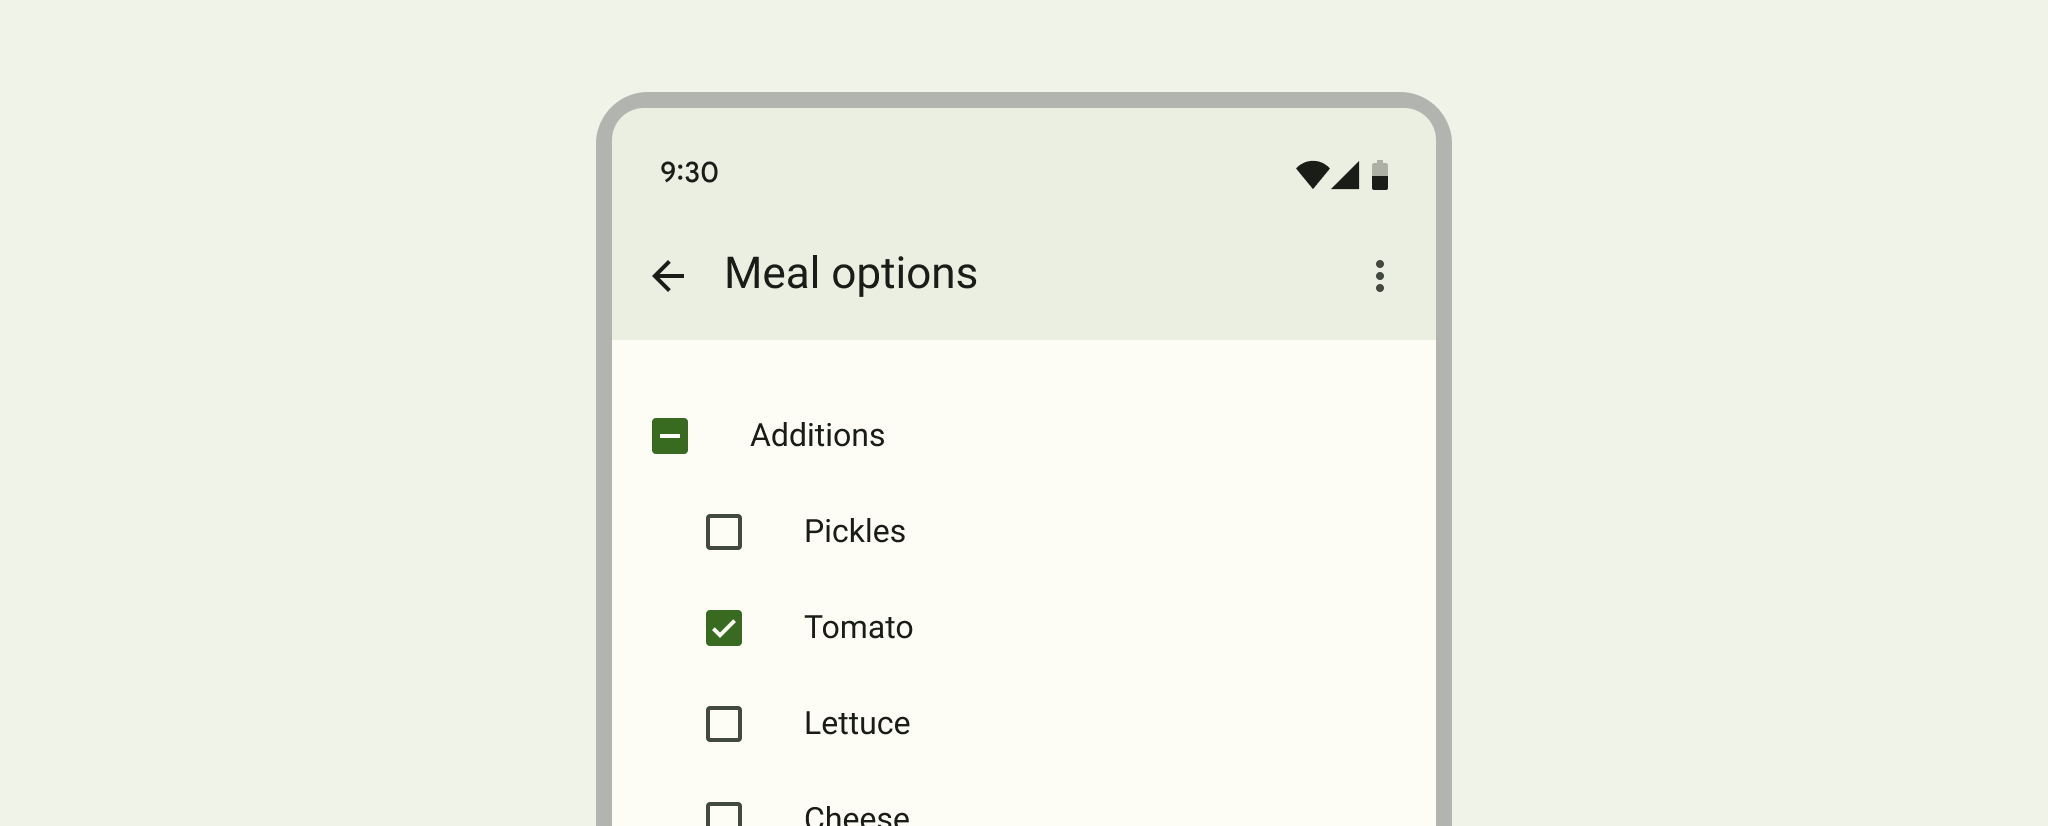
Kotak centang memungkinkan pengguna memilih satu atau beberapa opsi dari suatu kumpulan. Biasanya, Anda menampilkan opsi kotak centang dalam daftar vertikal.
Untuk membuat setiap opsi kotak centang, buat
CheckBox dalam tata letak Anda. Karena
sekumpulan opsi kotak centang memungkinkan pengguna memilih beberapa item, setiap kotak centang dikelola secara terpisah,
dan Anda harus mendaftarkan pemroses klik untuk masing-masing kotak centang.
Merespons peristiwa klik
Mulai dengan membuat tata letak dengan objek CheckBox dalam daftar:
<?xml version="1.0" encoding="utf-8"?>
<LinearLayout xmlns:android="http://schemas.android.com/apk/res/android"
    android:orientation="vertical"
    android:layout_width="match_parent"
    android:layout_height="match_parent">
    <CheckBox android:id="@+id/checkbox_meat"
        android:layout_width="wrap_content"
        android:layout_height="wrap_content"
        android:text="Meat" />
    <CheckBox android:id="@+id/checkbox_cheese"
        android:layout_width="wrap_content"
        android:layout_height="wrap_content"
        android:text="Cheese"/>
</LinearLayout>
Setelah tata letak siap, buka Activity atau Fragment, temukan tampilan
CheckBox, dan tetapkan pemroses perubahan, seperti dalam contoh berikut:
Kotlin
findViewById<CheckBox>(R.id.checkbox_meat)
    .setOnCheckedChangeListener { buttonView, isChecked ->
        Log.d("CHECKBOXES", "Meat is checked: $isChecked")
    }

findViewById<CheckBox>(R.id.checkbox_cheese)
    .setOnCheckedChangeListener { buttonView, isChecked ->
        Log.d("CHECKBOXES", "Cheese is checked: $isChecked")
    }
Java
findViewById<CheckBox>(R.id.checkbox_meat)
    .setOnCheckedChangeListener { buttonView, isChecked ->
        Log.d("CHECKBOXES", "Meat is checked: $isChecked");
    }

findViewById<CheckBox>(R.id.checkbox_cheese)
    .setOnCheckedChangeListener { buttonView, isChecked ->
        Log.d("CHECKBOXES", "Cheese is checked: $isChecked");
    }
Kode sebelumnya mencetak pesan di Logcat setiap kali status kotak centang berubah.