ज्यामिति पैनल
संग्रह की मदद से व्यवस्थित रहें
अपनी प्राथमिकताओं के आधार पर, कॉन्टेंट को सेव करें और कैटगरी में बांटें.

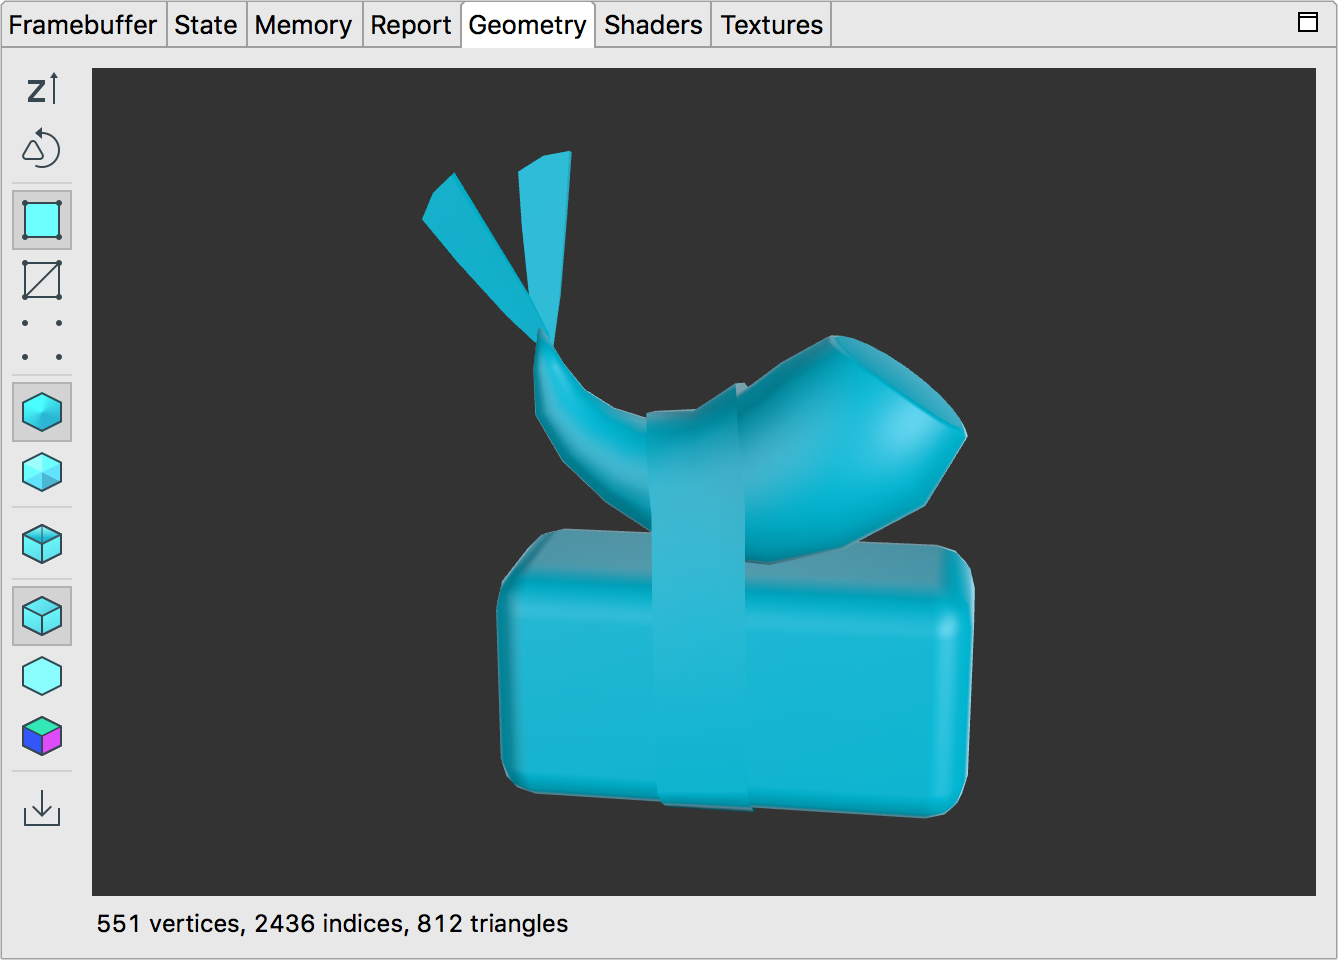
ज्यामिति पैन, चुने गए ड्रॉ कॉल के पहले से बदले गए मेश को रेंडर करता है.
मॉडल को घुमाने के लिए, माउस या टचपैड का इस्तेमाल किया जा सकता है. साथ ही, ज़ूम इन और ज़ूम आउट किया जा सकता है.
इस टेबल में, टूलबार बटन की मदद से की जा सकने वाली कार्रवाइयों के बारे में बताया गया है:
बटन |
ब्यौरा |
उदाहरण |
|
y-ऐक्सिस ऊपर की ओर और z-ऐक्सिस ऊपर की ओर के बीच टॉगल करने के लिए, बटन पर क्लिक करें. OpenGL ES में, डिफ़ॉल्ट रूप से Y ऐक्सिस ऊपर की ओर, X ऐक्सिस हॉरिज़ॉन्टल, और Z ऐक्सिस गहराई के तौर पर होता है.
|
 |
|
सामने और पीछे की ओर दिखने वाले ट्राएंगल देखने के लिए, ट्राएंगल को घड़ी की उल्टी दिशा और घड़ी की दिशा में घुमाने के बीच टॉगल करें.
|
 |
|
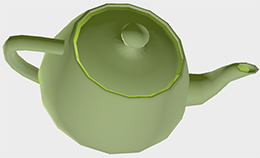
ज्यामिति को शेड किए गए पॉलीगॉन के तौर पर दिखाएं.
|
 |
|
ज्यामिति को वायरफ़्रेम के तौर पर रेंडर करके दिखाएं.
|
 |
|
ज्यामिति को वर्टेक्स डेटा पॉइंट के तौर पर रेंडर किया गया है.
|
 |
|
आपके कोड में बताए गए स्मूथ नॉर्मल दिखाने के लिए, यह बटन चुनें. अगर आपने अपने मेश में सामान्य वेक्टर नहीं बनाए हैं, तो यह बटन उपलब्ध नहीं होगा.
|
 |
|
स्मूद नॉर्मल का इस्तेमाल किए बिना, लाइट वाली ज्यामिति देखने के लिए यह बटन चुनें. यह ज्यामिति को इस तरह से रेंडर करता है जैसे हर पॉलीगॉन को स्मूथ करने के बजाय फ़्लैट किया गया हो. इसके लिए, यह कंप्यूट किए गए फ़ेस नॉर्मल का इस्तेमाल करता है.
|
 |
|
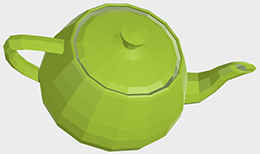
बैकफ़ेस कलिंग को टॉगल करने के लिए, इस बटन पर क्लिक करें. इससे, कैमरा से दूर की ओर दिखने वाले पॉलीगॉन छिप जाते हैं.
|
 |
|
इस बटन को चुनने पर, मेश को एक सामान्य दिशात्मक रोशनी के साथ रेंडर किया जाता है.
|
 |
|
सिर्फ़ आस-पास की रोशनी के साथ मेश को रेंडर करने के लिए, यह बटन चुनें.
|
 |
|
सामान्य व्यू देखने के लिए, यह बटन चुनें. लाल रंग से पॉज़िटिव x ऐक्सिस वैल्यू, हरे रंग से पॉज़िटिव y ऐक्सिस वैल्यू, और नीले रंग से पॉज़िटिव z ऐक्सिस वैल्यू का पता चलता है.
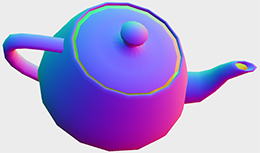
|
 |
इस पेज पर मौजूद कॉन्टेंट और कोड सैंपल कॉन्टेंट के लाइसेंस में बताए गए लाइसेंस के हिसाब से हैं. Java और OpenJDK, Oracle और/या इससे जुड़ी हुई कंपनियों के ट्रेडमार्क या रजिस्टर किए हुए ट्रेडमार्क हैं.
आखिरी बार 2025-07-27 (UTC) को अपडेट किया गया.
[null,null,["आखिरी बार 2025-07-27 (UTC) को अपडेट किया गया."],[],[],null,["# Geometry pane\n\nThe geometry pane renders the pre-transformed mesh of the selected draw call.\nYou can use your mouse or touchpad to rotate the model, and zoom in and out.\n\nThe following table describes the operations you can perform with the toolbar\nbuttons:\n\n| Button | Description | Example |\n|--------|---------------------------------------------------------------------------------------------------------------------------------------------------------------------------------|---------|\n| | Click the button to toggle between y axis up and z axis up. In OpenGL ES, the default is the y axis pointing up, the x axis horizontal, and the z axis as depth. | |\n| | Toggle between counterclockwise and clockwise triangle winding to view front- versus back-facing triangles. | |\n| | Show the geometry rendered as shaded polygons. | |\n| | Show the geometry rendered as a wireframe. | |\n| | Show the geometry rendered as vertex data points. | |\n| | Select this button to display smooth normals as specified in your code. The button is unavailable if you haven't authored normals in your mesh. | |\n| | Select this button to see the lit geometry without using smooth normals. It renders the geometry as if each polygon were flat instead of smoothed, using computed face normals. | |\n| | Click this button to toggle backface culling, which when enabled hides polygons facing away from the camera. | |\n| | Select this button to render the mesh with a simple directional light. | |\n| | Select this button to render the mesh with just ambient light. | |\n| | Select this button to view normals. Red indicates a positive x axis value, green a positive y axis value, and blue a positive z axis value. | |"]]