Bereich „Textur“
Mit Sammlungen den Überblick behalten
Sie können Inhalte basierend auf Ihren Einstellungen speichern und kategorisieren.
Im Bereich Textur wird der Inhalt der Textur angezeigt, die in der Texturansicht ausgewählt wurde.
Wenn die Textur eine Mipmap-Kette hat, können Sie die angezeigte Mipmap-Ebene mit dem Schieberegler unten ändern (nicht abgebildet). Standardmäßig wird die höchste Auflösungsebene (Ebene 0) angezeigt.
Bewegen Sie den Cursor auf das Texturbild, um eine vergrößerte Vorschau der umgebenden Pixel in der unteren linken Ecke der Ansicht anzuzeigen, wie im Bild oben. Im Bereich werden auch die Breite und Höhe der Textur sowie die x- und y-Koordinaten, die normalisierten Texturkoordinaten (U- und V-Werte) und der RBGA-Hexadezimalwert für diesen Punkt im Bild angezeigt.
Aufgaben und Ablauf
Mit den folgenden Schaltflächen können Sie Vorgänge für das Bild ausführen:
| SCHALTFLÄCHE | Beschreibung | Beispielergebnis |
|:-------------:|:-------------:| :-----:|
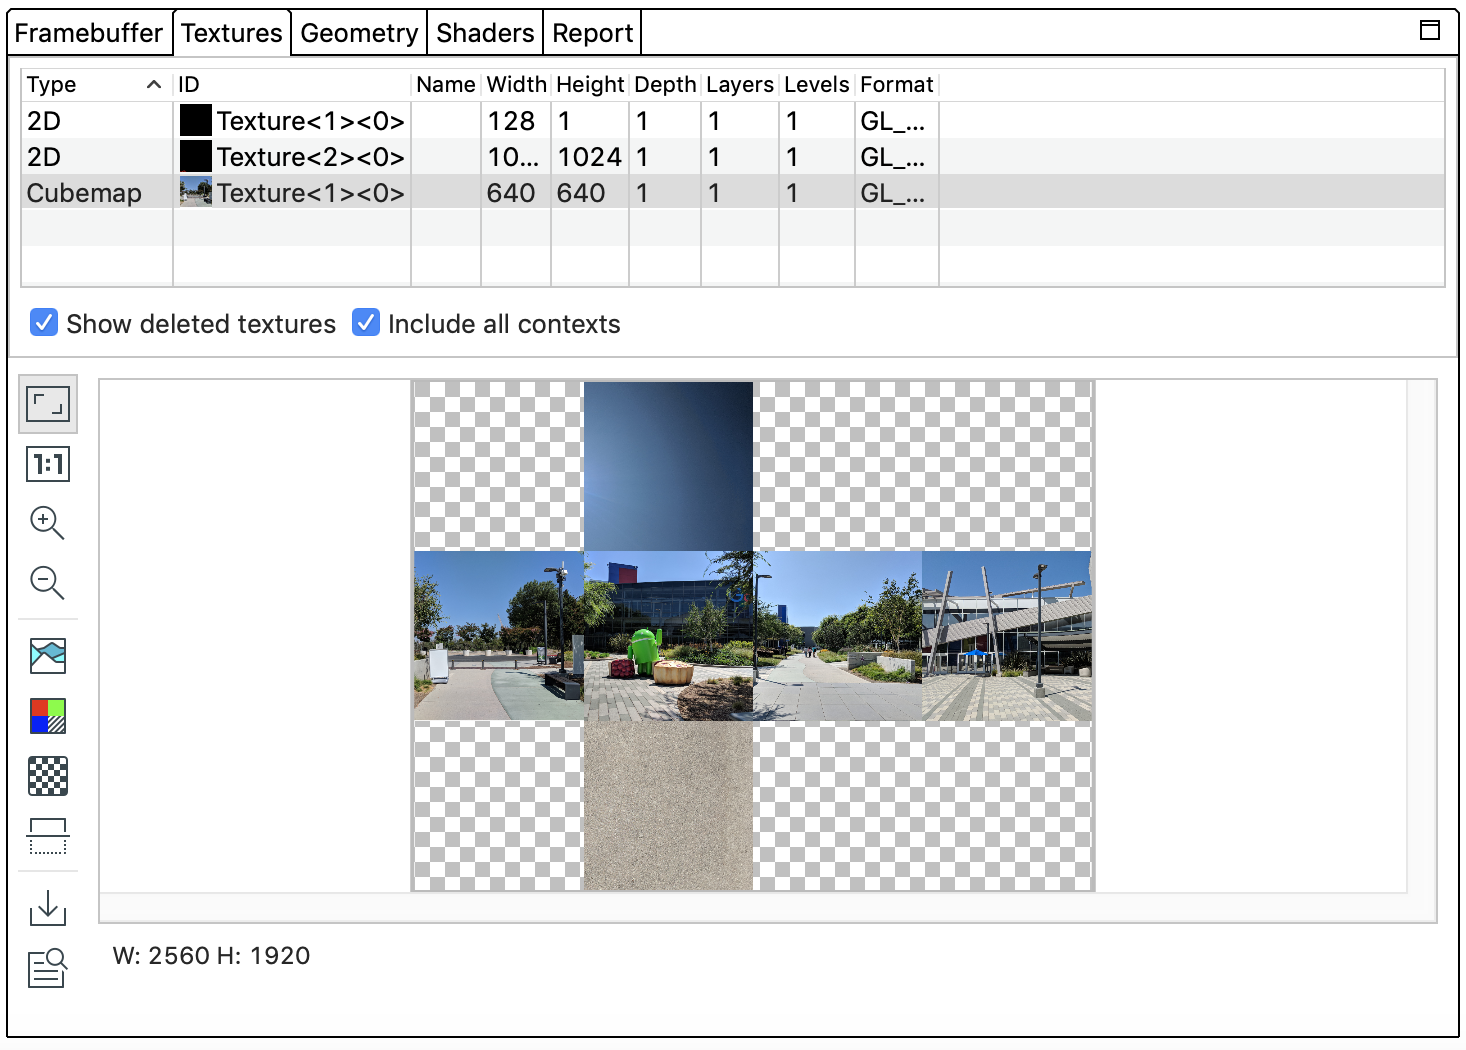
| | Das Bild wird so angepasst, dass es vollständig in den Bereich passt. Sie können auch mit der rechten Maustaste auf das Bild klicken, um den Zoom anzupassen.|
 |
|
|
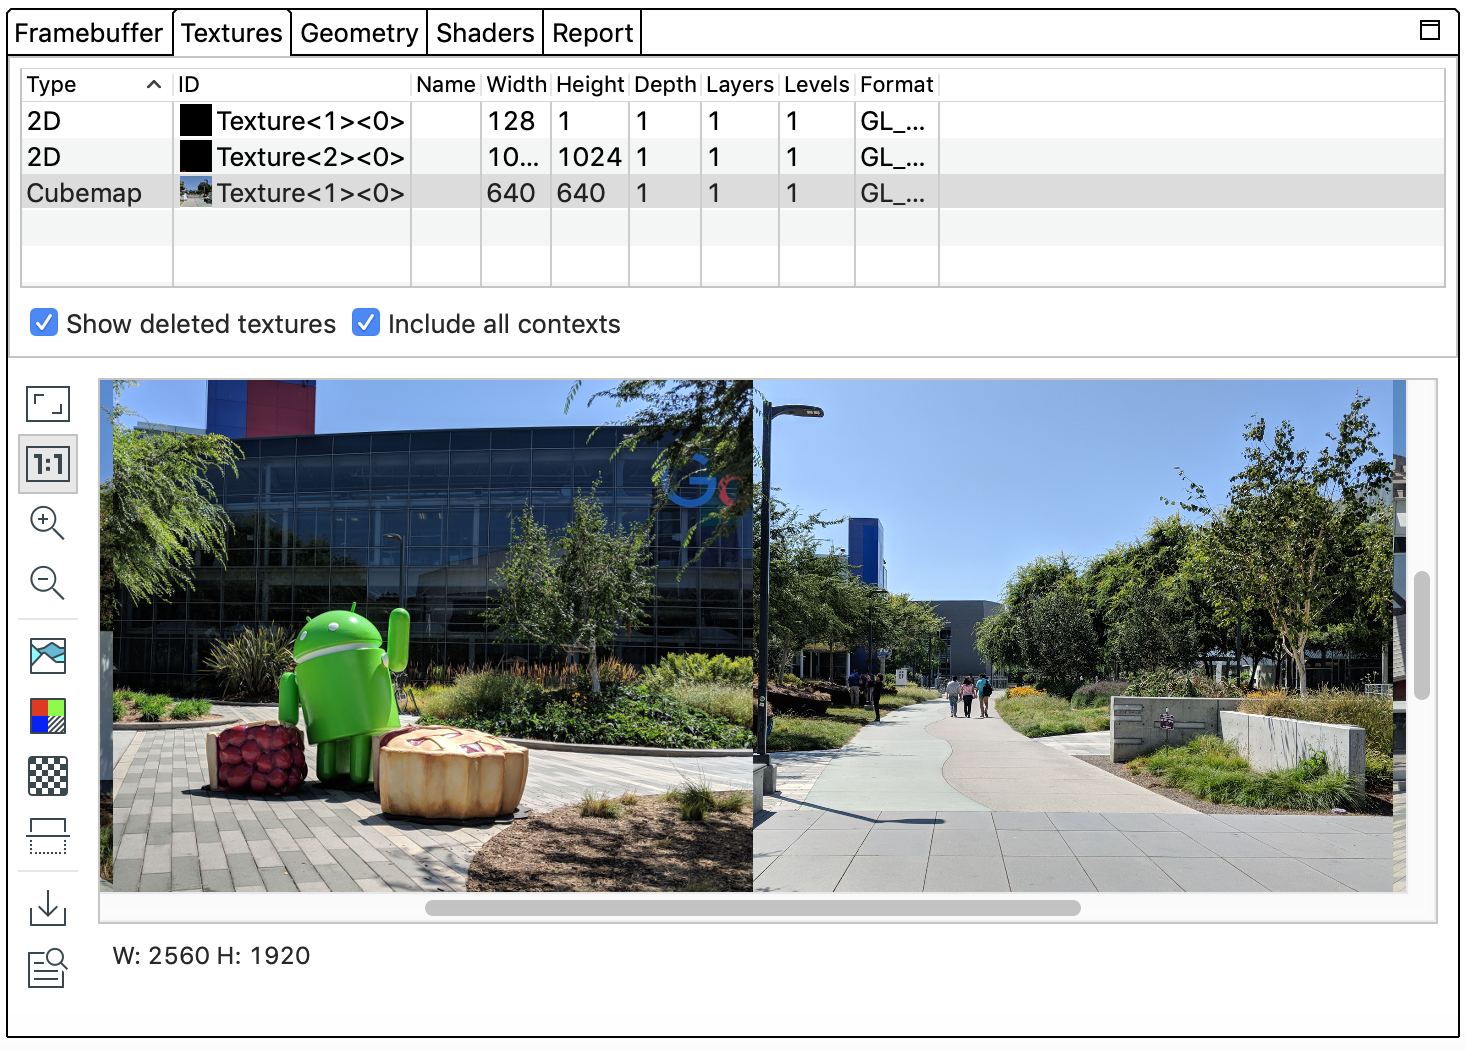
| | Das Bild wird ohne Skalierung angezeigt. Ein Gerätepixel entspricht einem Bildschirmpixel.|
 |
|
|
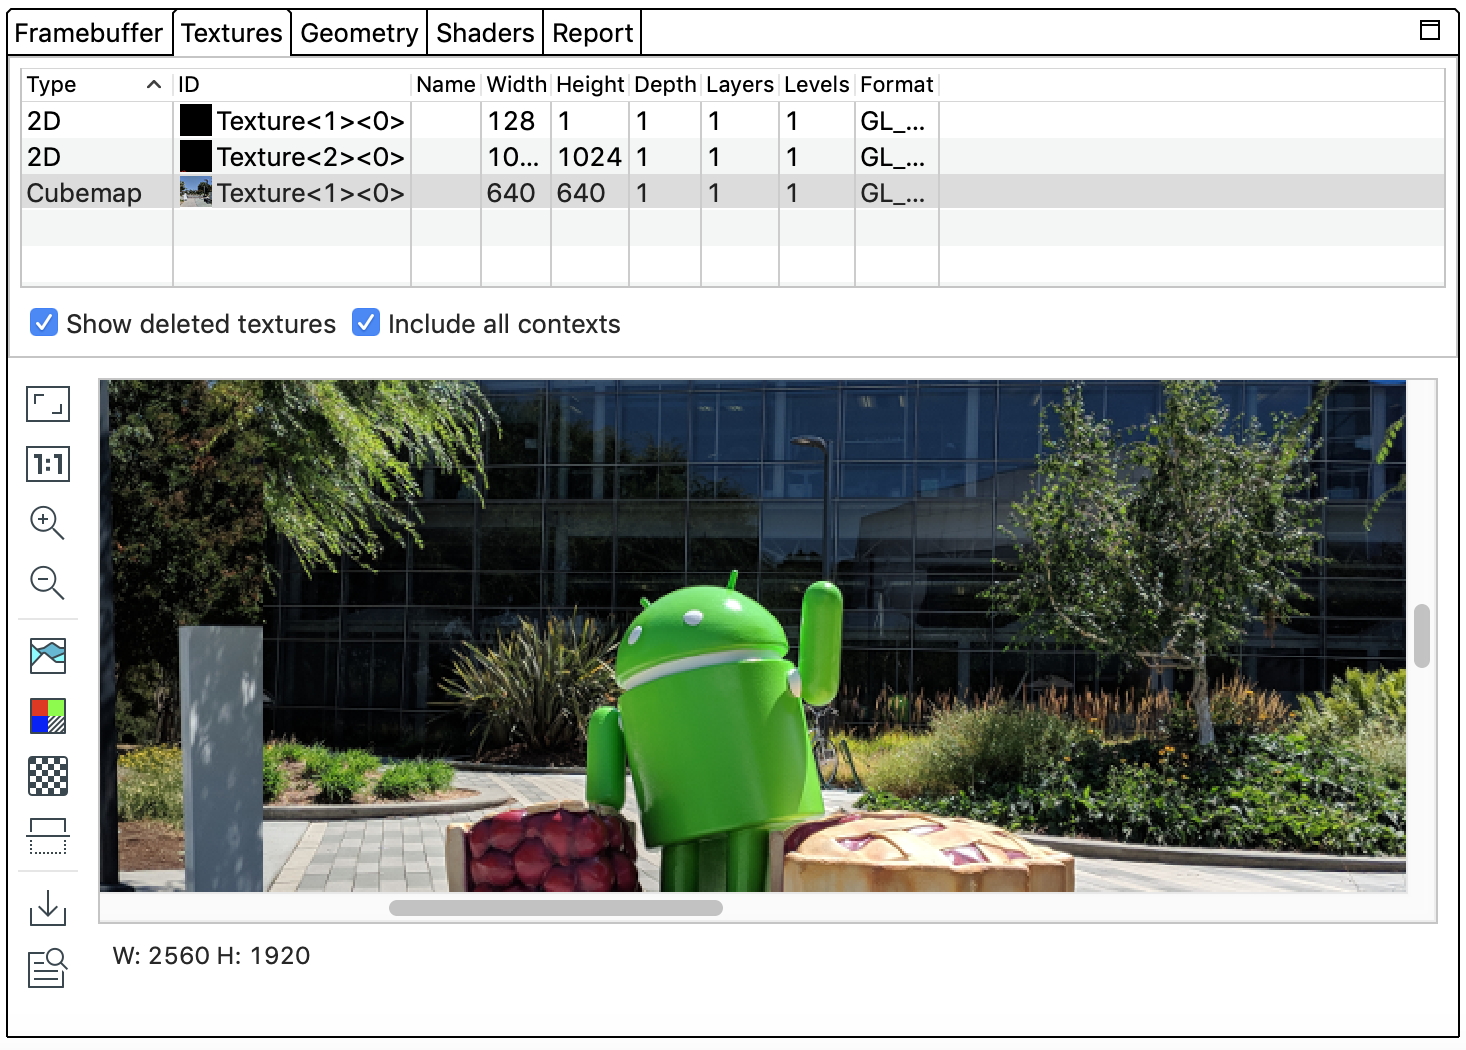
| | Das Bild wird vergrößert. Sie können auch das Mausrad oder Wischbewegungen mit zwei Fingern auf einem Touchpad verwenden, um heran- und herauszuzoomen. Sie können das Bild mit dem Cursor ziehen.|
 |
|
|
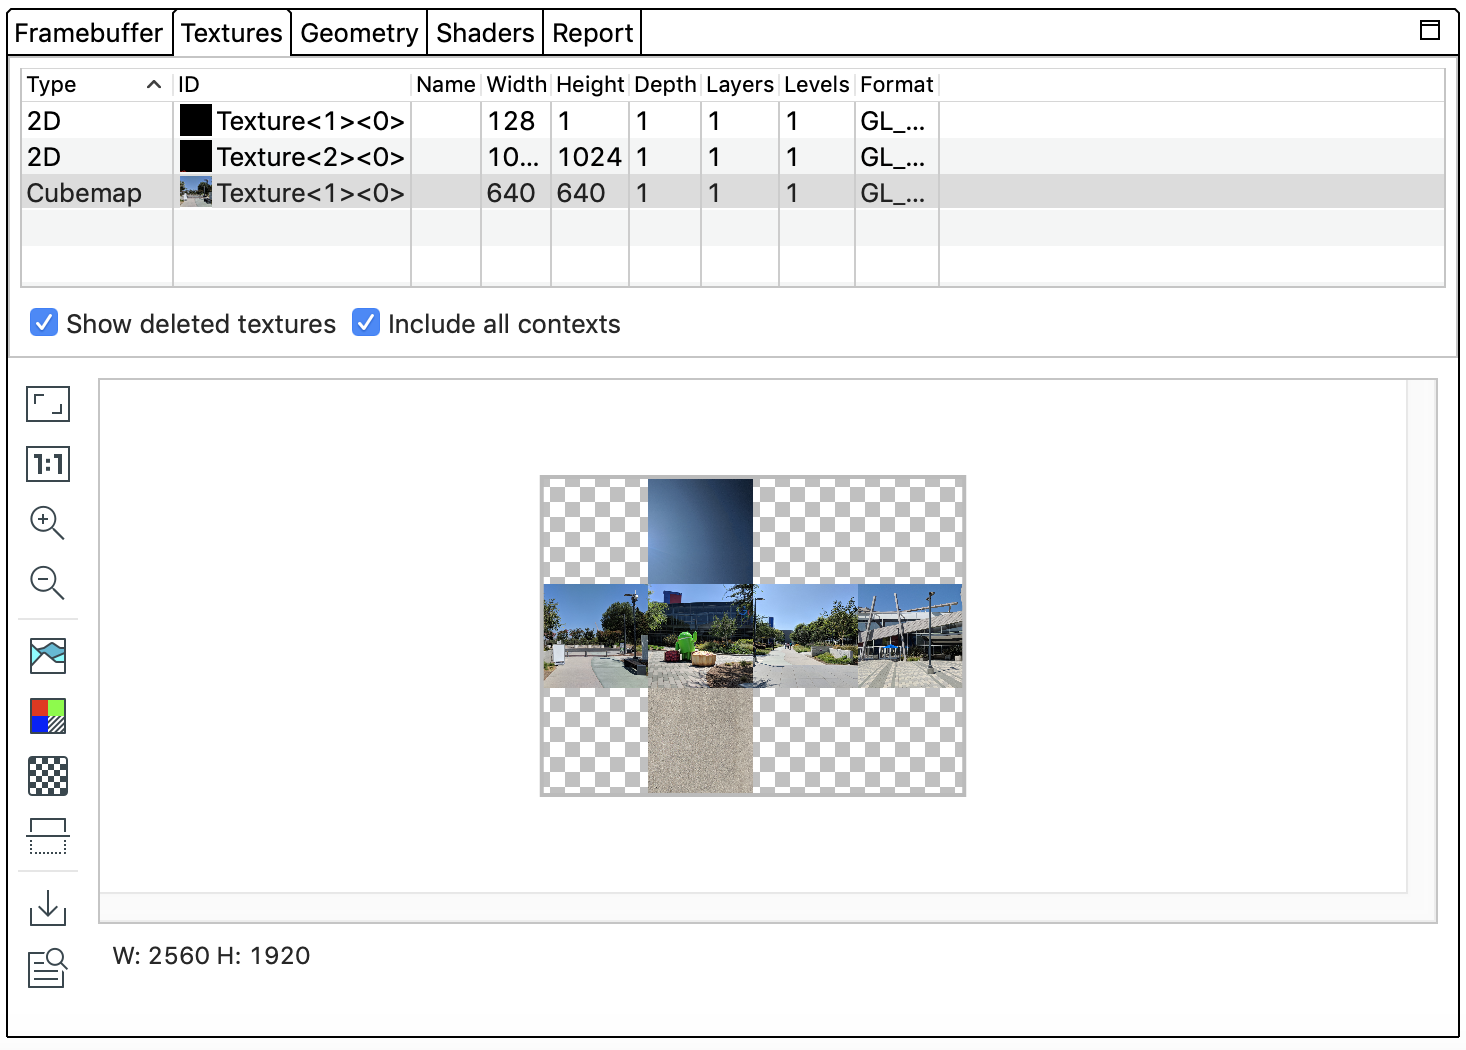
| | – Das Bild wird verkleinert. Sie können auch das Mausrad oder Wischbewegungen mit zwei Fingern auf einem Touchpad verwenden, um heran- und herauszuzoomen.|
 |
|
|
| |Zeigt das Farbhistogramm für das Bild an. Sie können die Ziehpunkte auf beiden Seiten auswählen, um die angezeigten Farbwerte zu begrenzen.|
 |
|
|
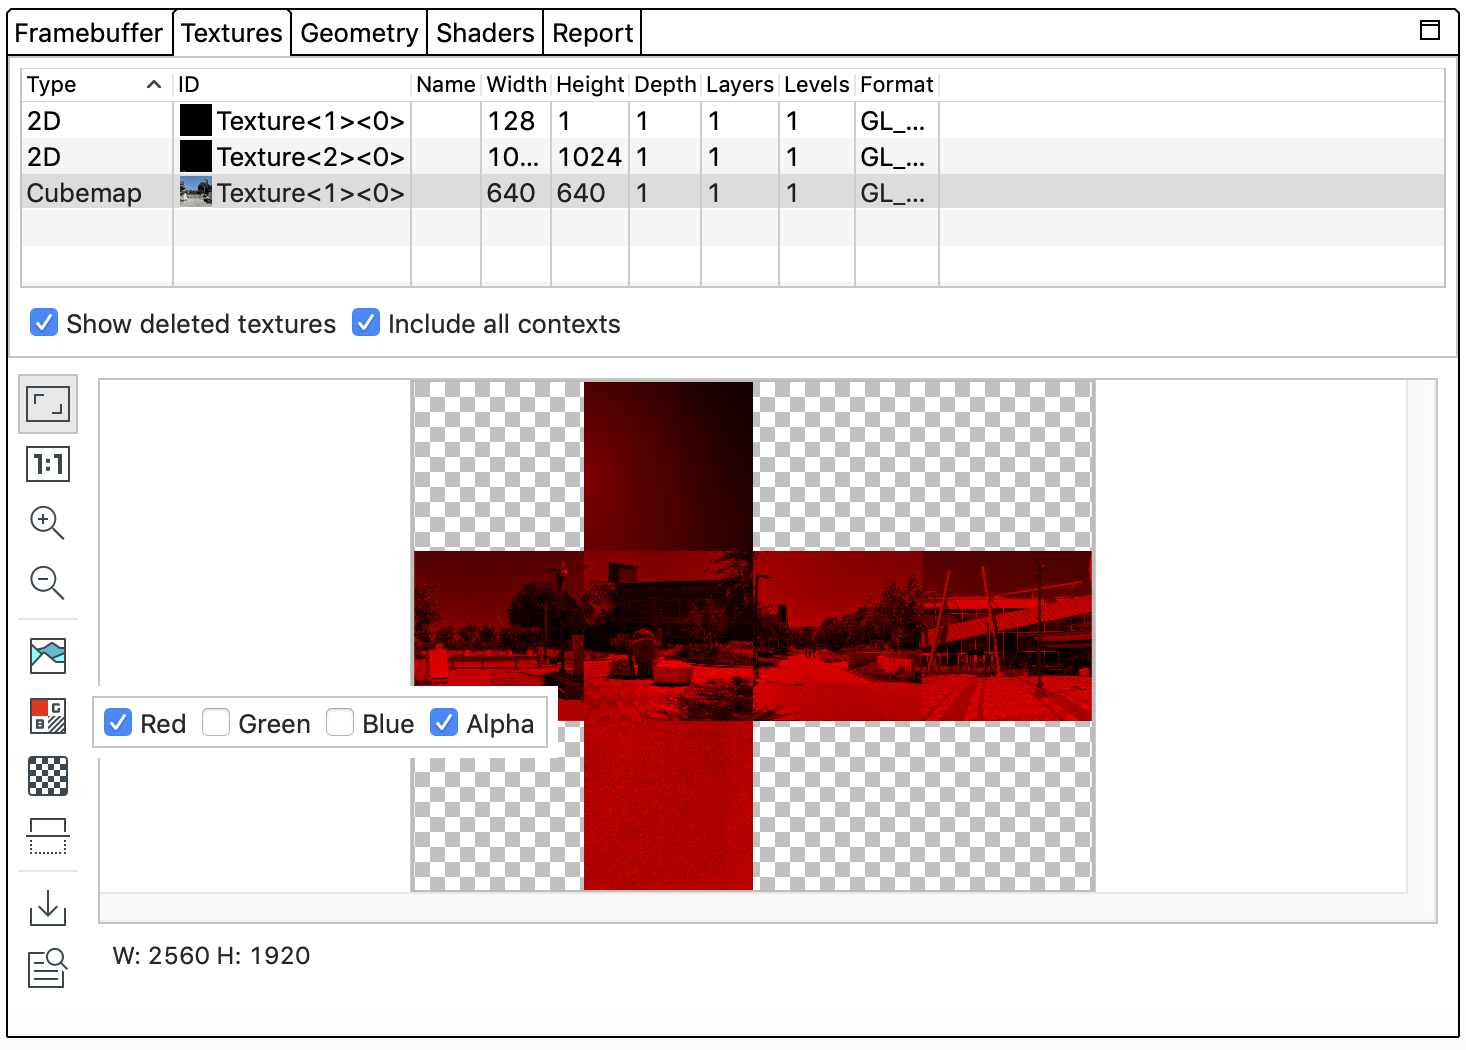
| |Wählen Sie die zu rendernden Farbkanäle aus. Die Optionen sind Rot, Grün, Blau und Alpha (Transparenz).|
 |
|
|
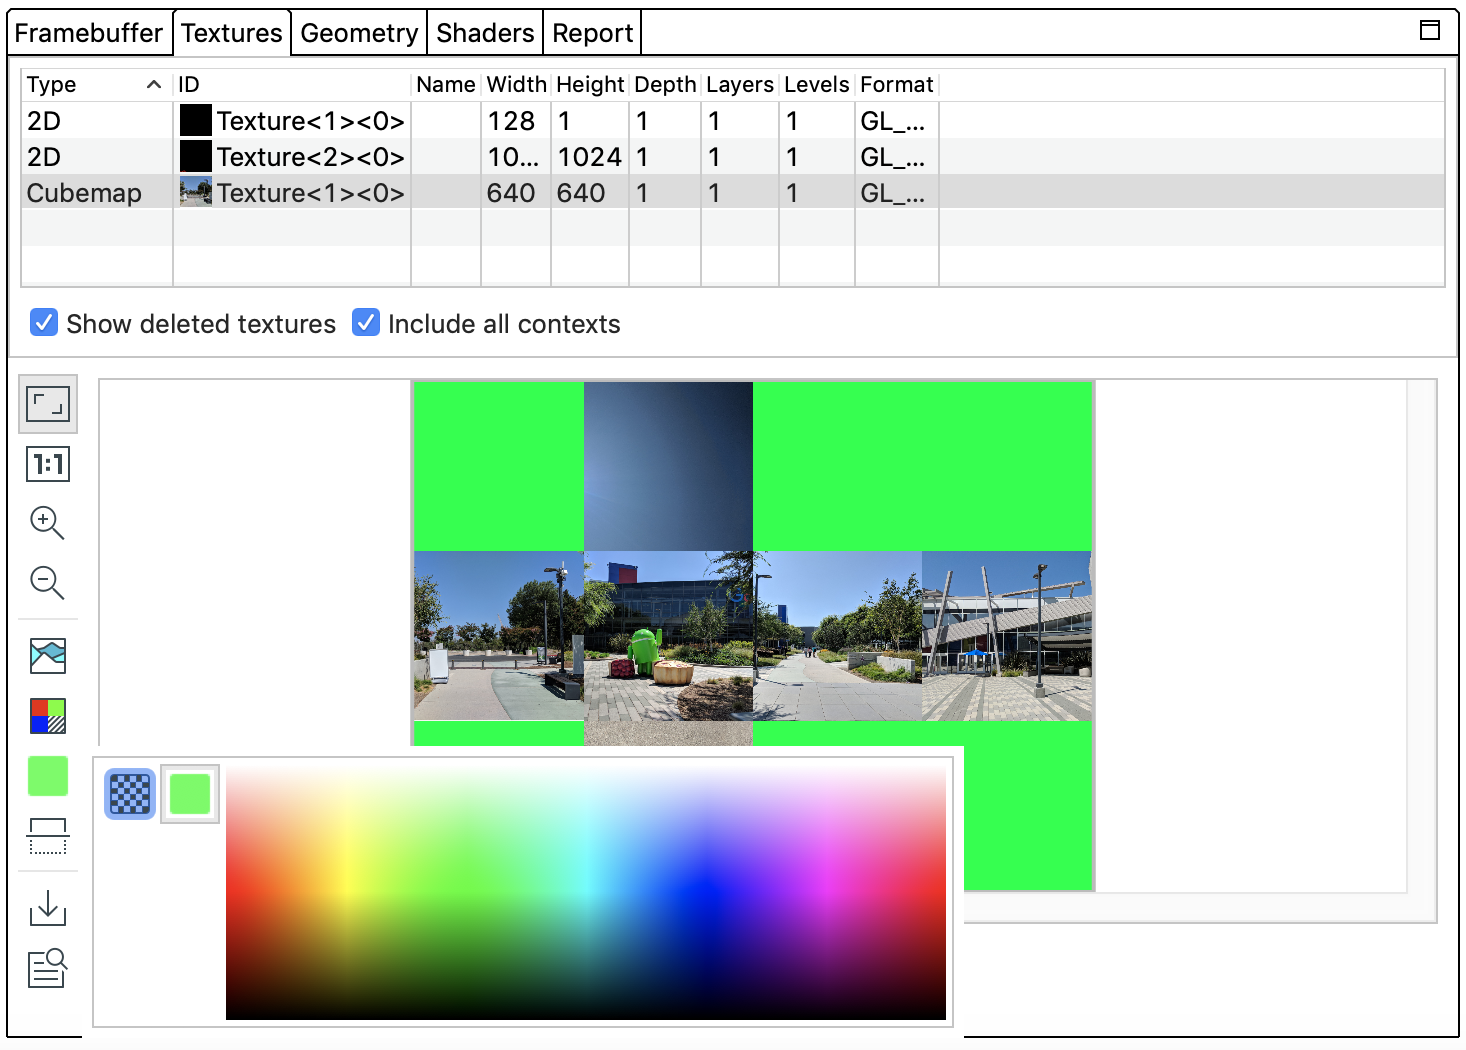
| |Wählen Sie ein Schachbrettmuster oder eine Volltonfarbe für den Bildhintergrund aus.|
 |
|
|
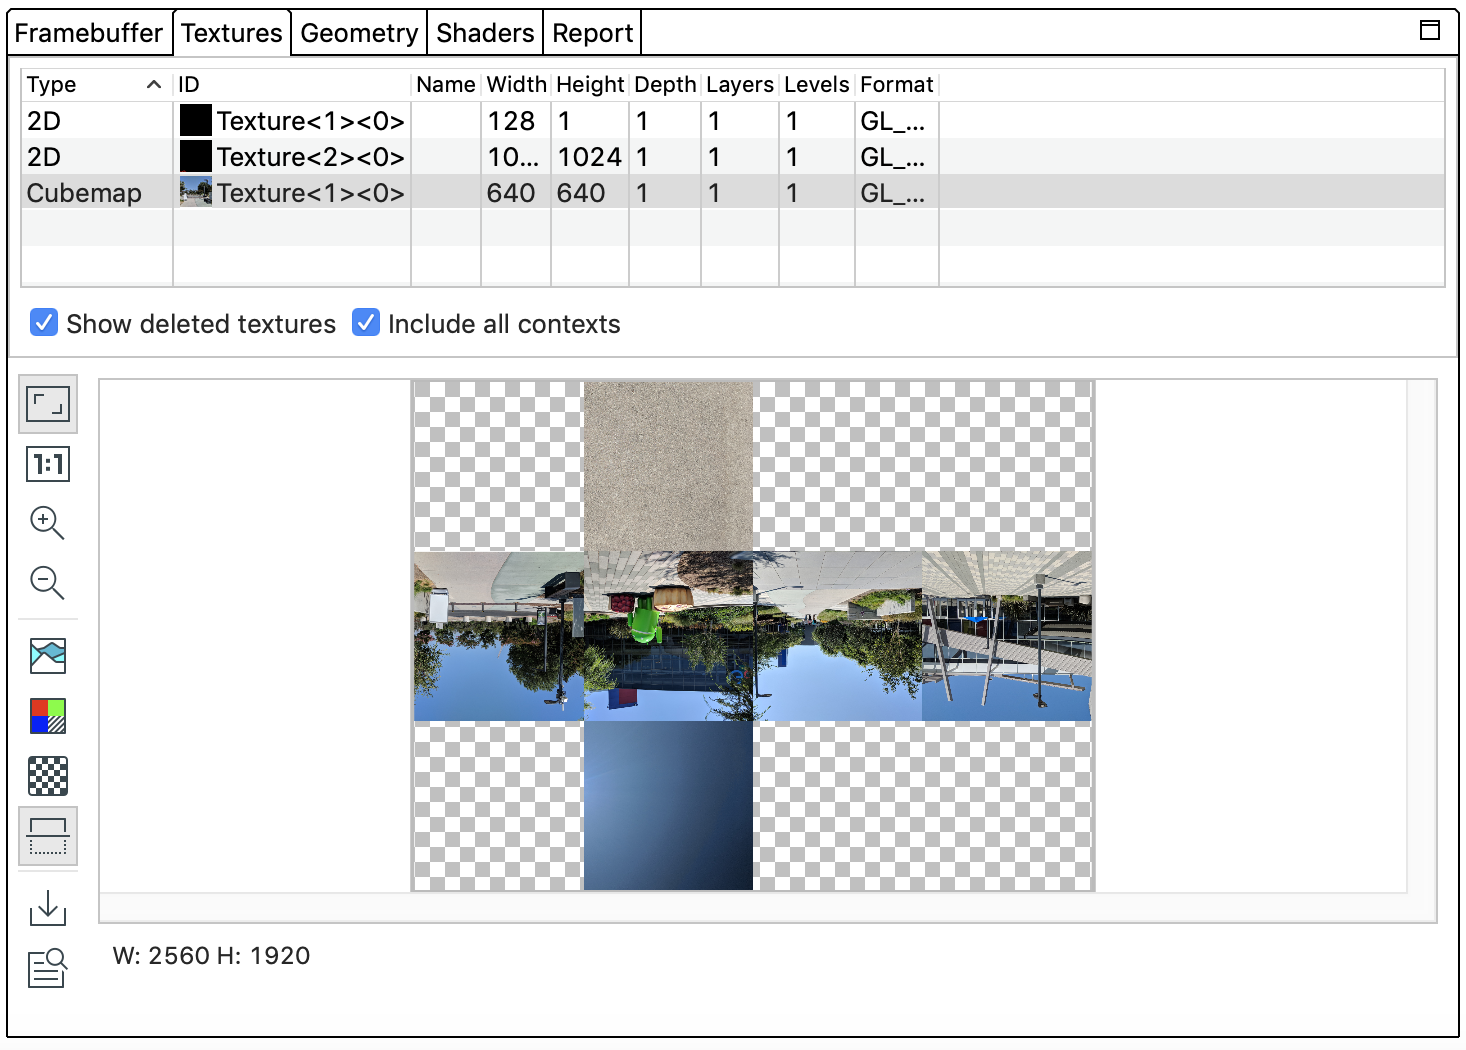
| |Spiegelt das Bild vertikal.|
 |
|
|
| |Speichert das Bild in einer Datei.|
 |
|
|
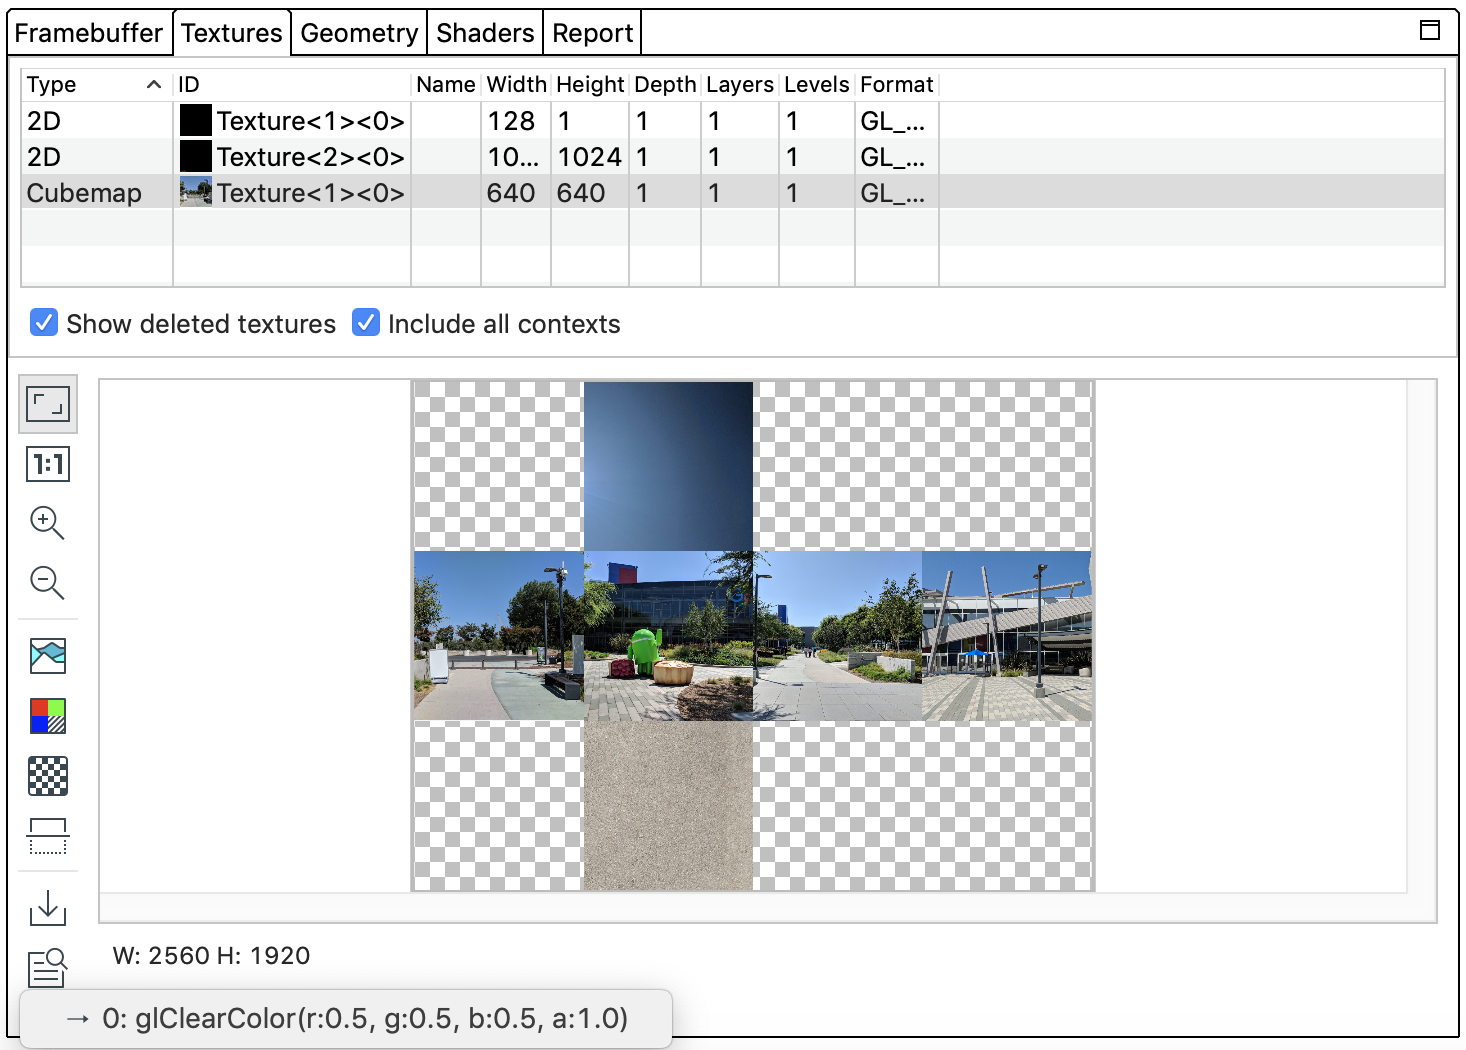
| |Zeigt die Liste aller Aufrufe an, die die Textur bis zu diesem Punkt aktualisiert haben. Wählen Sie einen Anruf aus, um das Bild nach Abschluss des Anrufs anzusehen. Die ausgewählte Frame-Miniaturansicht und der Bereich werden entsprechend aktualisiert. |
 |
|
Alle Inhalte und Codebeispiele auf dieser Seite unterliegen den Lizenzen wie im Abschnitt Inhaltslizenz beschrieben. Java und OpenJDK sind Marken oder eingetragene Marken von Oracle und/oder seinen Tochtergesellschaften.
Zuletzt aktualisiert: 2025-07-27 (UTC).
[null,null,["Zuletzt aktualisiert: 2025-07-27 (UTC)."],[],[],null,["# Texture Pane\n\nThe **Texture** pane shows the content of the texture that has been selected in [textures view](https://gpuinspector.dev/docs/).\n\nIf the texture has a mip-map chain, you can change the displayed mip-map level with the slider at the bottom (not pictured). By default, the highest resolution level, level 0, will be displayed.\n\nMove the cursor over the texture image to display a zoomed-in preview of the surrounding pixels in the bottom-left hand corner of the view as in the image above. The pane will also show the texture width and height as well as the x and y coordinates, normalized texture coordinates (U and V values), and RBGA hex value for that point on the image.\n\nOperations\n----------\n\nYou can perform operations on the image using the following buttons:\n\\| BUTTON \\| Description \\| Example Result \\|\n\\|:-------------:\\|:-------------:\\| :-----:\\|\n\\|\\| Adjusts the image to fit completely within the pane. You can also right-click the image to adjust the zoom to fit the image.\\|\\|\n\\|\\| Displays the image at no scale, where one device pixel is equivalent to one screen pixel.\\|\\|\n\\|\\| Zooms in on the image. You can also use your mouse wheel, or two-finger swipes on a touchpad, to zoom in and out. You can drag the image with your cursor.\\|\\|\n\\|\\| Zooms out on the image. You can also use your mouse wheel, or two-finger swipes on a touchpad, to zoom in and out.\\|\\|\n\\|\\|Displays the color histogram for the image. You can select the control handles on either side to limit the color values displayed.\\|\\|\n\\|\\|Select the color channels to render. The options are Red, Green, Blue, and Alpha (transparency).\\|\\|\n\\|\\|Select a checkerboard pattern or a solid color for the image background.\\|\\|\n\\|\\|Flips the image vertically.\\|\\|\n\\|\\|Saves the image to a file.\\|\\|\n\\|\\|Displays the list of all calls that updated the texture to this point. Select a call to view the image after the call completes; the selected frame thumbnail and the pane will update accordingly. \\|\\|"]]
![]() | Das Bild wird so angepasst, dass es vollständig in den Bereich passt. Sie können auch mit der rechten Maustaste auf das Bild klicken, um den Zoom anzupassen.|
| Das Bild wird so angepasst, dass es vollständig in den Bereich passt. Sie können auch mit der rechten Maustaste auf das Bild klicken, um den Zoom anzupassen.| |
|
|
|![]() | Das Bild wird ohne Skalierung angezeigt. Ein Gerätepixel entspricht einem Bildschirmpixel.|
| Das Bild wird ohne Skalierung angezeigt. Ein Gerätepixel entspricht einem Bildschirmpixel.| |
|
|
|![]() | Das Bild wird vergrößert. Sie können auch das Mausrad oder Wischbewegungen mit zwei Fingern auf einem Touchpad verwenden, um heran- und herauszuzoomen. Sie können das Bild mit dem Cursor ziehen.|
| Das Bild wird vergrößert. Sie können auch das Mausrad oder Wischbewegungen mit zwei Fingern auf einem Touchpad verwenden, um heran- und herauszuzoomen. Sie können das Bild mit dem Cursor ziehen.| |
|
|
|![]() | – Das Bild wird verkleinert. Sie können auch das Mausrad oder Wischbewegungen mit zwei Fingern auf einem Touchpad verwenden, um heran- und herauszuzoomen.|
| – Das Bild wird verkleinert. Sie können auch das Mausrad oder Wischbewegungen mit zwei Fingern auf einem Touchpad verwenden, um heran- und herauszuzoomen.| |
|
|
|![]() |Zeigt das Farbhistogramm für das Bild an. Sie können die Ziehpunkte auf beiden Seiten auswählen, um die angezeigten Farbwerte zu begrenzen.|
|Zeigt das Farbhistogramm für das Bild an. Sie können die Ziehpunkte auf beiden Seiten auswählen, um die angezeigten Farbwerte zu begrenzen.| |
|
|
|![]() |Wählen Sie die zu rendernden Farbkanäle aus. Die Optionen sind Rot, Grün, Blau und Alpha (Transparenz).|
|Wählen Sie die zu rendernden Farbkanäle aus. Die Optionen sind Rot, Grün, Blau und Alpha (Transparenz).| |
|
|
|![]() |Wählen Sie ein Schachbrettmuster oder eine Volltonfarbe für den Bildhintergrund aus.|
|Wählen Sie ein Schachbrettmuster oder eine Volltonfarbe für den Bildhintergrund aus.| |
|
|
|![]() |Spiegelt das Bild vertikal.|
|Spiegelt das Bild vertikal.| |
|
|
|![]() |Speichert das Bild in einer Datei.|
|Speichert das Bild in einer Datei.| |
|
|
|![]() |Zeigt die Liste aller Aufrufe an, die die Textur bis zu diesem Punkt aktualisiert haben. Wählen Sie einen Anruf aus, um das Bild nach Abschluss des Anrufs anzusehen. Die ausgewählte Frame-Miniaturansicht und der Bereich werden entsprechend aktualisiert. |
|Zeigt die Liste aller Aufrufe an, die die Textur bis zu diesem Punkt aktualisiert haben. Wählen Sie einen Anruf aus, um das Bild nach Abschluss des Anrufs anzusehen. Die ausgewählte Frame-Miniaturansicht und der Bereich werden entsprechend aktualisiert. | |
|
