導覽列可讓使用者在應用程式的目的地之間切換。導覽列適用於:
- 三到五個重要性相同的目的地
- 精簡視窗大小
- 應用程式畫面中的一致目的地

本頁面說明如何在應用程式中顯示導覽列,以及相關畫面和基本導覽。
API 介面
使用 NavigationBar 和 NavigationBarItem 可組合項,實作目的地切換邏輯。每個 NavigationBarItem 代表一個目的地。
NavigationBarItem 包含下列重要參數:
selected:決定是否要醒目顯示目前項目。onClick():定義使用者點選項目時要執行的動作。處理導覽事件、更新所選項目狀態或載入對應內容的邏輯,都屬於這個部分。label:顯示項目中的文字。選填。icon:在項目中顯示圖示。選填。
範例:底部導覽列
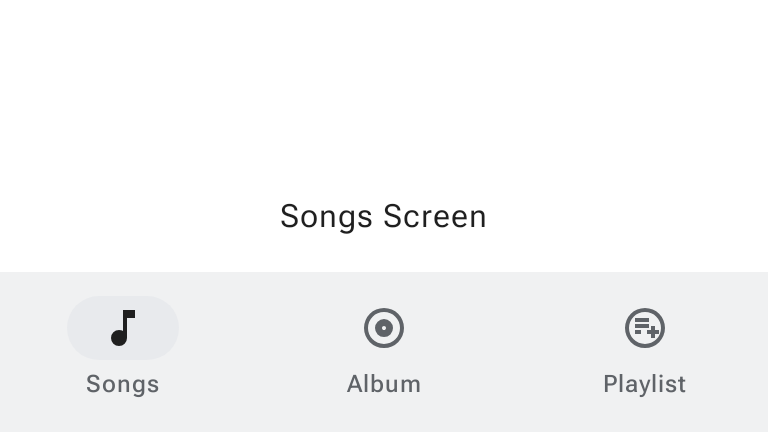
下列程式碼片段會實作含有項目的底部導覽列,讓使用者在應用程式的不同畫面之間切換:
@Composable fun NavigationBarExample(modifier: Modifier = Modifier) { val navController = rememberNavController() val startDestination = Destination.SONGS var selectedDestination by rememberSaveable { mutableIntStateOf(startDestination.ordinal) } Scaffold( modifier = modifier, bottomBar = { NavigationBar(windowInsets = NavigationBarDefaults.windowInsets) { Destination.entries.forEachIndexed { index, destination -> NavigationBarItem( selected = selectedDestination == index, onClick = { navController.navigate(route = destination.route) selectedDestination = index }, icon = { Icon( destination.icon, contentDescription = destination.contentDescription ) }, label = { Text(destination.label) } ) } } } ) { contentPadding -> AppNavHost(navController, startDestination, modifier = Modifier.padding(contentPadding)) } }
重點
NavigationBar會顯示項目集合,每個項目都對應至Destination。val navController = rememberNavController()會建立並記住NavHostController的例項,用於管理NavHost內的導覽。var selectedDestination by rememberSaveable { mutableIntStateOf(startDestination.ordinal) }會管理所選項目的狀態。startDestination.ordinal會取得Destination.SONGS列舉項目的數值索引 (位置)。
- 點選項目時,系統會呼叫
navController.navigate(route = destination.route),前往對應的畫面。 NavigationBarItem的onClicklambda 會更新selectedDestination狀態,以視覺方式醒目顯示點擊的項目。- 導覽邏輯會呼叫
AppNavHost可組合函式,並傳遞navController和startDestination,以顯示所選畫面的實際內容。
結果
下圖顯示上述程式碼片段產生的導覽列:
M3 Expressive 更新
Material 3 Expressive 導入 ShortNavigationBar 和 ShortNavigationBarItem,做為標準 NavigationBar 以外的其他彈性選項。

如要進一步瞭解導覽列的 M3 Expressive 更新,請參閱 Material Design 3 導覽列指南。
ShortNavigationBar 中的導覽項目可以垂直或水平排列。
含有垂直項目的導覽列
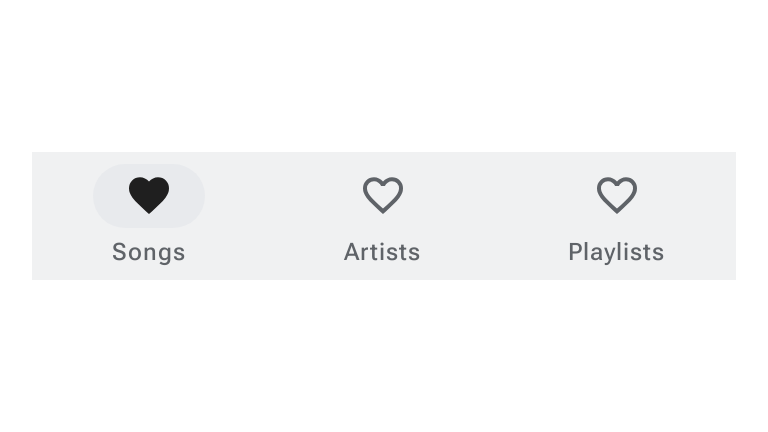
在精簡視窗 (例如行動裝置) 中使用直向項目。下列程式碼片段示範如何實作含有垂直項目的 ShortNavigationBar:
@Composable fun ShortNavigationBarSample() { var selectedItem by remember { mutableIntStateOf(0) } val items = listOf("Songs", "Artists", "Playlists") ShortNavigationBar { items.forEachIndexed { index, item -> ShortNavigationBarItem( icon = { Icon( painter = rememberVectorPainter(if (selectedItem == index) AppIcons.FavoriteFilled else AppIcons.Favorite), contentDescription = null, ) }, label = { Text(item) }, selected = selectedItem == index, onClick = { selectedItem = index }, ) } } }
含有水平項目的導覽列
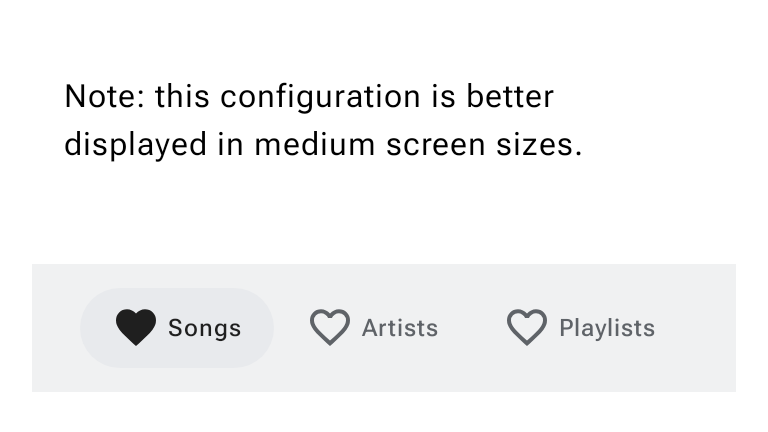
在中型視窗 (例如平板電腦) 中使用橫向項目。下列程式碼片段示範如何實作 ShortNavigationBar,並將水平項目置中於列中:
@Composable fun ShortNavigationBarWithHorizontalItemsSample() { var selectedItem by remember { mutableIntStateOf(0) } val items = listOf("Songs", "Artists", "Playlists") Column { Text( "Note: this configuration is better displayed in medium screen sizes.", Modifier.padding(16.dp), ) Spacer(Modifier.height(32.dp)) ShortNavigationBar(arrangement = ShortNavigationBarArrangement.Centered) { items.forEachIndexed { index, item -> ShortNavigationBarItem( iconPosition = NavigationItemIconPosition.Start, icon = { Icon( painter = rememberVectorPainter(if (selectedItem == index) AppIcons.FavoriteFilled else AppIcons.Favorite), contentDescription = null, ) }, label = { Text(item) }, selected = selectedItem == index, onClick = { selectedItem = index }, ) } } } }